threelilprincesses.com

Category: Home

  • How to remove pen from leather lounge suite

    How to remove pen from leather lounge suite

    Last night I posted this photo on Facebook of Texta all over our good leather lounge suite.
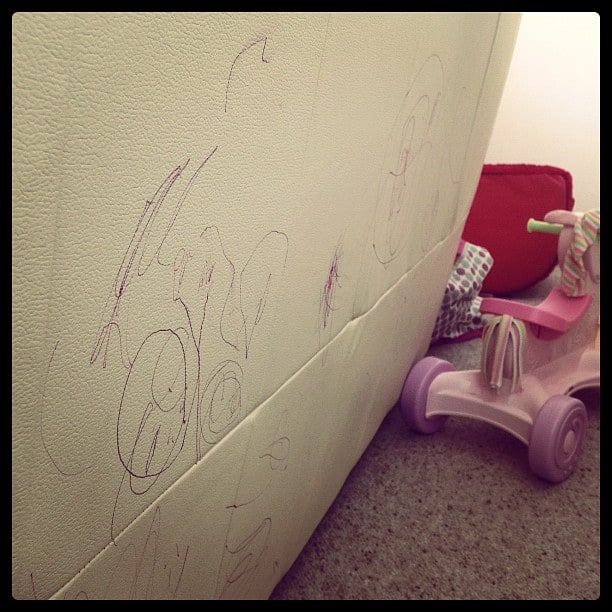
    How to get pen off a leather lounge suite

    and 200-odd comments later we had this…
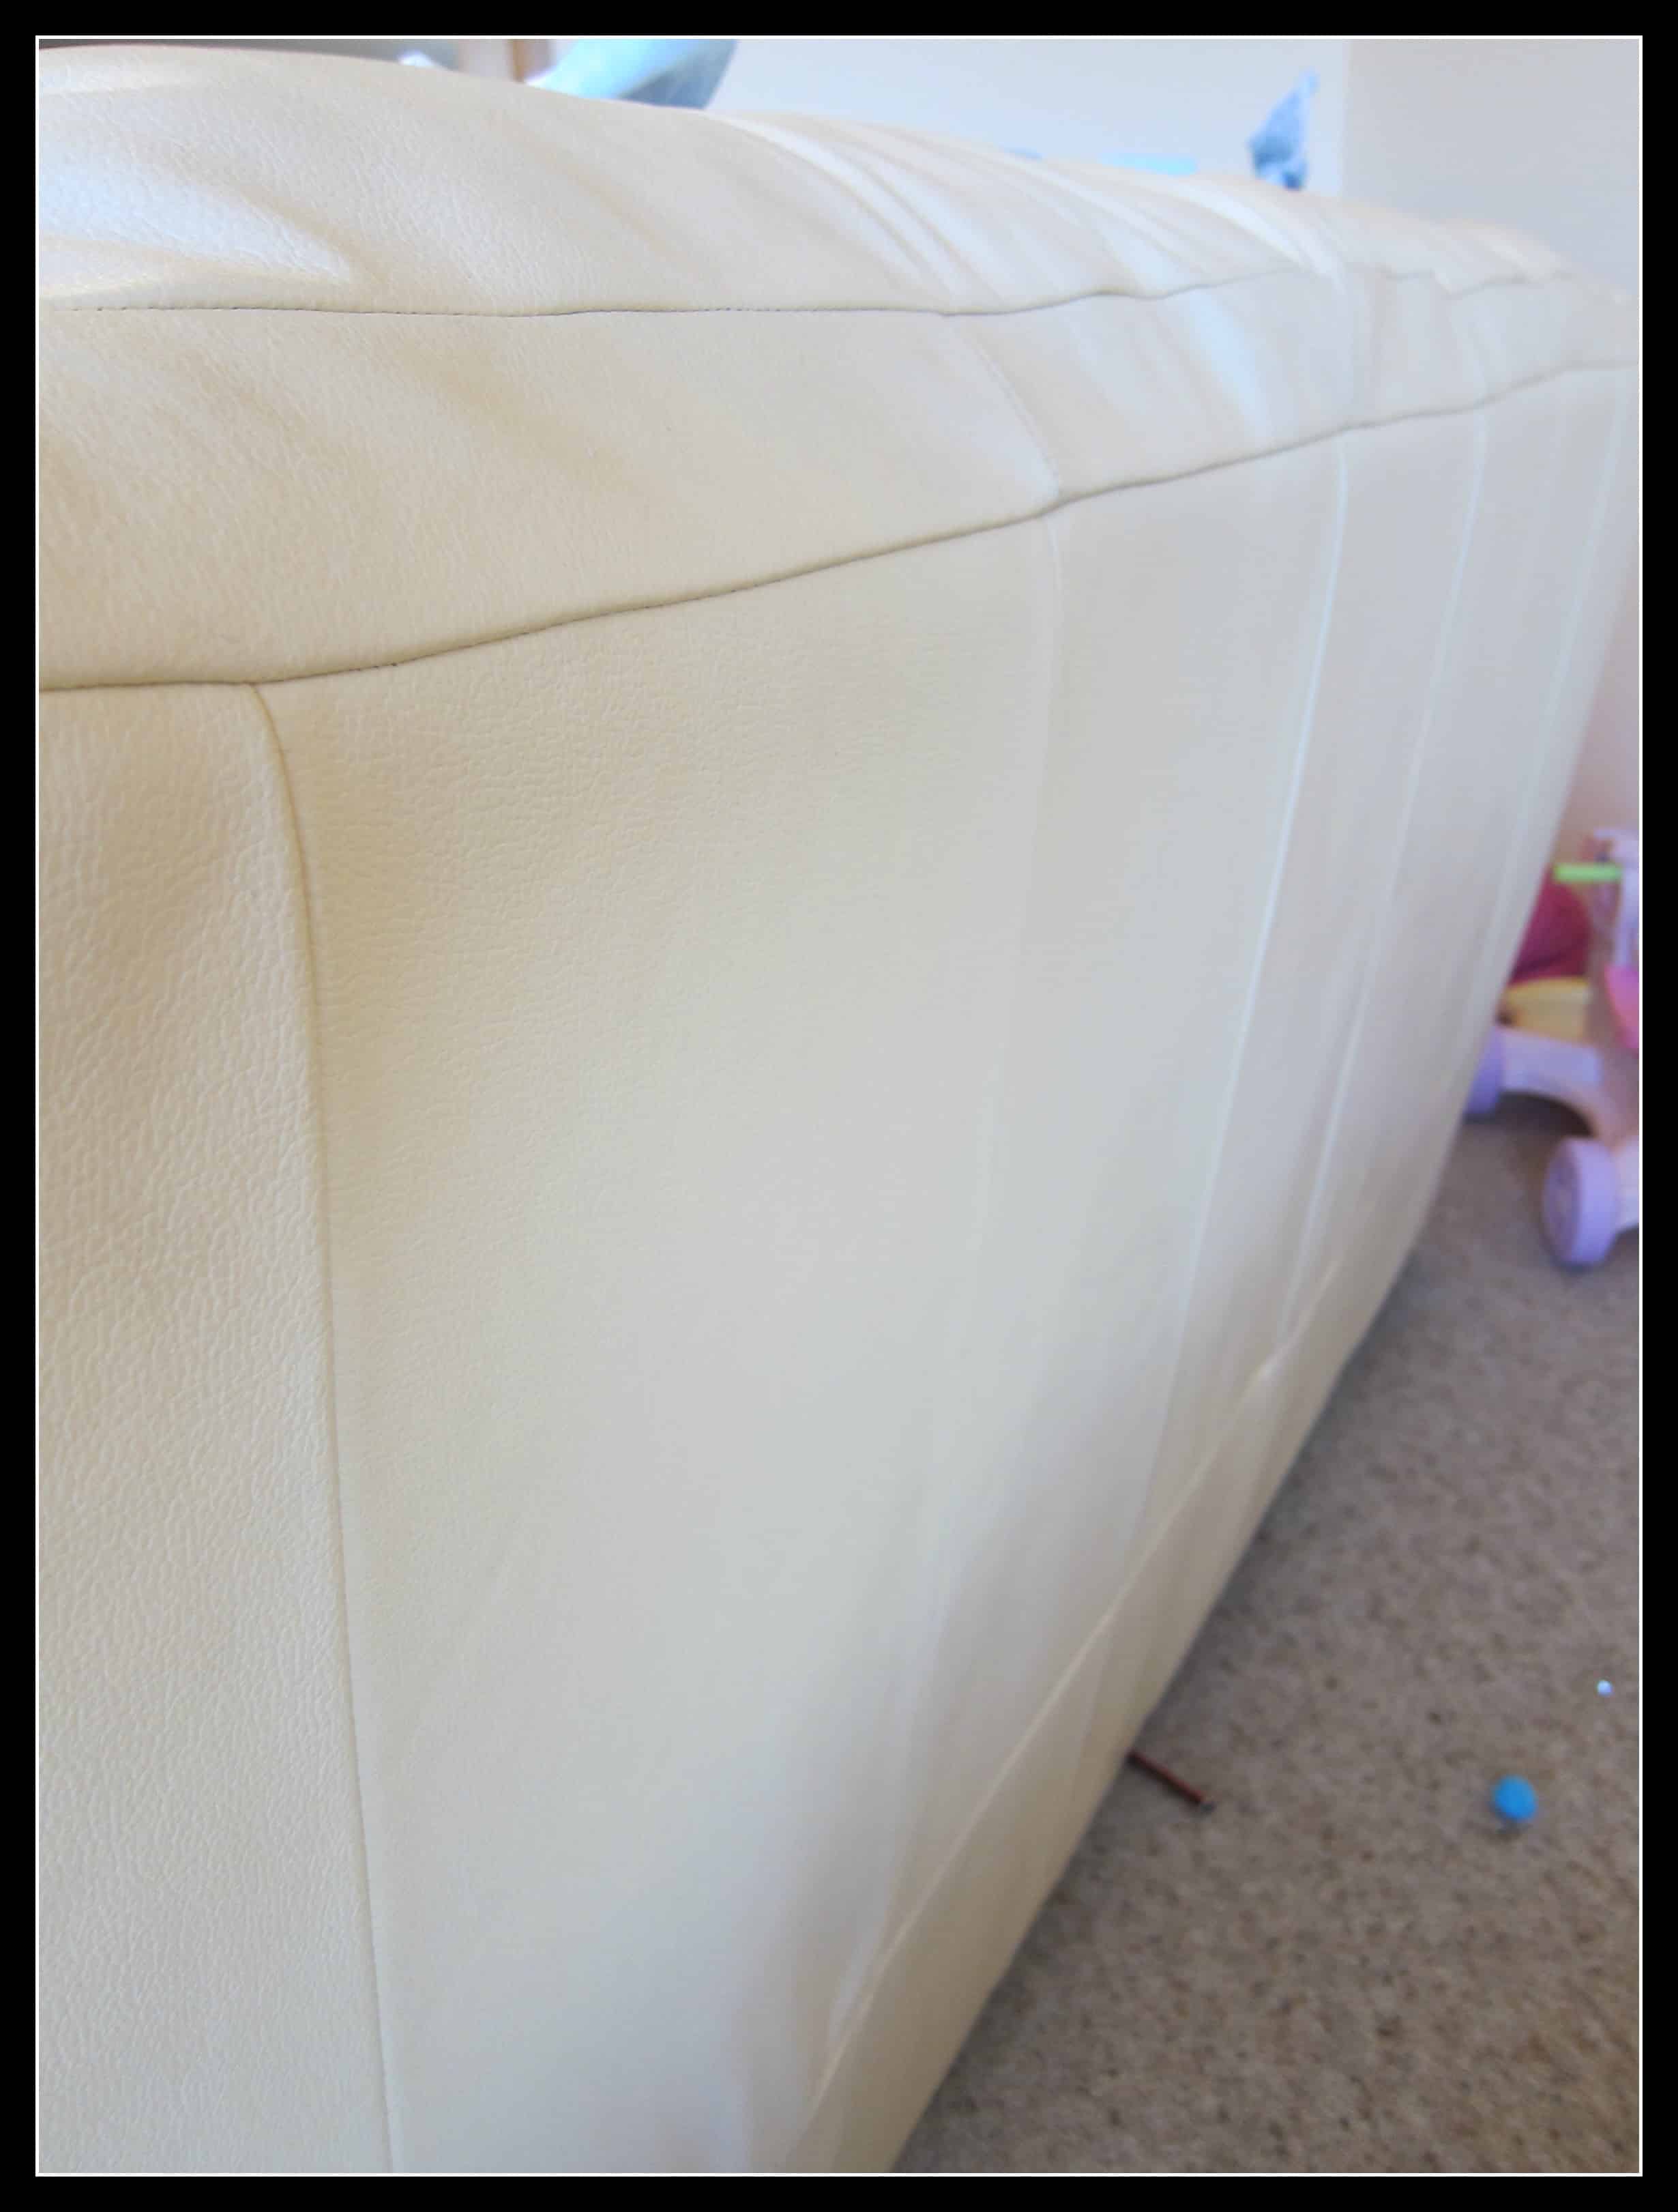
    how to get pen off of leather

    After trying a host of things (eucalyptus oil, baby wipes, eye makeup remover…), guess what it was that took the Texta – also known as marker or pen for those outside Australia – off the leather lounge suite?

    For us, it was hairspray – and a fair bit of elbow grease. And not just any hairspray. It had to be decent hairspray. L’Oreal hairspray in fact, as the cheaper brand did nothing to get rid of the marker.
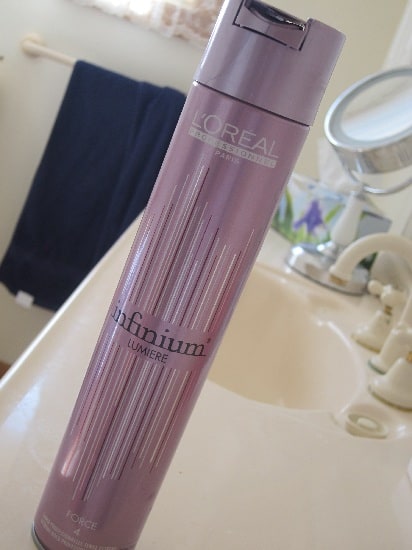
     L'Oreal hairspray

    Although, after half a bottle you wouldn’t want to have lit a match in the lounge room! Boy, oh boy!

    Here are some of the most popular answers from readers (you may want to try a small inconspicuous area first):

    • WD40
    • Hairspray
    • Chux Magic Eraser
    • Toothpaste
    • Jif
    • Windex
    • Enjo Fabric Glove
    • Baby wipes
    • Eucalyptus oil
    • Gumpton
    • Milk or hot milk
    • Bi carb made into a paste
    • Perfume

    Thanks for all the suggestions, including new kids, just pretending it’s not there, buying a new couch, colouring in the rest of the couch with a Texta and pushing the couch up against the wall…..

    And by the way, the culprit was a rather cheeky two year old who simply couldn’t resist drawing a Van Gough on that amazingly white canvas!

    HollySmile

    WANT THE HAIRSPRAY? CLICK THE IMAGE BELOW

    What have you used to remove pen, marker or Texta from leather and which one worked best?

    *NB: Some links in this post are affiliate links. I only recommend those products I use myself.

  • Decorating a girl’s bedroom for under $10

    Decorating a girl’s bedroom for under $10

    I’ve spoken before about having decorated Ella’s room (and the Bright Star Kids giveaway is still open by the way), but have nothing but Holly’s name on her bedroom wall. Poor, deprived child, I know!

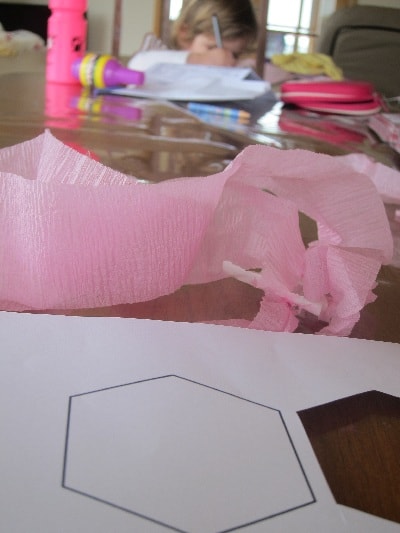
    The girls were looking for something crafty to do this afternoon, so we decided to create some wall art using a hexagonal shape – and our new printer. While Ella’s designs weren’t quite what I was looking for, I did manage to save enough hexagons to make this:
    wall decor art

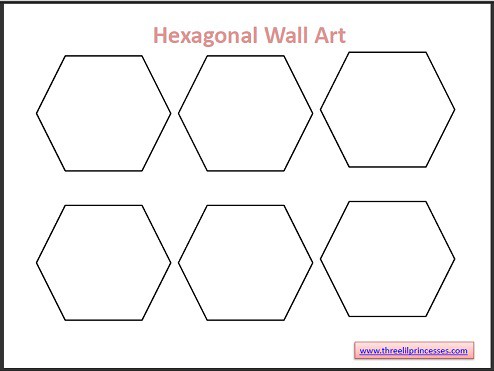
    Hexagonal Wall Art

    Step 1: Print out hexagonal shapes. Feel free to download this PDF and print out to use.

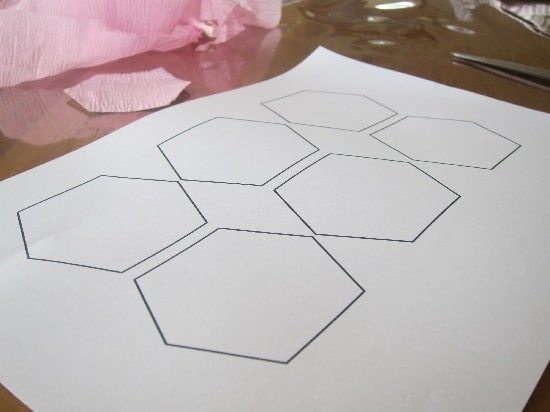
    Hexagonal Wall Art shape

    Step 2: Cut out 14 shapes.

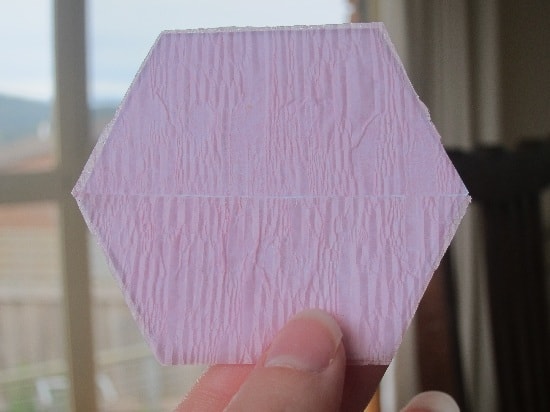
    Hexagonal Wall Art cover

    Step 3: Colour half the hexagons. We used leftover pink birthday streamers. We cut the streamers, carefully glued them and then stuck them to the hexagons. You could use cellophane, paint, pencils or material.

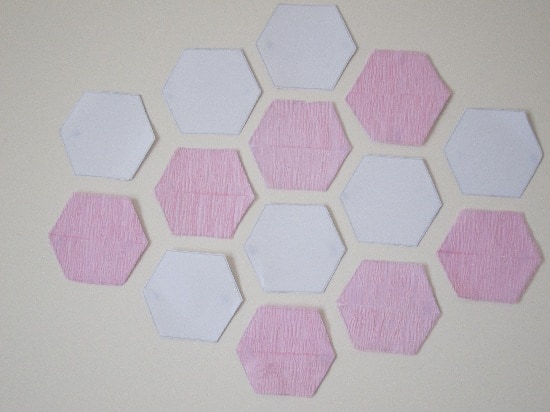
    Hexagonal Wall Art on wall

    Step 4: Use Blue Tack to stick them to the wall in a pattern.

    We’re now planning on making a pink bumblebee to go with it. Tutorial to come…

    Hexagonal wall art items

    What do you think? Do you have any other suggestions on what we could have done – or still could do?

  • Guest post: Managing spendthrift husbands and family budgets

    Guest post: Managing spendthrift husbands and family budgets

    The letter K
    I'm a letters, not numers person!
    THERE’S a reason I became a journalist. Like alcohol and Mel Gibson, numbers and I don’t mix very well. So when my number-genius friend Amie and I started talking family finances and spendthrift husbands (mine, at least), it made sense to ask her to write something on how she manages the family budget. While as the treasurer of the household I sometimes think I’m doing a better job than Wayne Swan, there is certainly room for improvement. And Amie’s tips are so easy to follow and implement.

    By Amie Bramich
    This is my budgeting technique that has been with me since I first moved out of home; it has evolved through uni, buying a home, a wedding and now a family.
    It is not complicated but it does seem to be working fairly efficiently for us as a family, I think it would be suitable for those who pool their incomes and those who like to keep them separate.  It is ideal for keeping track of those day-to-day living expenses!  You don’t need much – a list of your costs broken down to your particular income frequency and a few envelopes.
    Below is a step-by-step guide for getting started and a few tips along the way!
    1. Identify regular income sources and frequency
    • I have tended to not include bonus income such as tax refunds; but rather see these as a savings bonus or for special family treats such as mini breaks.
    2. Identify as best you can all regular fixed costs.
    • This can seem a daunting task, I have found that it is best to not over think this, rather let it naturally evolve with your budget.
    • Keep the categories broad and leave a little room in your allocations for those unexpected items.
    3. Now check your totals!
    • I have always done this out to a weekly and an annual level, ensuring your income covers your costs on pay day and over the year.
    • This is an interesting exercise as it gives you a big picture of where your cash is going!
    4. Label envelopes (or if you prefer a folder) as you have cash expenses with the required amounts.  Then as the bills roll in you have the cash needed!
    This technique can be adapted for those who prefer to leave their cash in the bank account with a spreadsheet instead of envelopes.
    In my experience the hardest part of this technique (and any other budgeting method) is sticking to it!  Also, try not to “borrow” from your bill stash, this can lead to trouble!
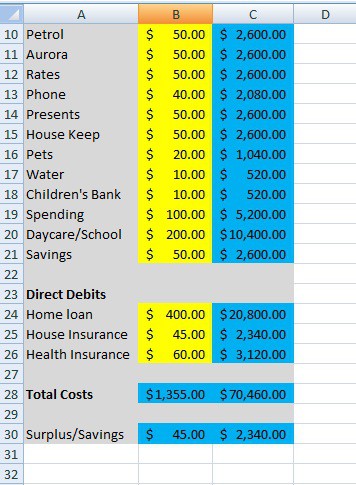
    You can download a larger version of the test budget worksheet by clicking the image. NB: Aurora is the supplier of Tasmania’s electricity.
    family budget spreadsheet
    Do you have a technique for managing the family budget? Or, like me, do you battle a spendthrift husband?