threelilprincesses.com

Tag: activities

  • It’s my party and I’ll create a free downloadable princess birthday invitation if I want to

    It’s my party and I’ll create a free downloadable princess birthday invitation if I want to

    SIX months before Princess Ella’s first birthday, I had everything planned to a tee. There was the cake:
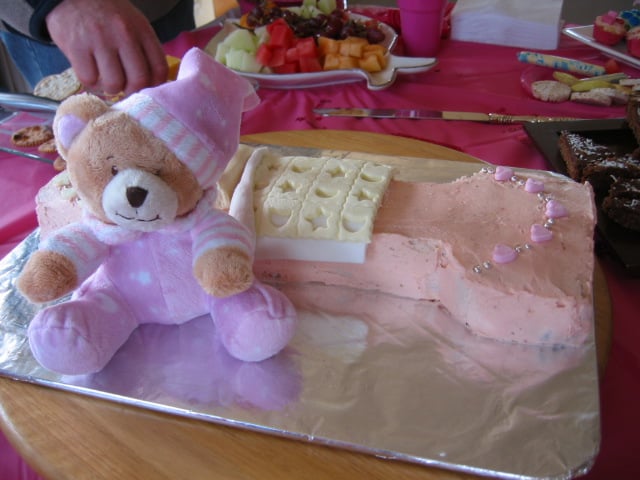
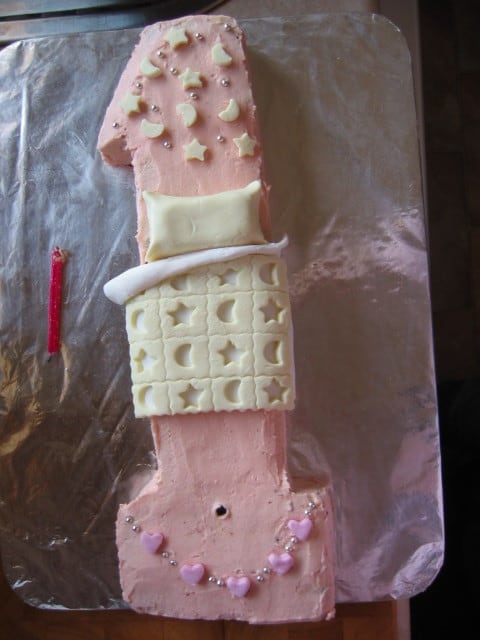
    number one first birthday cake girl

    number one first birthday cake girlI should have been a cake decorator.

    All the presents:
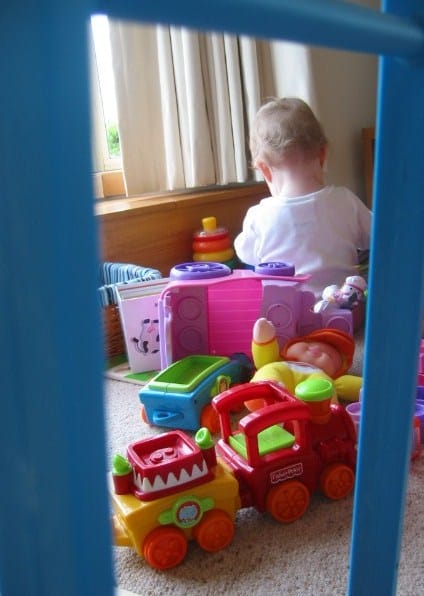
    baby girl playing among toys

    Should have been a professional shopper too.

    Party games to test the patience of one-year-olds (and parents), guest list that exceeded the space available in our house and event timeline, which went out the window when someone arrived half an hour late. I know, I can hear you all saying “she should have been an event planner’’. No really, I should have.
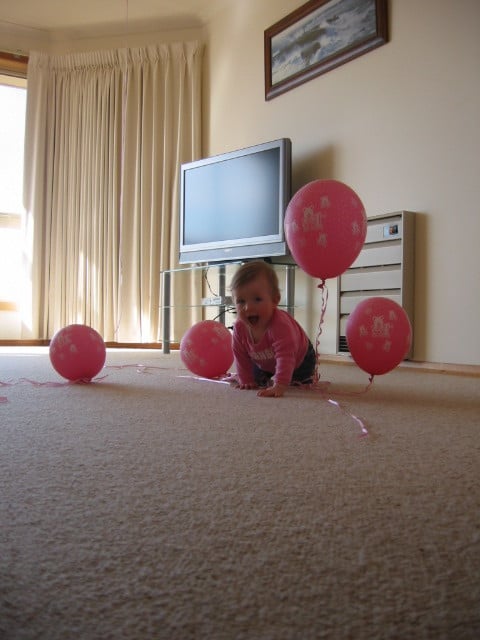
    Baby girl among balloons

    However, Baby Holly’s first birthday is 2.5 weeks away and I’ve done… nothing. Well, up until a phone call with the lovely Louisa of Everything Is Edible, who has her little Bear’s first birthday planned to within an inch of its life – a birthday which is AFTER Holly’s. It was enough motivation to get my butt into gear.

    I might add here that this is not the norm for this list-making, control freak planner. It has something to do with the last one getting out of hand and life having me busier than Angelina Jolie in an orphanage.

    Thanks to my wonderful online friends, I now know what to buy a girl for her first birthday when her sister got it all the first time around. It’s been even more important since discovering the Kmart Christmas layby, which included a few items for Holly’s birthday, can’t be picked up until… Christmas. I probably should have seen that one coming, right?

    Now I’ve done the invitation.  Feel free to download it if you can’t be bothered either making your own or forking out money for expensive ones with special envelopes.
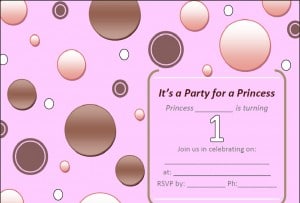
    Princess Birthday age one party invitation

    Yep, should have been a stationary designer. Instead, I’ll go and change another pooey nappy. Hmm, of all the things I could be doing…

    So this week, I’m thankful for Lou, thankful for my incredible talent (OK, maybe more like Microsoft Word) and thankful for my online friends.

    Linking up with the lovely Kate Says Stuff’s Thankful Thursday. Click on the link to find out what others are thankful for this week.

    Do you get full-on into party planning mode or do you leave everything to the last minute?

    PS. I know these parties are more about parents celebrating surviving the “challenging’’ first year, but in 10 years time Holly would never let me hear the end of it if she discovered she never had one and her sister did. I know, I have a sister.
  • The launch of a new eZine – Play Grow Learn playzine review

    The launch of a new eZine – Play Grow Learn playzine review

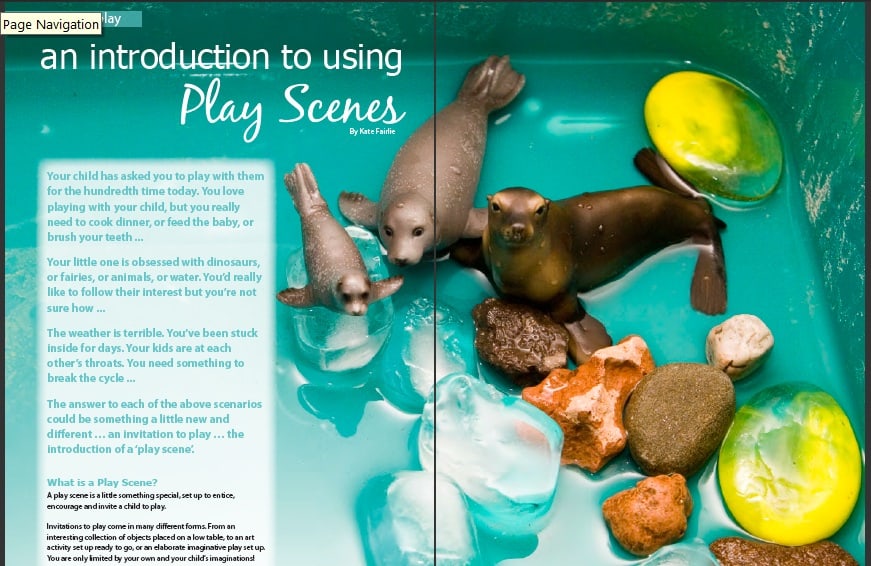
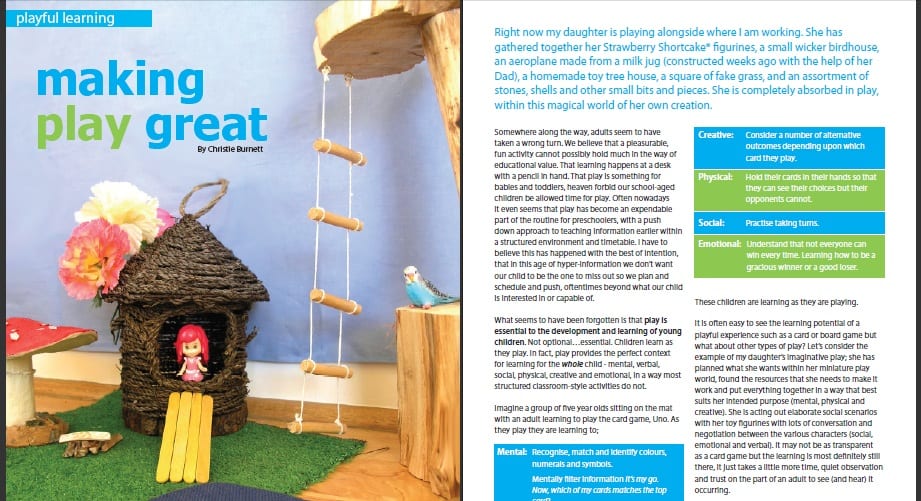
    FORCED to stay indoors due to falling under the spell of the snotty-nosed monster last week, we three princesses were thankful the wonderful Christie Burnett of Childhood 101 had sent through issue one of her inspiring Play Grow Learn playzine to review.

    Play Grow Learn playzine

    Most of you already know who Christie is. But, just incase your internet connection’s been down for the past two years, Christie’s a mummy blogger and early childhood educator. Her blog Childhood 101 has become our regular haunt. What appeals most is its focus on learning through play – it’s this point that was the clincher for the school we’ve chosen for Ella. So it’s easy to see why the quote:

    “What seems to have been forgotten is that play is essential to the development and learning of young children. Not optional…essential’’.

    from the playzine stood out for me.

    Each article provides enough information to answer the “why’’ behind each play activity, along with detailing the actual play ideas themselves.  The only point I’ll make is it’s probably best to set aside some time when you’re minus children to read it. Or you could inadvertently become hooked on an article, prompting someone to get rather impatient with you.

    play grow learn Childhood 101 playzine

    Some of the highlights for us (and particularly Ella) were:

    • The full-colour printable set of Snap cards. Ella asks to play Snap endlessly, so the opportunity to have a special set of cards is all too exciting.
    • The photo of the magical play space. This one set imaginations running wild. Guess what we’re doing this week?
    • With the arrival of Spring, there’s seven pages of outdoor play ideas.
    • The 30-plus baby play ideas have been particularly useful for Baby Holly and I on those days when Ella is in childcare.
    • The Playing with Maps article. Our family became close to a Swedish exchange student, who has only just returned home. Ella has a fascination now with knowing how far away he is in relation to her grandparents in the next town over. It was a great reminder that we need to get her a map to enhance her geographical knowledge.
    • Eight classic play ideas that take less than 10 minutes to prepare – perfect for a particularly impatient little girl.
    • The article on Creating Memorable Birthdays. With both girls marking birthdays in the next two months, this article was particularly useful. There are some fabulous ideas I’d like to implement for the girls’ big days.
    • A quick no-sew superhero cape tutorial. Need I say more.

    Beautifully photographed and designed, it also combines the writing talents of some fabulous mums and teachers, including:

    The incredible part about the whole thing is it’s a meagre $4. Yes, only $4 for 62 full-colour pages of indoor and outdoor play ideas for children from birth to five years. When getting to a newsagency to buy a magazine becomes less likely, this is a perfect alternative.

    For more information, visit the Play Grow Learn page. You’ll be thankful you did.

    Linking up with the lovely Kate Says Stuff’s Thankful Thursday. Click on the link to find out what others are thankful for this week.

  • How to make Harvey Norman-worthy furniture for your doll house

    How to make Harvey Norman-worthy furniture for your doll house

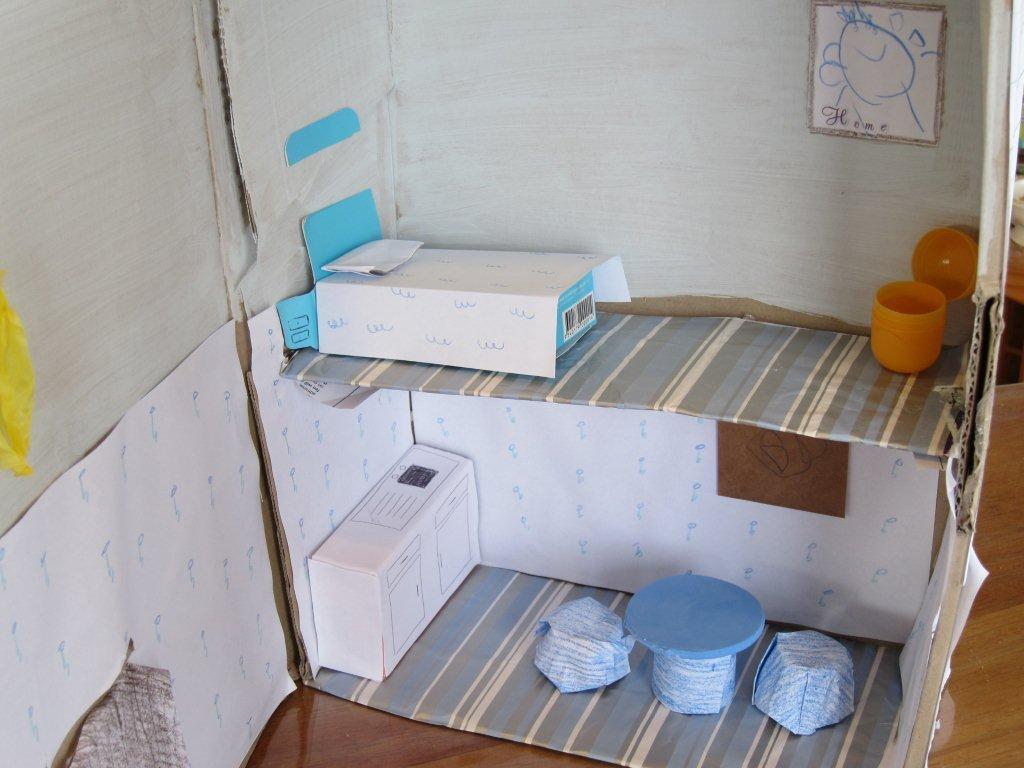
    I KNOW that you’ve all been waiting for the follow up post to the grand doll house. You know, the one where I promised the equally grand doll furniture? Well, the wait is over. Brace yourselves – this post features furniture that even Harvey Norman would be happy to house. Prices will never be slashes on these little beauties.

    doll house furniture

    Before unveiling the wonderful individual creations we made yesterday, there are a few things I know I learnt and want to share.

    • I know I forgot an oven. Maybe it was a subconscious thing, because cooking dinner conjures up images of witching / arsenic / feral hour.
    • I know that while you left beautiful comments on the grand doll house post (for which I was very grateful), you were surely humouring me when you said you liked the beer carton version. Right?
    • I know I have a creative daughter. Despite being quite ill yesterday and wanting to just watch mummy make the furniture for her to play with, she did manage to make a car – unprompted and without assistance.
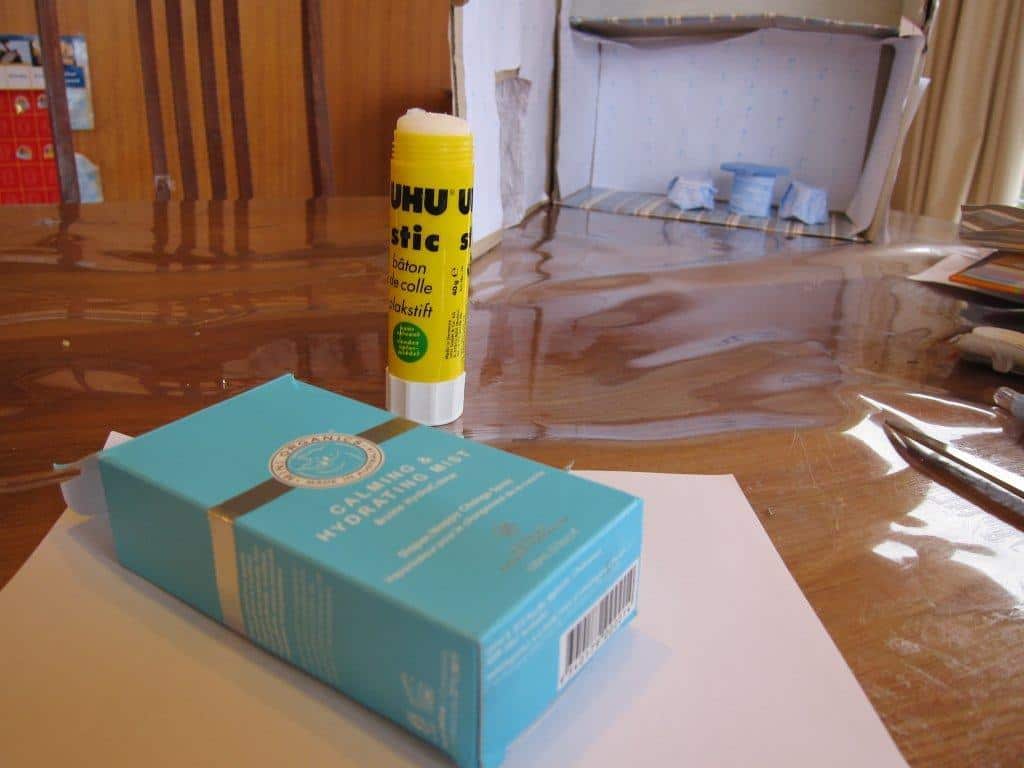
    • I know this project would have been great for product placement. Now there’s an idea for brands!

    doll house furniture

    So, I know that about now you’re itching to find out how to make the furniture. So here goes:

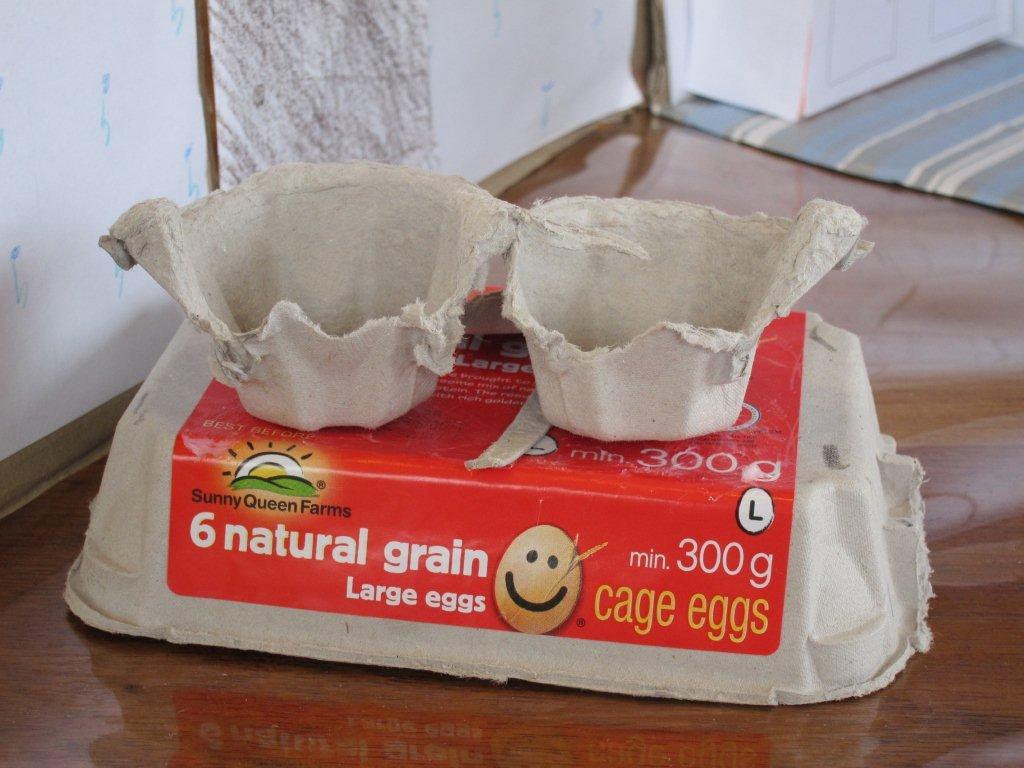
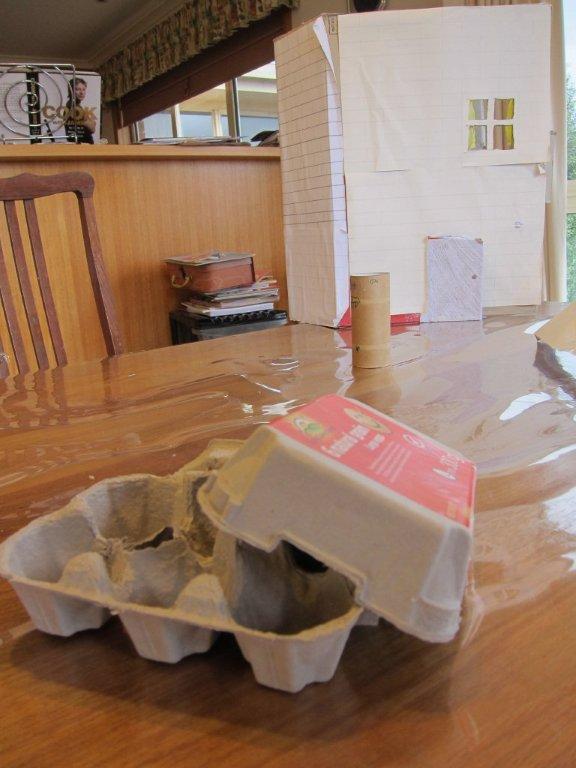
    • Take an egg carton and a used toilet roll

    doll house furniture

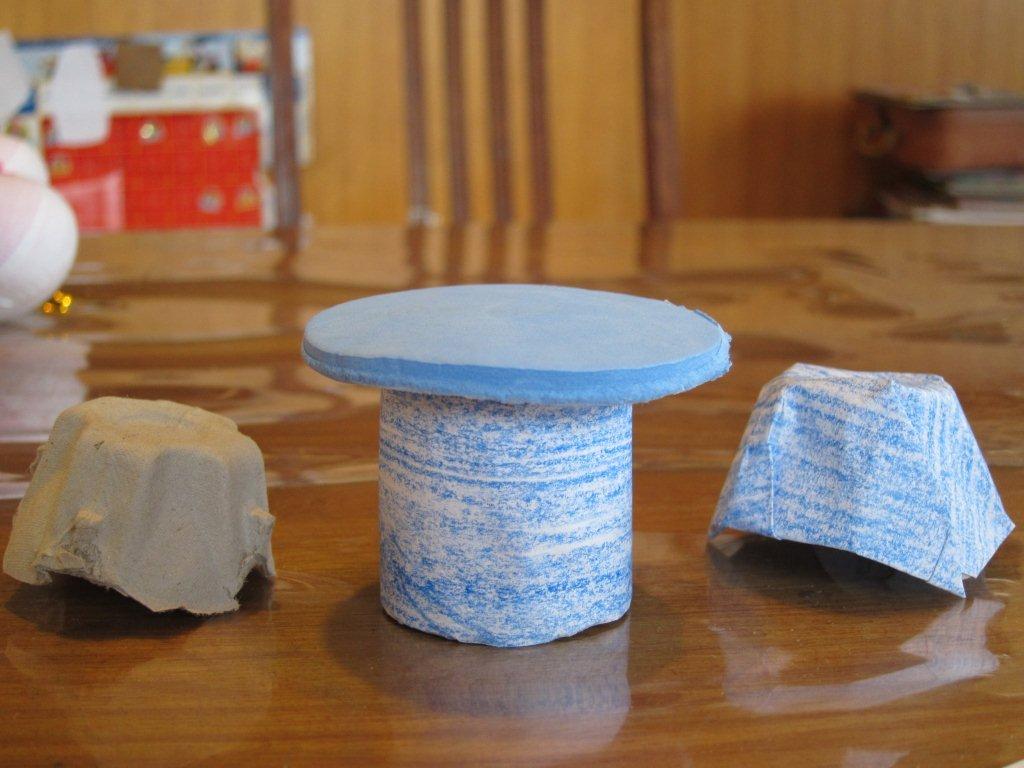
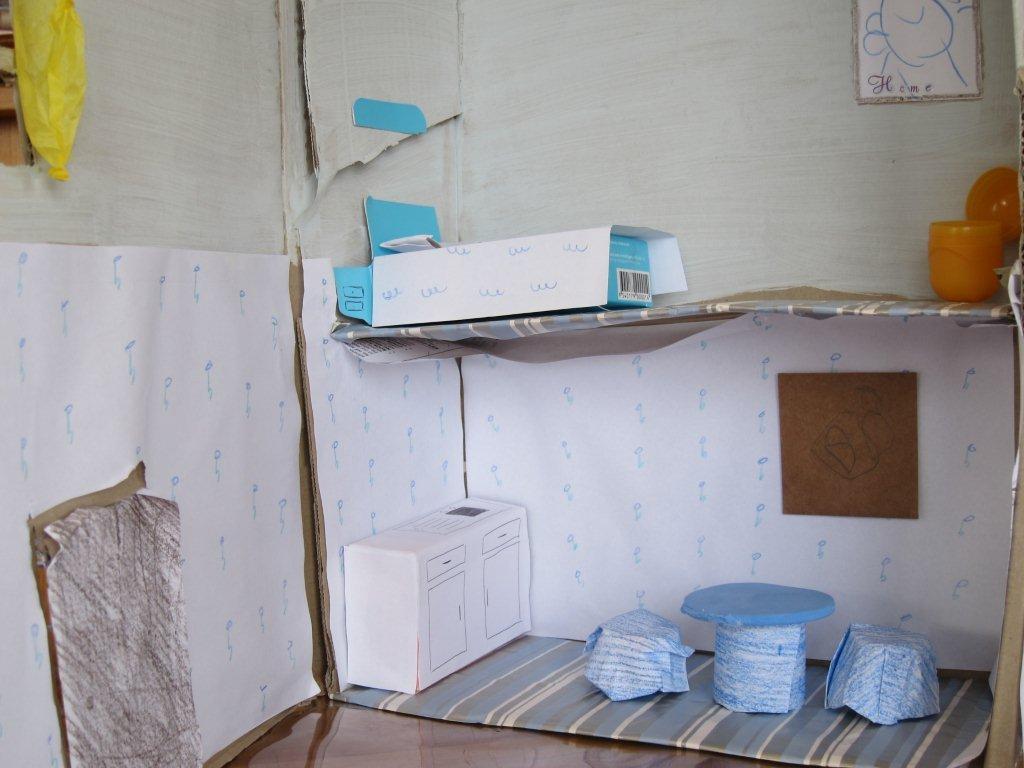
    • Cut out two of the cups from the egg carton and cover in coloured paper to make chairs. Cut the toilet roll in half and glue to a circle to make a table. We used a piece of foam from a craft bucket.

    doll house furniture

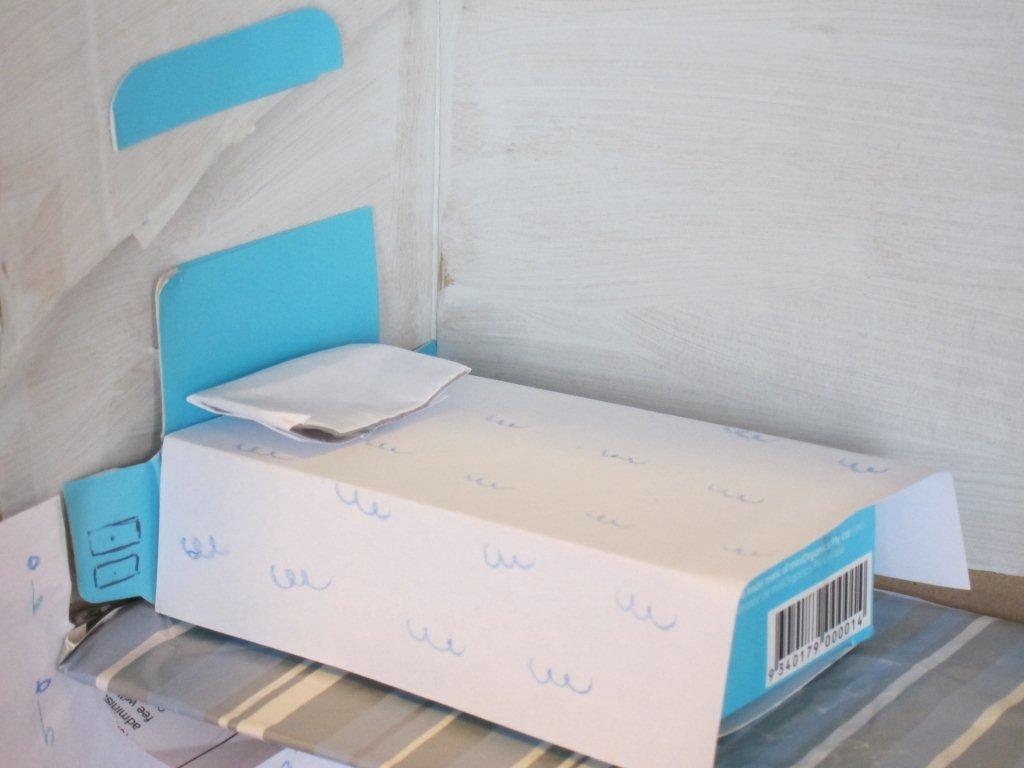
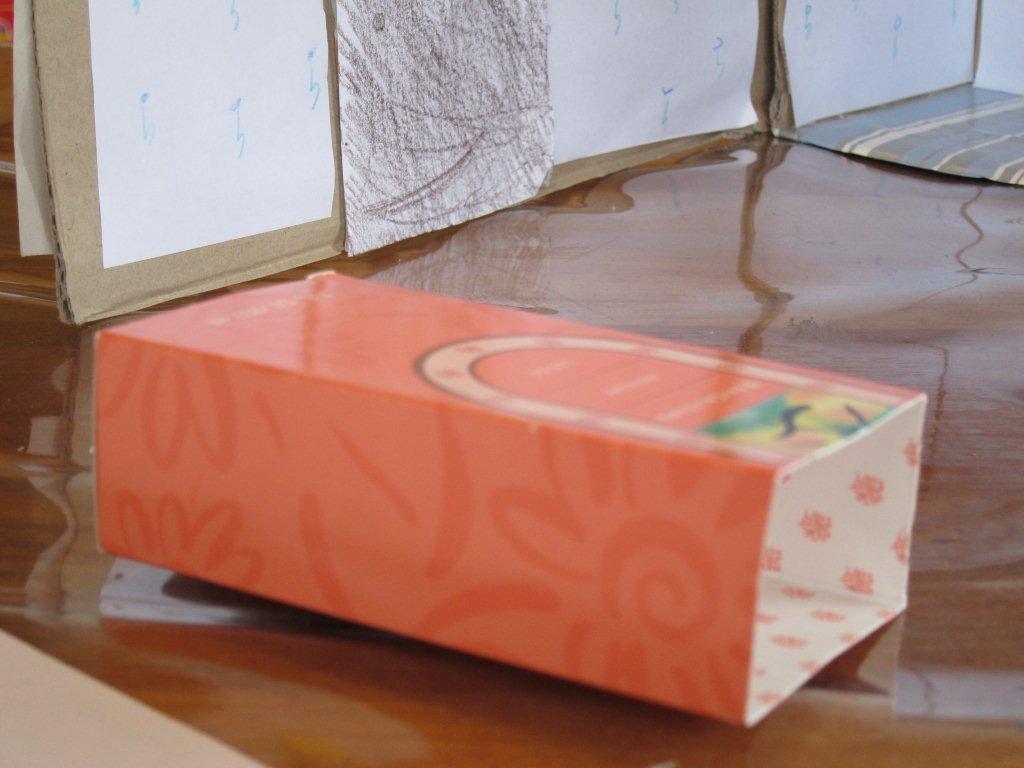
    • Take a rectangle box (see the product placement photo) and open one end so the flaps become a bed head and bedside drawers. Cover with a piece of decorated paper for a bedspread. Fold paper over a straight piece of egg carton for a pillow.

    doll house furniture

    • Take another rectangle box.

    doll house furniture

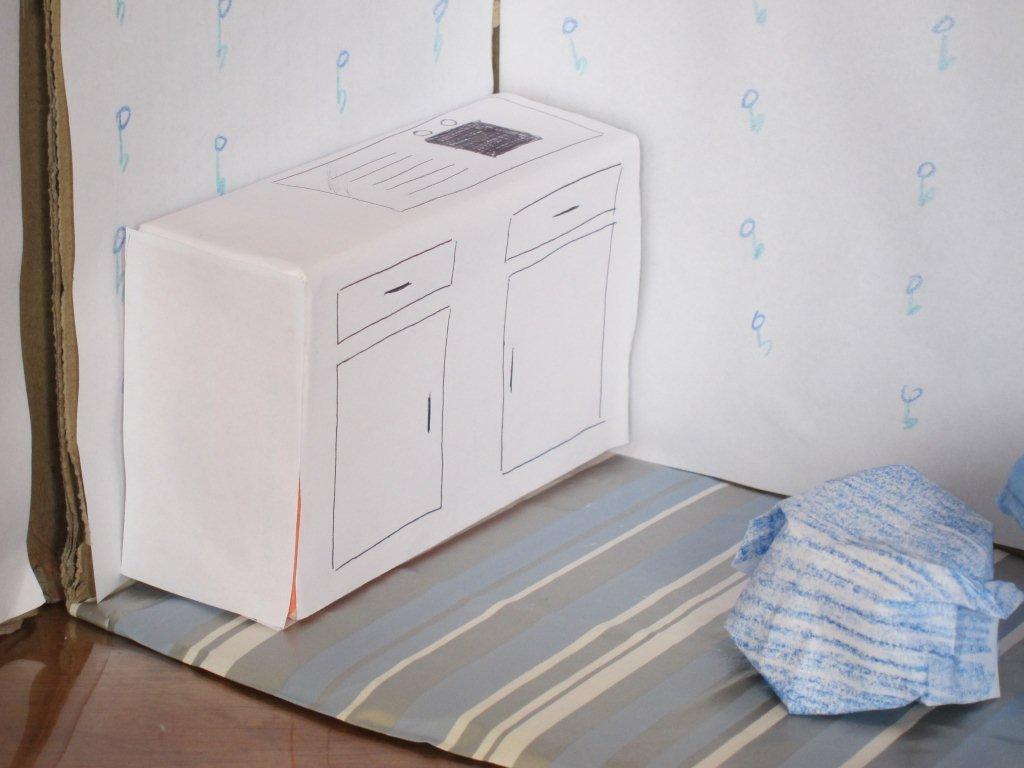
    • Cover it in paper and draw on a sink, taps, cupboards and drawers.

    doll house furniture

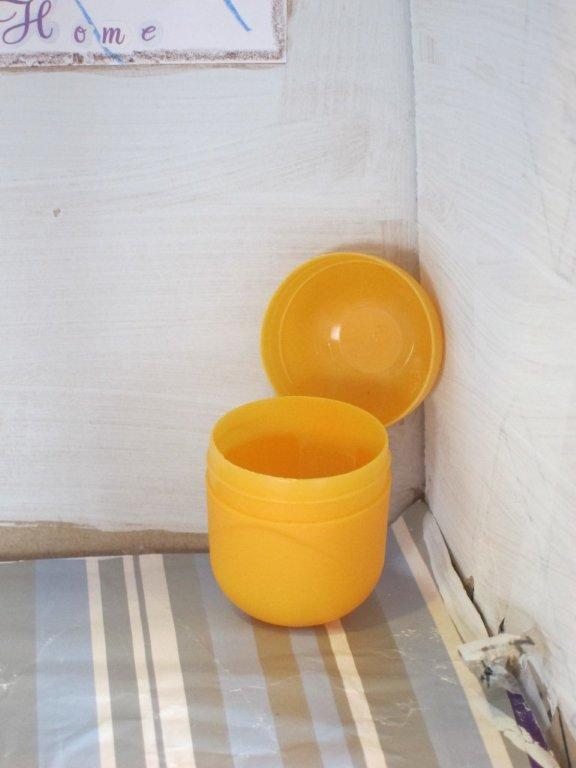
    • Use a Kinder Surprise toy container for a… loo. Yes, we don’t have an oven, but we have a dunny. And it’s in the bedroom. Let’s hope bowel movements happen in the mornings.

    doll house furniture Kinder Surprise

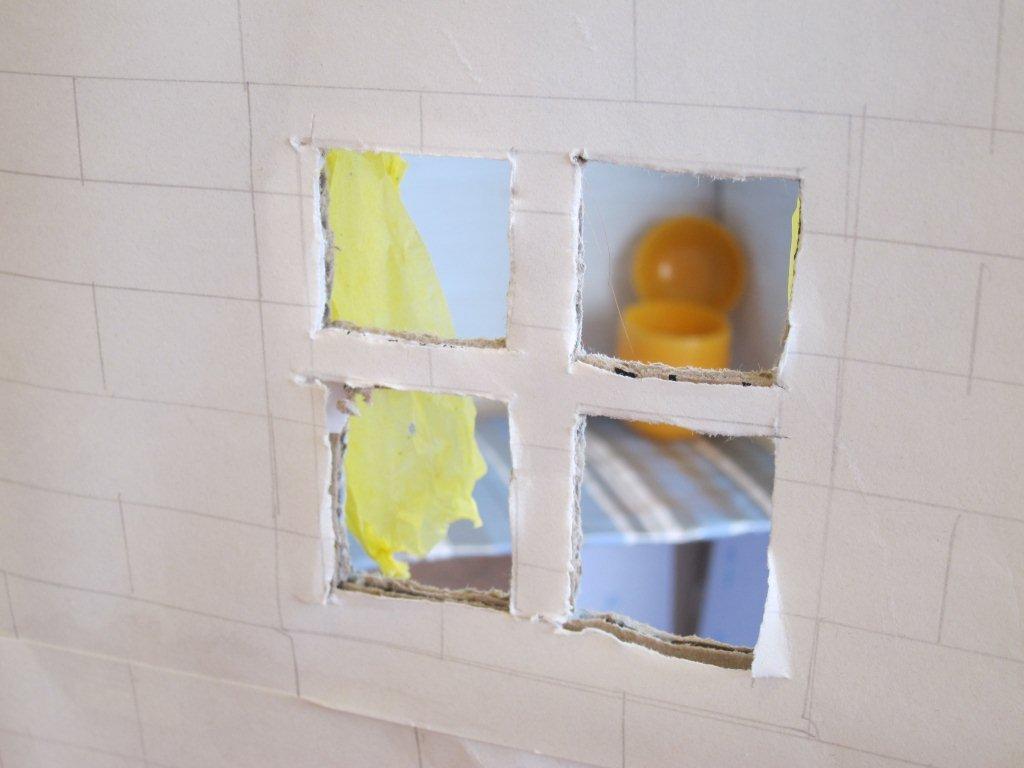
    • Positioned right where people can see through the window. Classy.

    doll house furniture

    • Assemble it all into the house and… ta da! Fit for a princess… who probably just wants to curl up in the bed right now and sleep. Poor little girl.

    doll house furniture

    Does your child have a doll house – made or bought? Or maybe one of those cool two-storey car parks with a ramp?

    SPONSOR

  • How to make a doll house from a cardboard box (take 2)

    How to make a doll house from a cardboard box (take 2)

    I KNOW sometimes you post an innocent little doll’s house made from a cardboard box on your blog and it becomes one of your blog’s most searched items via Google. I know that I’m really wishing I hadn’t actually made that doll’s house out of a … beer carton. Yes, there’s been some hugely disappointed Google searchers land on that post.
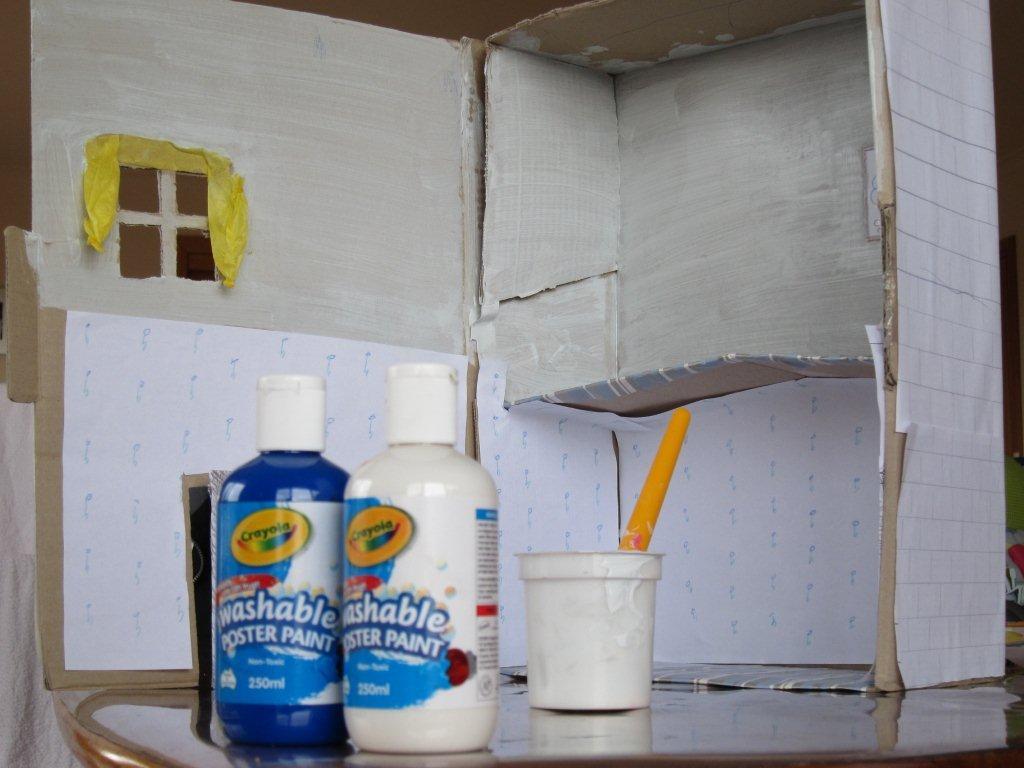
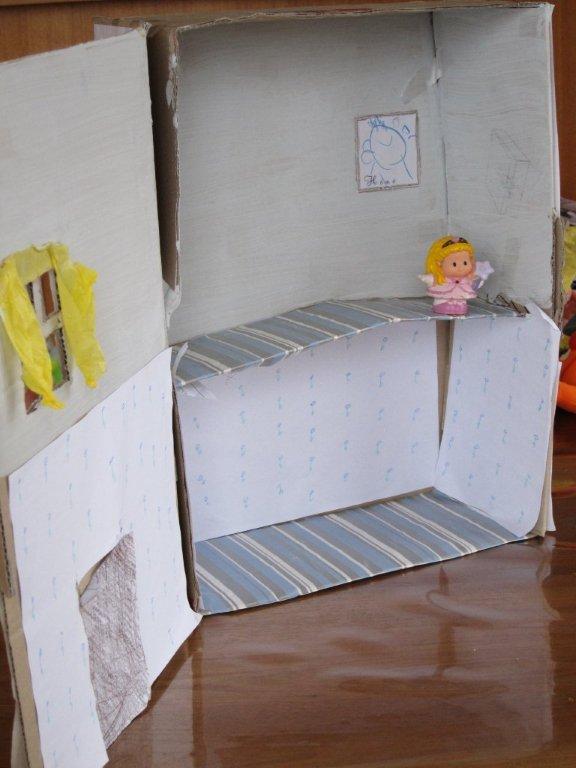
    So, finally, I’ve found some time to upgrade the doll family from its humble abode into a nicer and bigger home – this time via a much classier postal box. Which, quite frankly could have been used to send off a parcel and save me money. But anyway, Google takes precedence.
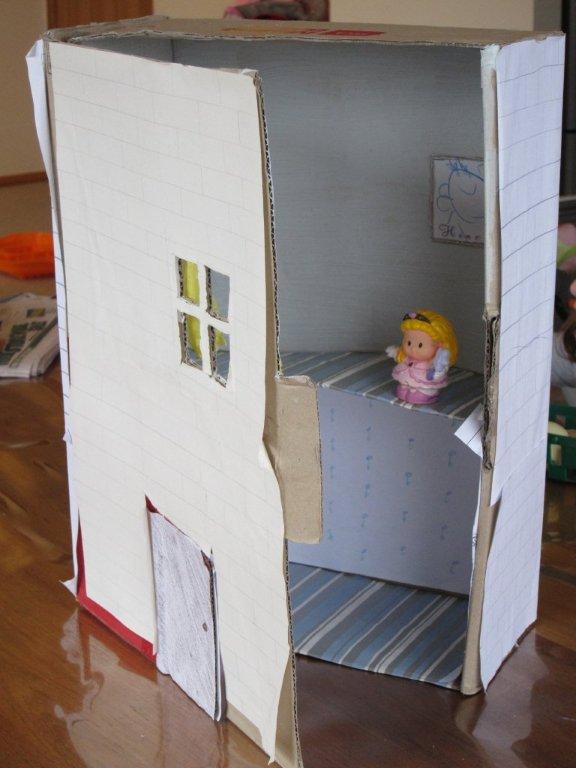
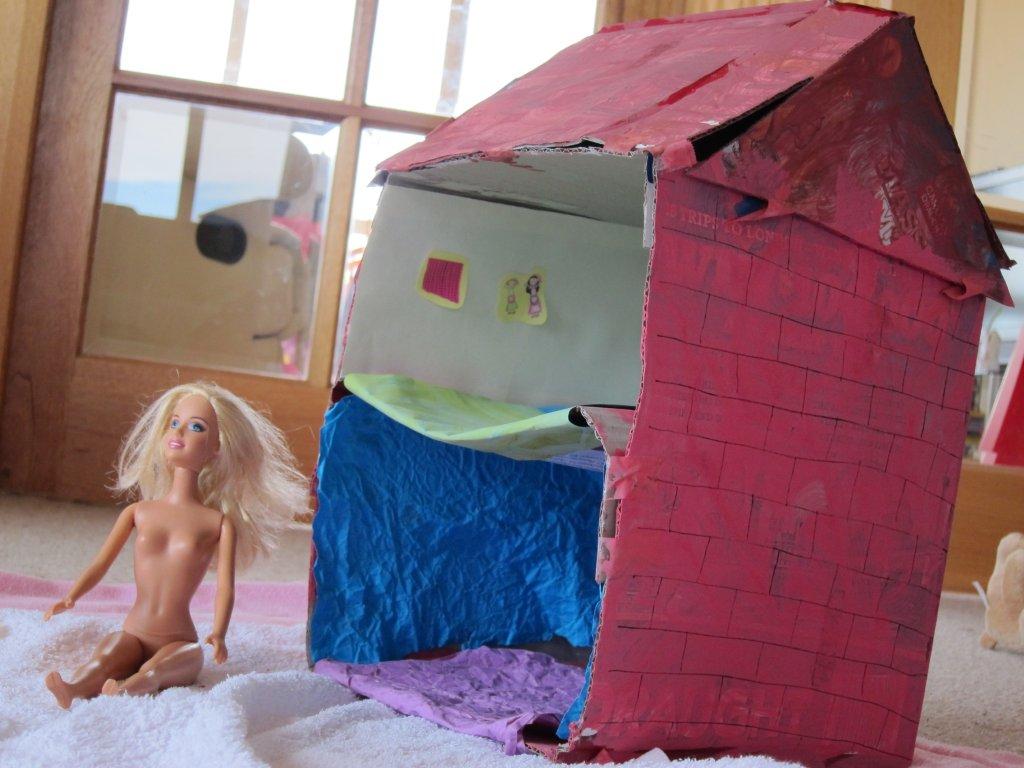
    So, if you came to this blog looking for a doll’s house made out of a cardboard box, here it is:
    doll's house made from a cardboard box
    If you want to see the old one, then make sure you’re sitting down before you check it out. There’s some nudie action happening over there.
    Anyhow, here’s what I know about building a grand doll’s house fit for a princess (as opposed to a bogan, as the beer carton house was):
    • Take a Bx4 postal box (430mm x 305mm x 140mm) cardboard box.
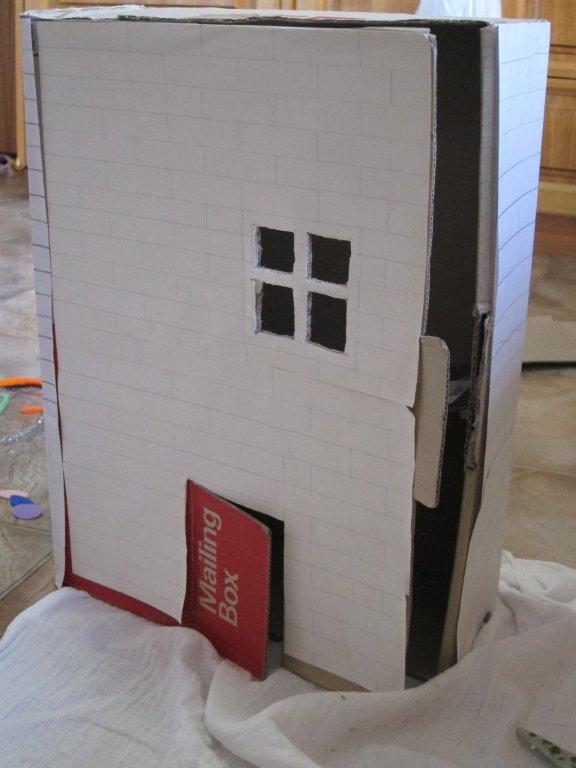
    • Take blank sheets of paper, a ruler and pencil and draw lines horizontally across each. Then make vertical lines between them to make bricks (see photo). Glue these to the entire outside surface of the box.
    doll's house made from a cardboard box
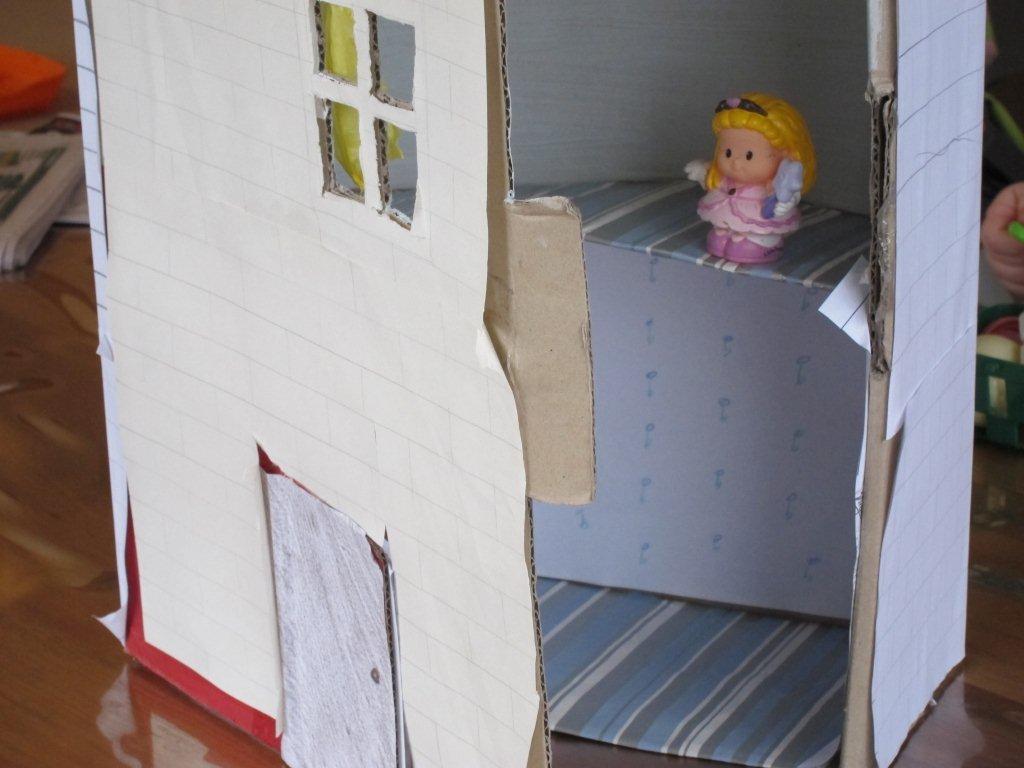
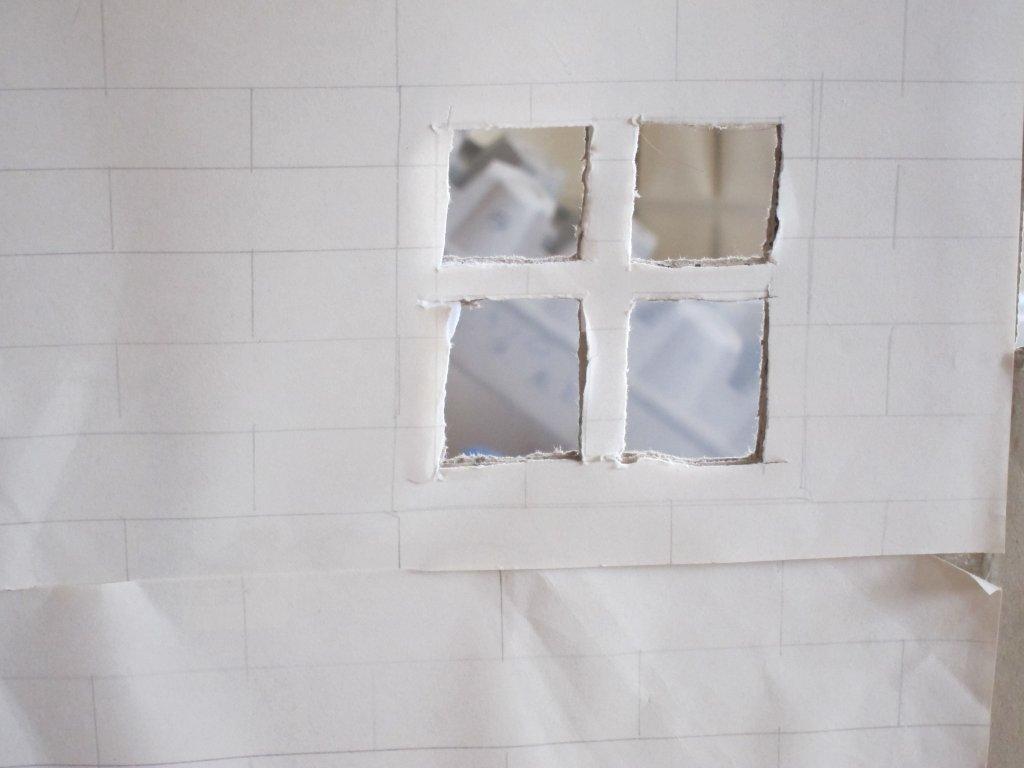
    • Cut a door into the front of the box and draw, then cut out, a window.

    doll's house window

      • Cut out a piece of coloured paper the same size as the door and glue onto the exterior of the door. Repeat for the interior. If you don’t have coloured paper, you can use white paper and colour it in, as we did.
    doll's house made from a cardboard box
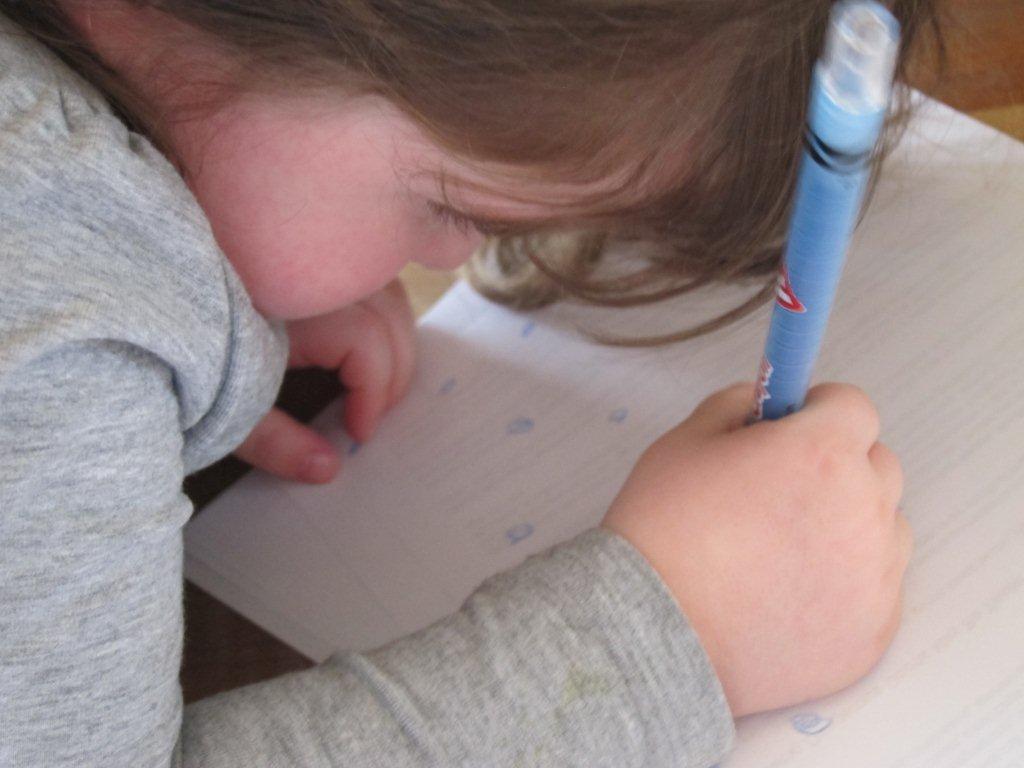
      • For the floor, you can be as creative as you like – felt, white paper with your own pattern, old school paintings or drawings previously destined for the bin, paint or wrapping paper, as we did. Glue in.
    doll's house made from a cardboard box
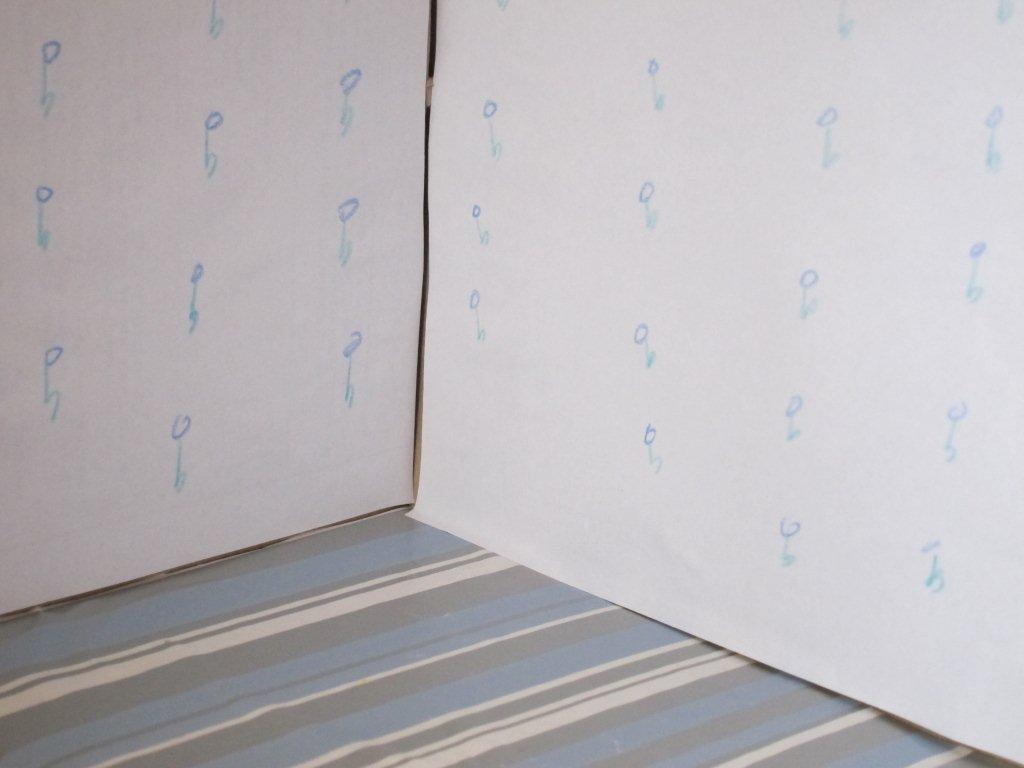
      • The same applies for the interior walls. We went for a mix of our own homemade wall paper using white paper and crayons for the bottom half and a pale blue paint to match the carpet for the top floor.
    doll's house made from a cardboard box
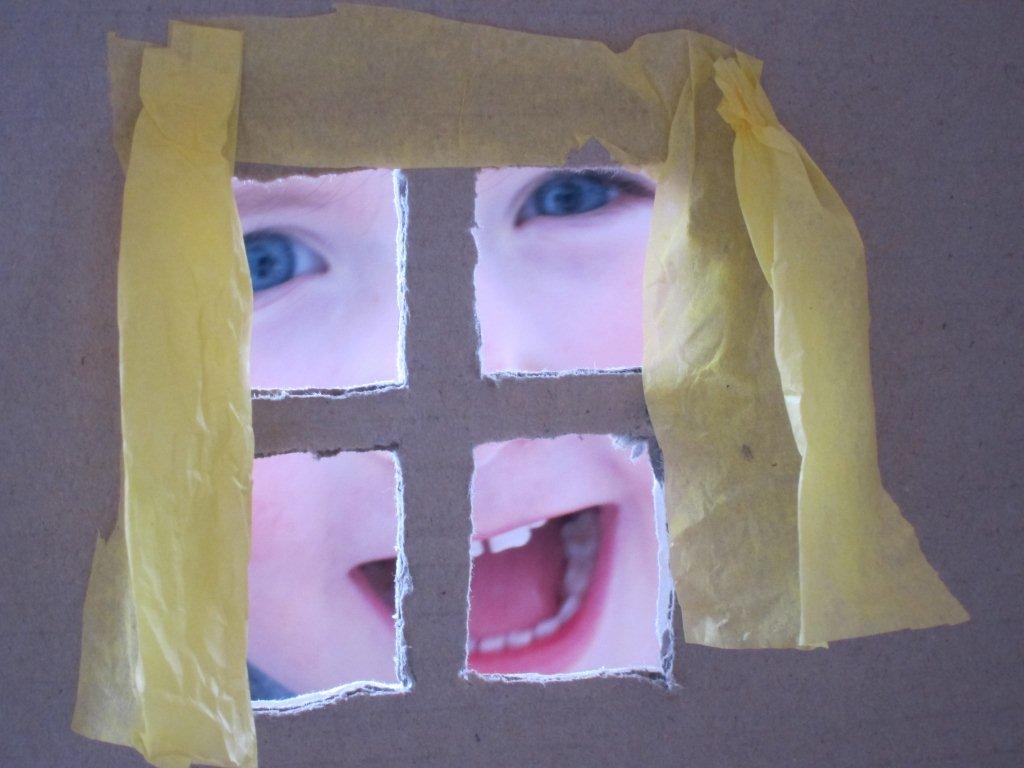
      • Add some curtains to your windows. We used tissue paper, cutting out a square where the window pane would be, gluing it along the top of the window and then scrunching the ends of the curtains to make pleats. You could also use scrap material or cellophane.
    doll's house made from a cardboard box
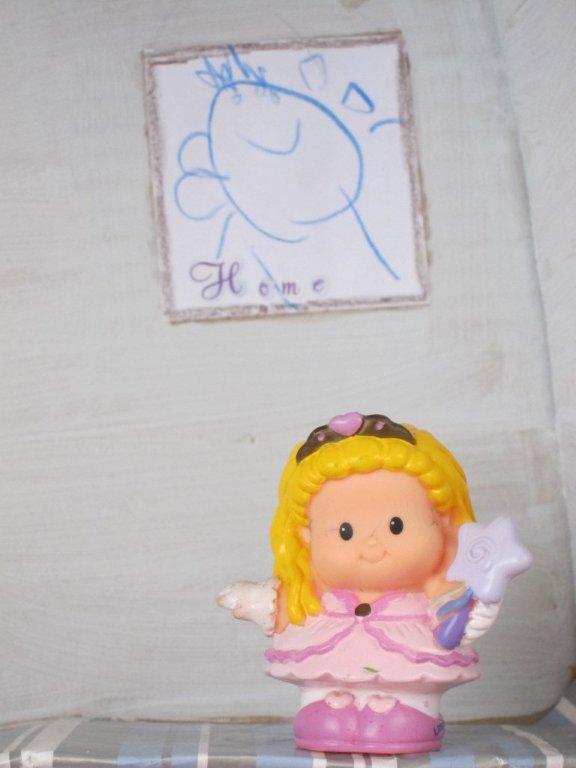
      • Add a painting or picture to the wall. Ella drew a beautiful picture of an alien, then I made a crayon frame for it.
      • Start playing!
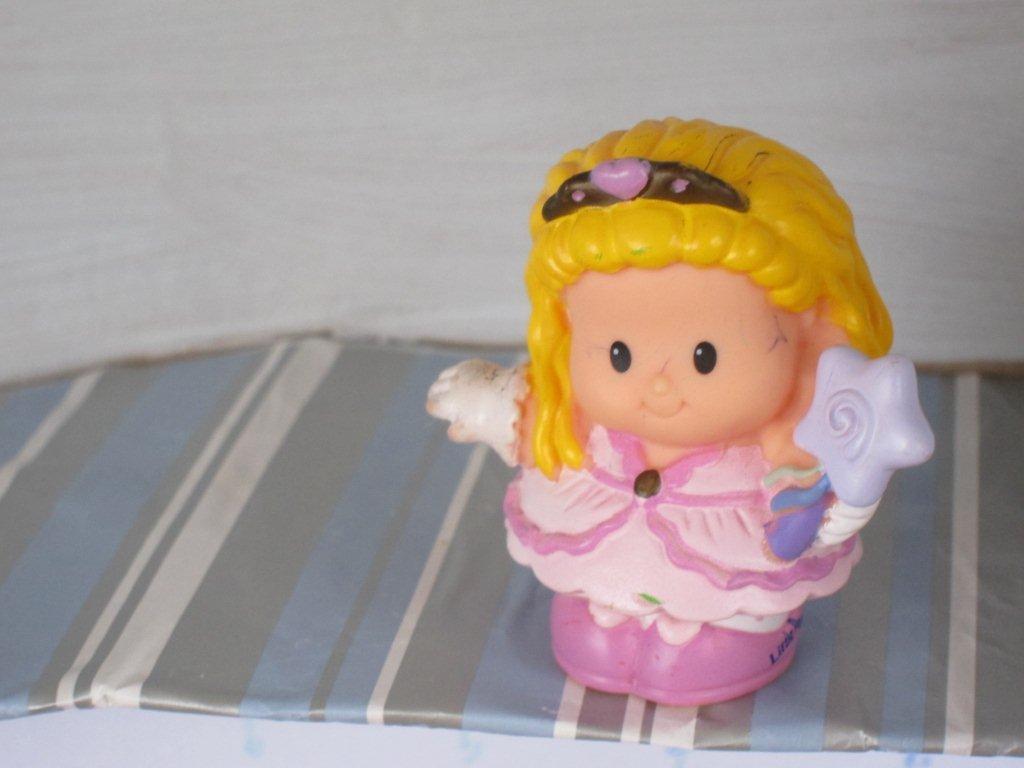
    During the weekend, we’ll be attempting to make some furniture for the Little Princess who has taken up residence in the grand doll’s house.
    doll's house made from a cardboard box
    Do your children play with boxes? What have you made together?
    I’m linking up with Yay for Home as part of Things I Know.
  • CRAFT: How to make a doll’s house

    CRAFT: How to make a doll’s house

    Ella, Dino and the doll's house

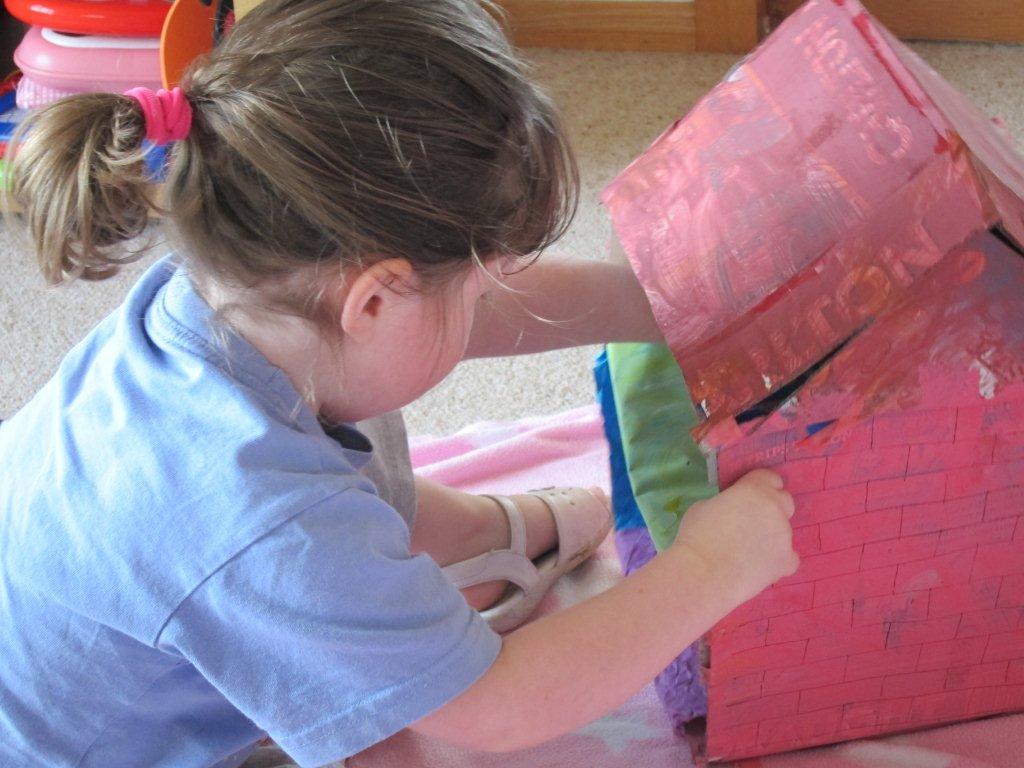
    PRINCESS Ella and I made and painted a doll’s house yesterday… out of a beer carton! Hmm, not sure that’s sending a good message to Ella. Not unless you add a doll’s house dog kennel made from a cigarette packet. Note: Neither of us smoke. And I’m so much classier than beer… sometimes!

    Ella and I took to the craft drawers again, because the budget didn’t quite stretch far enough to include a grand three-storey doll’s house for the now dreaded October to December Birthday-Christmas period that will forever overwhelm us. We are now accepting donations for the annual Help Save the O’Brien Family From End of Year Financial Ruin!

    But anyway, back to the doll’s house. Apart from the second floor sagging, the paint scheme including a wonderful mix of a brown roof with pink walls (Ella’s choice) and it having no windows, it looks a treat.

    Sort of. Actually, truth be told, I’ve refrained from photographing it up close because, well, it looks like something from UglyHomes.com. There’s a reason Rome wasn’t built in a day, because it would have looked like this otherwise. It’s certainly not up to Barbie’s usual standards.

    Although, judging by this photo, Barbie clearly doesn’t have standards.

    The main thing was we had a great time and it’s now her favourite “toy’’. Why do we bother spending a few hundred dollars on a grand whizz-bang kitchen when she can have a beer carton doll’s house?

    Here’s how we made it:

    1. Take a cardboard box (preferably not one that’s housed alcohol) and cut away any flaps.
    2. Cut a piece of cardboard that’s the same depth as the box and 4cms wider at the sides. Fold 2cms down at each side and slide it into the middle of the box and glue or sticky tape it in to make a “second floor’’.
    3. Cut a piece of card the same width as the box and with enough length so when it’s folded in half it makes a triangle roof. Glue or sticky tape this to the top of the box. Then cut out triangles for the ends of the roof and glue these on.
    4. Paint the roof and walls of the exterior (preferably the same colour, unless you have a child who’s not afraid to experiment). Add “brick work” with a black texta.
    5. Either paint the interior walls or create your own wall paper and glue in. We used old paintings and drawings Ella had done that were originally destined for the bin.
    6. Use scraps of material or further art work for carpet and glue down.
    7. Get out your child’s favourite dolls and teddies and start playing.
    8. Now to make some furniture… That post’s to come.

    What’s your child’s favourite toy?

    NOTE: A much grander version of this doll’s house has since been made.

  • FEATURE: These ‘ere Tassie devils went a-huntin’

    FEATURE: These ‘ere Tassie devils went a-huntin’

    THE long weekend for the O’Briens was mainly spent a-huntin’. It began by hunting for choccie throughout the house, which resulted in numerous high pitched squeals. And that was just from me.

    The night before Easter Bunny’s arrival, the Bloke in The Shed and I placed eggs around the house, each with a clue to the whereabouts of the next egg in the hunt. Because Ella can’t yet read, I drew pictures of the locations – the bath, her kitchen, the drawers.

    Julian had this to say on Facebook afterwards: “Just set up the Easter egg hunt under Kel’s instruction. Poor Ella, think she’s gonna need a bloody GPS in the morning’’.

    He can’t deny though, that it helped make the excitement of Easter morning last that much longer. The highlight was later that day witnessing Ella view the video of the morning’s hunt. She continually kept telling the video version of herself where the eggs were. “No Ella, look in the other drawer. Yes, that one. Quick, open it. Yay! Well done, Ella.’’
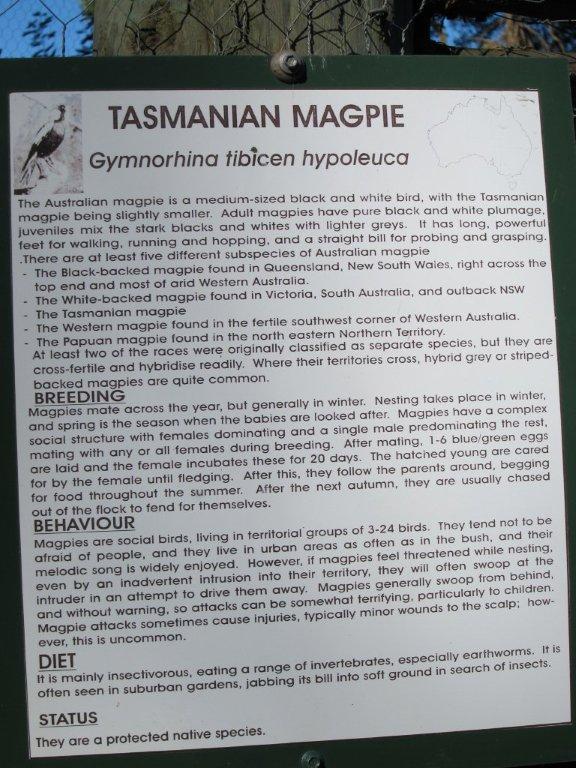
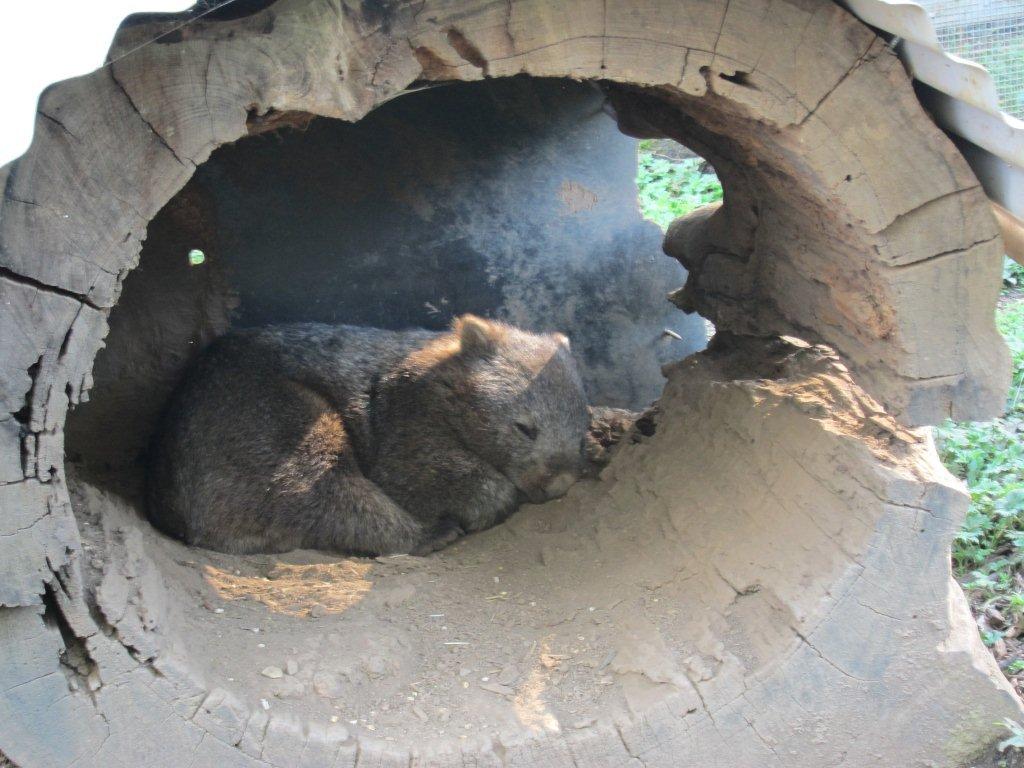
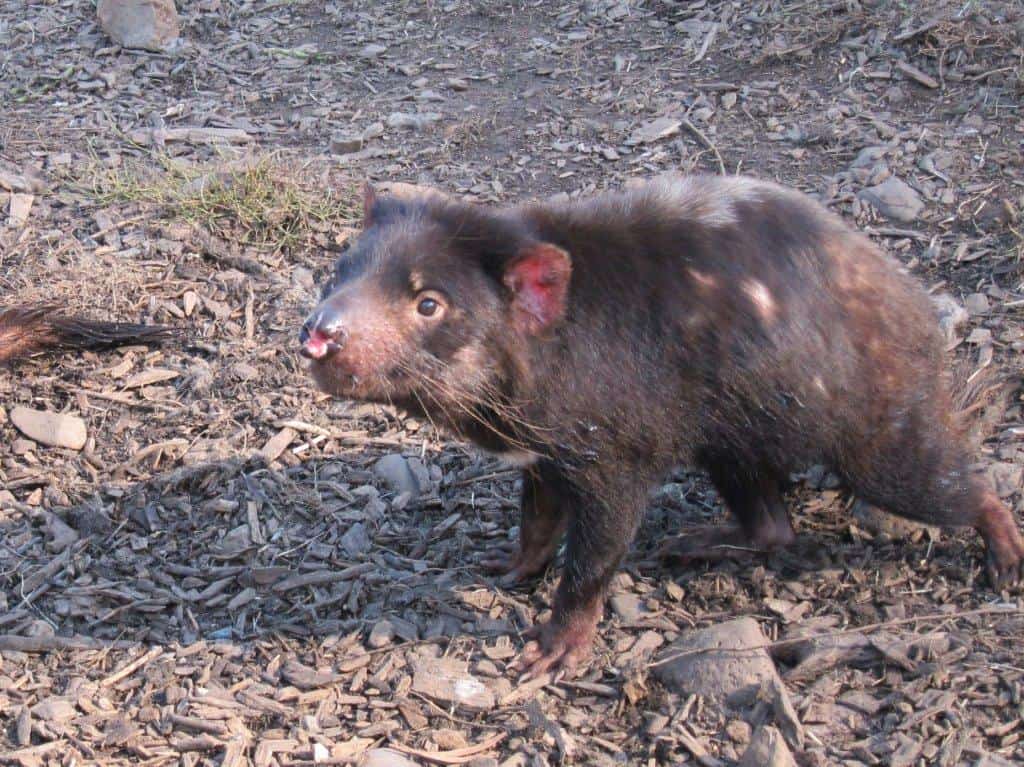
    That afternoon, we headed off to visit her Nan who was camping at Wing’s Wildlife Park in Tassie’s North-West community, Gunns Plains. As the name suggests, the park has wildlife, with everything from buffalo to wombats and monkeys.

    Oh, and devils, of course.

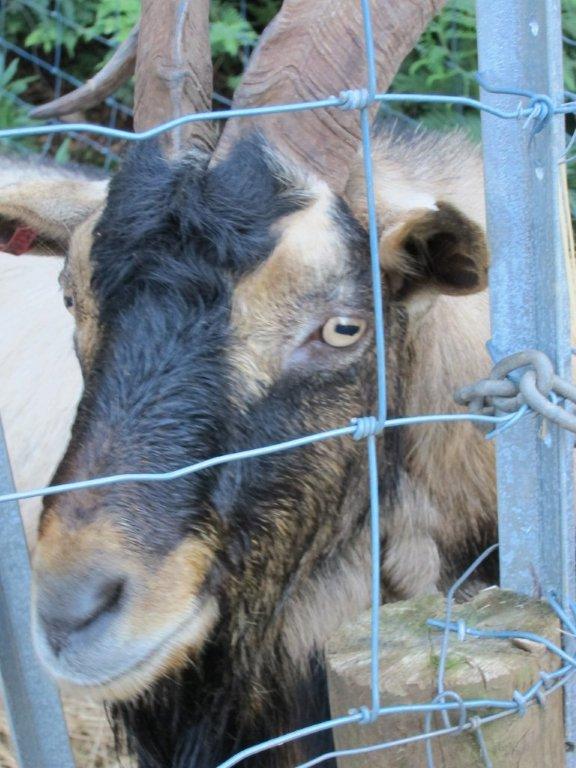
    And a goat.

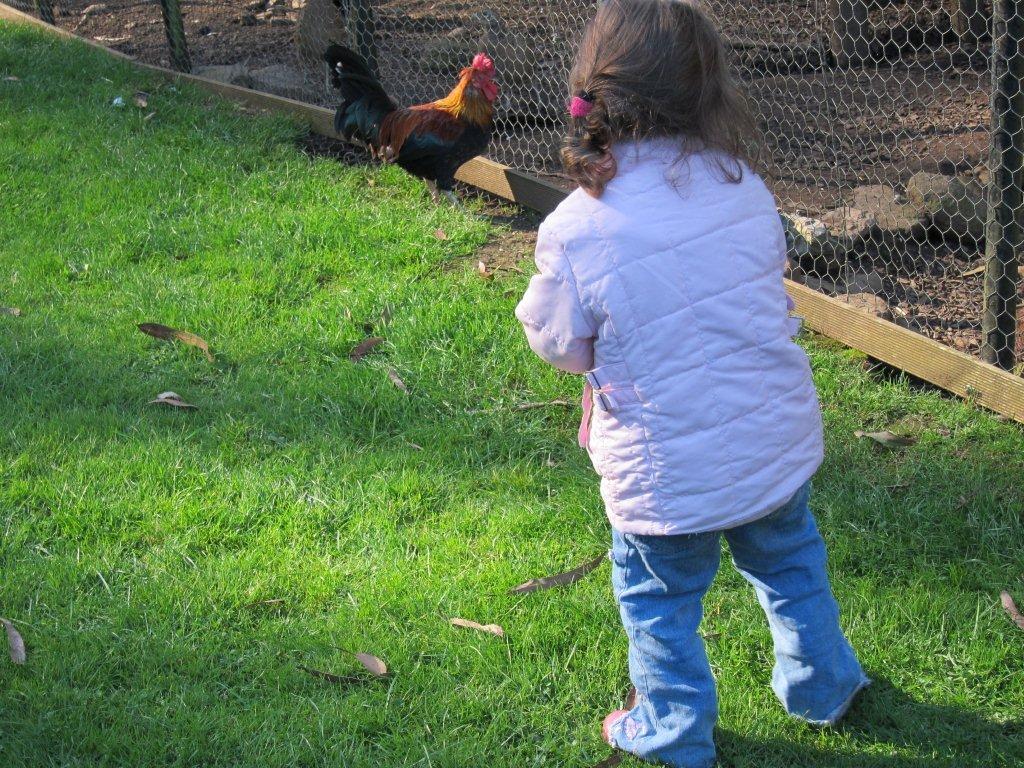
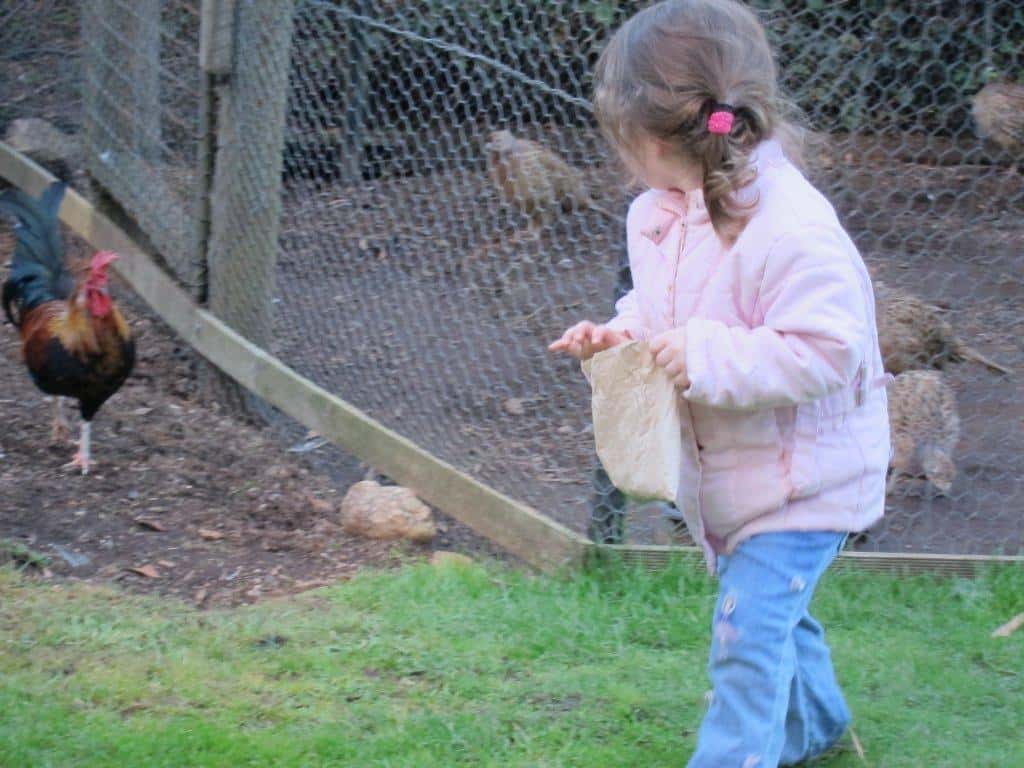
    Here we went a-huntin’ once more, which resulted in numerous high pitched squeals – again. The first squeal was from Ella when a roaming rooster started chasing her after she decided to “feed the birds’’.

    The experience didn’t quite live up to the Mary Poppins moment.

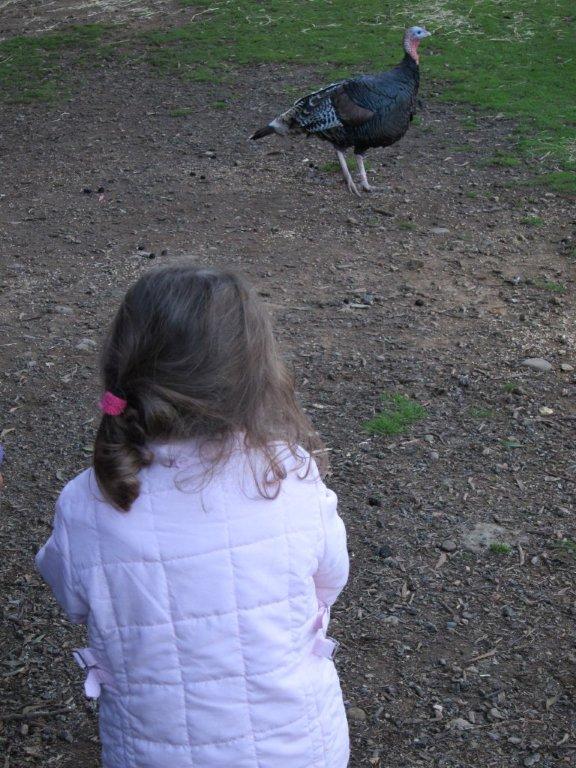
    Then there was the turkey, which could obviously smell that we’d just devoured one of its mates for lunch. Not a happy camper.

    The next squeal was courtesy of the Bloke in The Shed, and Collingwood supporter, who found a plaque dedicated to him.

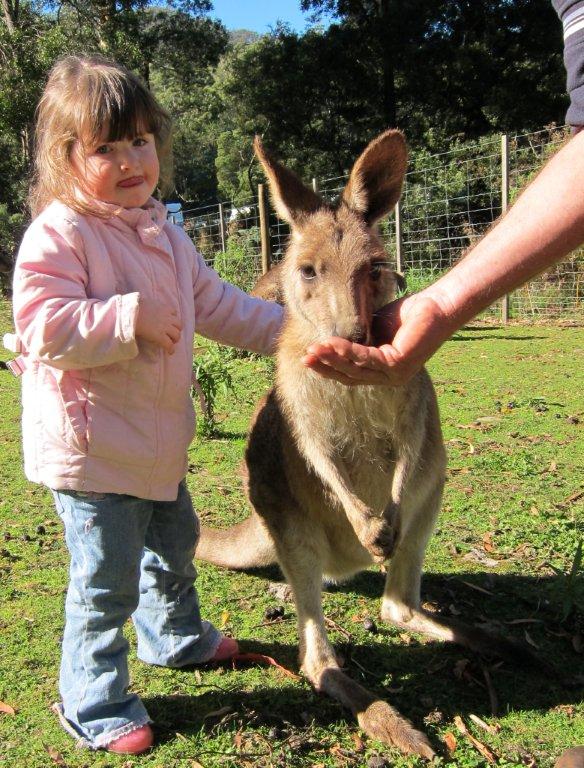
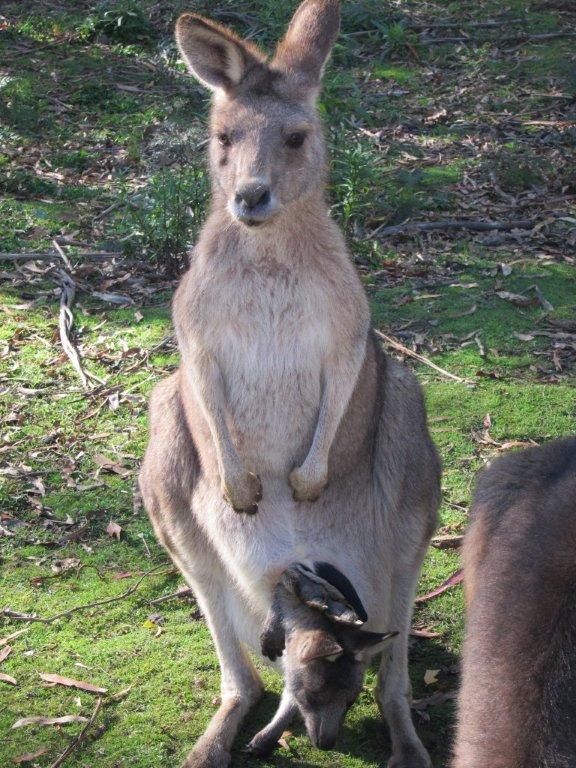
    The highlight, apart from some rather hungry looking Tassie Devils, was a kangaroo with a joey in her pouch. Ella, quite loudly, informed everyone how: “it’s got a baby hanging out of its bum, hasn’t it Mum?’’. Ah, not quite, darling.

    So, how did you spend the long weekend? Did you go camping, visit a local attraction, spend it with friends and family or relax at home (if you can call staying at home with kids relaxing!)?

    Linking up with FlogYoBlog Friday over at Where’s My Glow?
    FYBF