threelilprincesses.com

Tag: how to

  • MEDIA: Working with PR

    MEDIA: Working with PR

    TODAY I hosted a live chat on Working with PR for bloggers on Digital Parents. Thanks to some fabulous questions and contributions from those who took part, there was far more covered than what’s in my notes below. However, this will at least give you a good idea of what took place.

    So, here we go…

    I have a pretty broad topic to tackle, so will try and offer a handful of tips for 1. Dealing with PR pitches that come into your inbox; 2. Approaching PR/businesses to gain reviews and giveaway opportunities; and 3. How to do your own free PR to get publicity for your blog.

    Please ask questions if you either want to know more or don’t understand something (that applies to anyone reading this blog post too!).

    I confess, I’m not an expert!

    • Firstly, dealing with PR pitches that come into your inbox.

    OK, so we all know some PR companies haven’t been trained in working with new media – ie bloggers. So PR and bloggers need to work together, not against each other.

    If a press release comes through and it has no call to action (ie review or giveaway opportunity), they’re asking for you to do a post on their release. This is how PR and the media work.

    You’re welcome to run it as a news item or part of a post based on that topic/item, of course. However, I know most of you don’t want to. I, for one, don’t.

    One of the best ways to respond is to thank them for the email and let them know that, because it’s a personal blog about your family’s life, you don’t do product release news. However, you’d be happy to discuss doing a review of your family’s experience using the product, along with a giveaway if interested (if that’s what you want to do).

    If you get sent goods from a PR peep without asking for it, you’re not obliged to do a post about it or even send it back. This is just how things work.

    Don’t be afraid to say “no’’. It’s hard, I know. But most PR welcome people being honest and upfront with them, rather than pussy footing around (am I allowed to say that?). You are the writer, editor and publisher of your blog. You set the rules.

    If you want to be paid for your post (ie a sponsored post), don’t bother asking the PR person. You’ll need to approach the media and advertising agencies for this.

    • OK, now onto approaching a PR biz to gain review/giveaway opportunities.

    Don’t be afraid to ask, or the answer’s no anyway. If you want a review copy, ask for one. If you want a giveaway, ask for one. You have nothing to lose.

    After a previous DP discussion I started on gaining review-giveaways, I was asked a lot about what to say in the email. Basically, introduce yourself, your blog and your stats. Let them know you love their product and ask whether they’d be interested in your reviewing it and doing a giveaway. It’s as simple as that.

    It’s also worth mentioning you’ll spruik about it via your social media accounts.

    ALWAYS send them a link once it’s live on your blog and a follow up one once it’s drawn. PR especially deal with lots of different media, so they can’t chase up everyone’s sites/publications to see what was run. Make their job easier for them. They’ll then be more willing to work with you again.

    • LASTLY, how to do your own PR to get publicity for your blog in the media.

    One of the biggest questions is: I don’t have a story to sell. You’d be surprised how easy it is for you to do your own publicity.

    Here are just a handful of story ideas, but there are literally hundreds out there. I’ve done a few posts on it.

    • Release a statement with your viewpoint on a news item. For eg, statistics have revealed there are now more mummy bloggers than any other type of blogger. This is a perfect opportunity for you to pitch yourself to the media as a mummy blogger. It also sets you up as being an expert in the field and, next time that media outlet wants to do a story on mummy bloggers, they’re more likely to come to you.
    • Put a poll on your website or blog or set up a survey. If you gain a significant number of responses to your question, use those results to craft a media release revealing the results.
    • Host a major charity event or raise a large amount of money through your blog and donate it to a worthy cause.
    • Use the skills you have to create a free class or demonstration for your local community. This allows you the opportunity for a preview story and coverage on the day. And don’t say you don’t have a skill – I read your blogs, remember!
    • Enter yourself into state, national and international awards. If you win, it’s an opportunity to gain media exposure. The bigger the award, the greater the chance of a story.

    You’re probably thinking these aren’t Madison and Marie Claire worthy stories. The problem with pitching that high (and good on Sunny Mummy!), is there is major competition for the few spots they have each month. I’m not saying don’t pitch to them, but the greatest success you’ll have is with your own local media. You only need a simple PR plan to get started.

    Local media love championing their own!

    Don’t be deterred pitching to the media because you don’t know how to write a press release. Try a media pitch instead. This is a short letter that’s used as a teaser to your story – it doesn’t give them all the information, but enough for them to want to contact you to learn more.

    I’ll wrap this up with three points:

    1. You must have news.  ie. You’ve just won an award for blogging.
    2. You can invent news. ie. Hosting a charity. Although, even more spectacular would be jumping a canyon, a la Evel Knievel.
    3. Attach yourself to existing news. ie, … well, just keep your eye on the news!

    FREE COURSE

    Click the image below to learn how to make money from blogging in this 7-day mini course
    Click Here to Start

  • How to make a ballerina card for a *ahem* dad’s birthday

    How to make a ballerina card for a *ahem* dad’s birthday

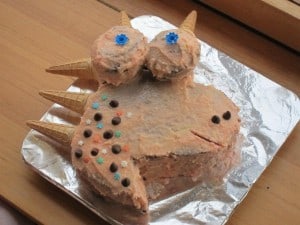
    AS I sit here eating a piece of pink dragon chocolate cake, it seems timely to share what little gems The Bloke in The Shed received for his birthday. And what little gems they were. So, of course, first there was the pink dragon cake.

    Now what man doesn’t want one of those for his birthday? It was either this or a butterfly cake. Both suggested by this person…


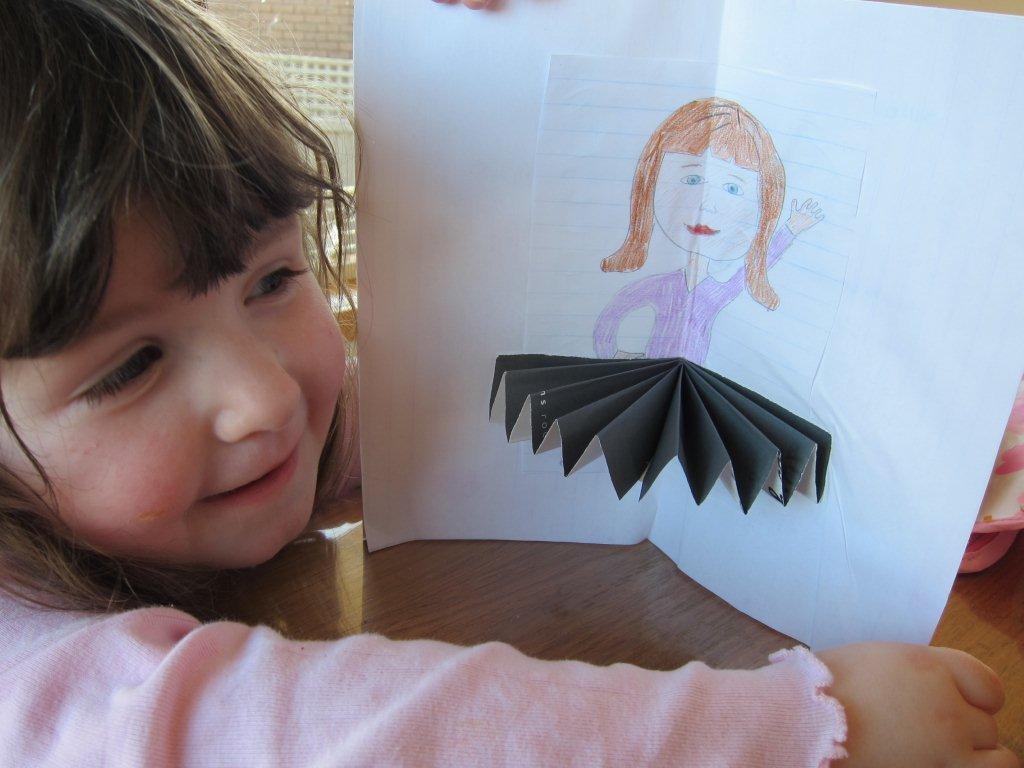
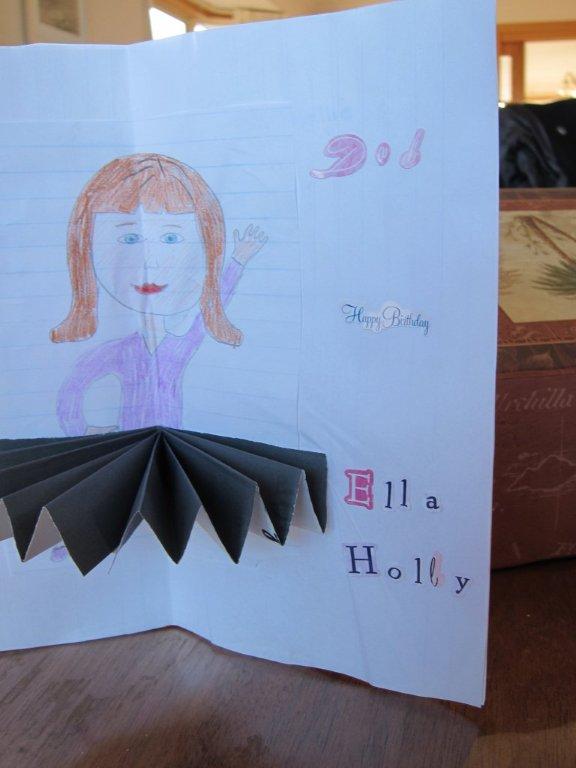
    Then there was the utterly delightful pop-up card.

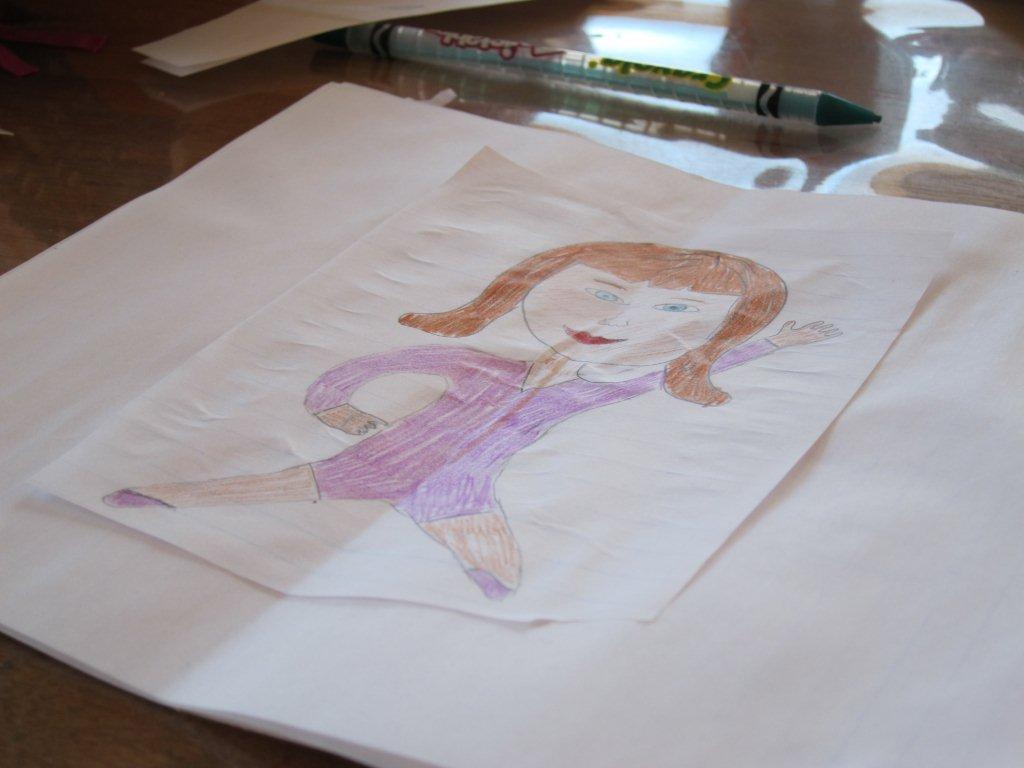
    Yes, complete with ballerina. The ballerina is apparently Ella. Although she’s more like an elephant than a ballerina when she dances.

    I know, you’re all just dying to learn how to make it. Right? Well, here’s the step by step instructions.
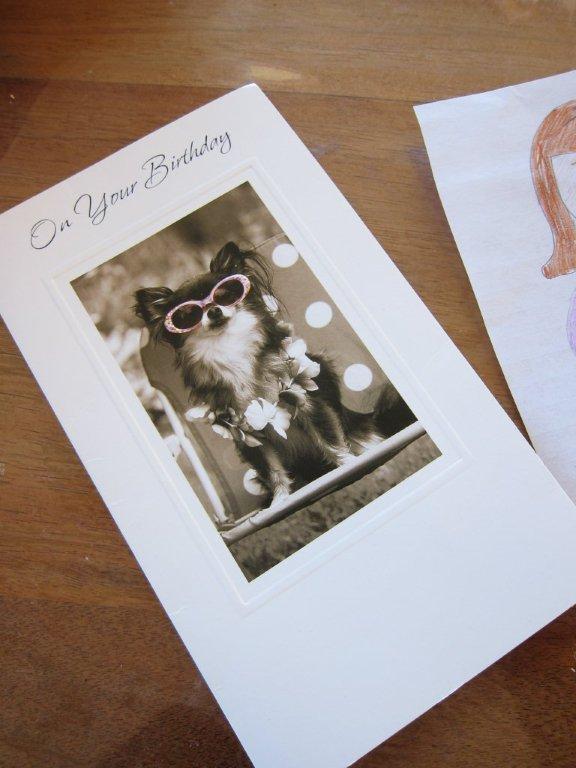
    1. We used an old birthday card addressed to me.
    2. We glued paper on the inside to hide the original message (which was lovely. So thanks to the person who gave it to me).
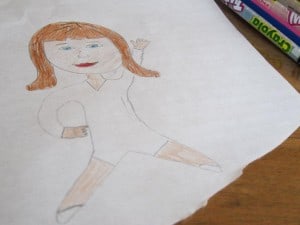
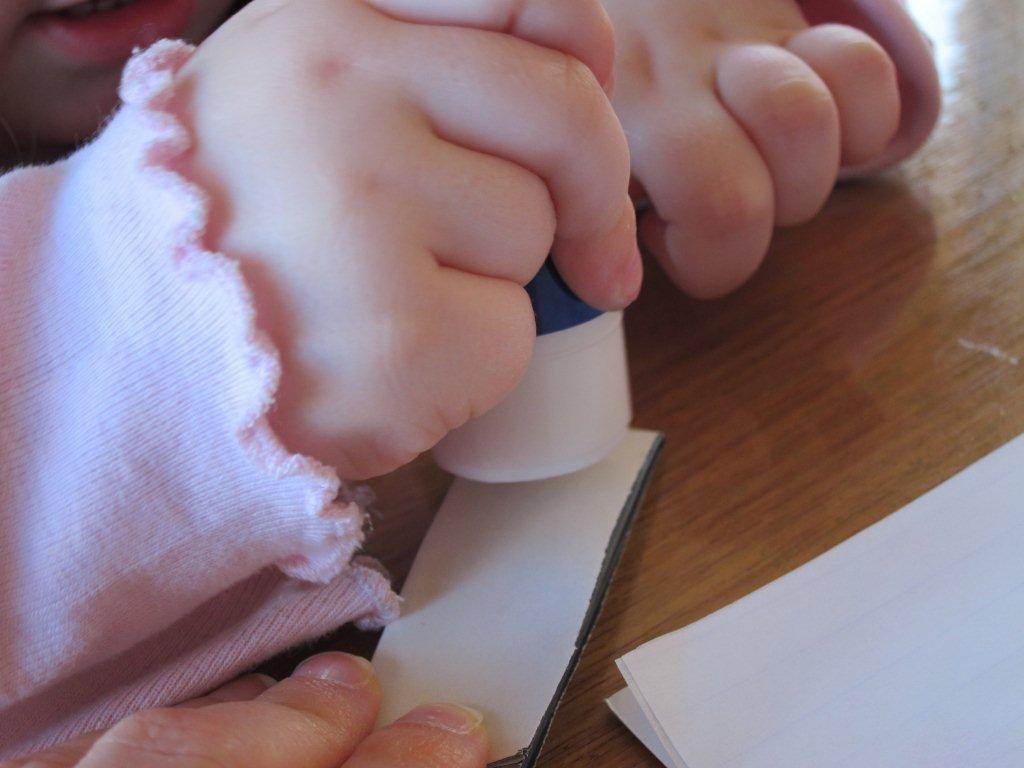
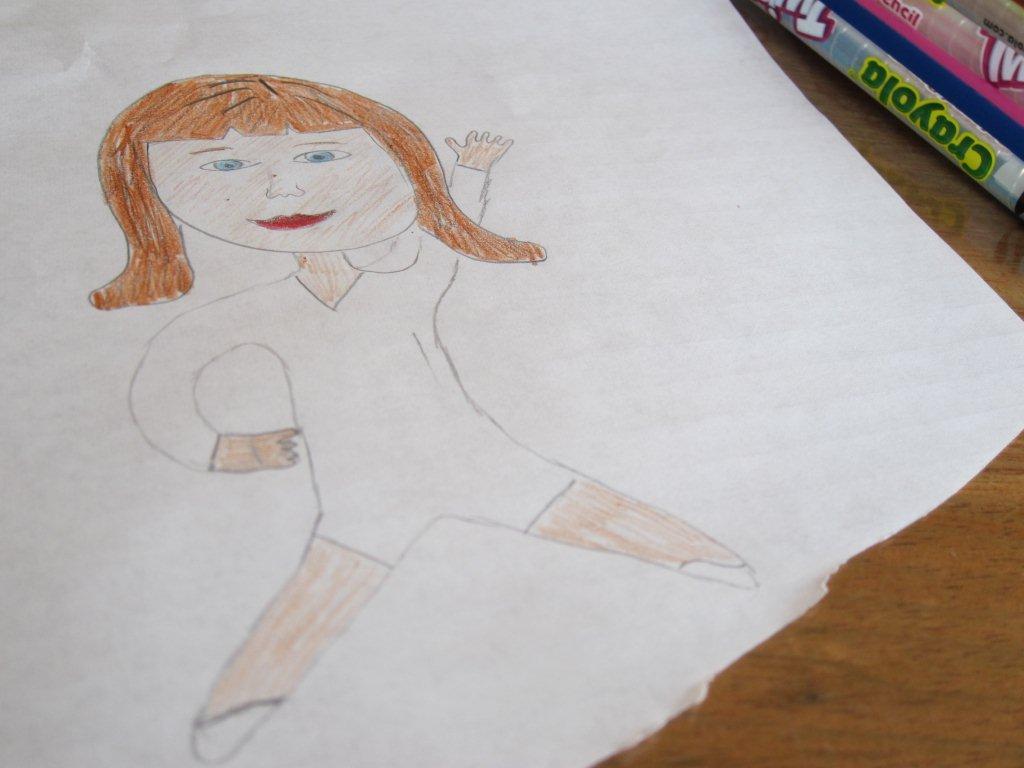
    3. Then we drew a picture of Ella in a leotard. Then stuck it inside the card.
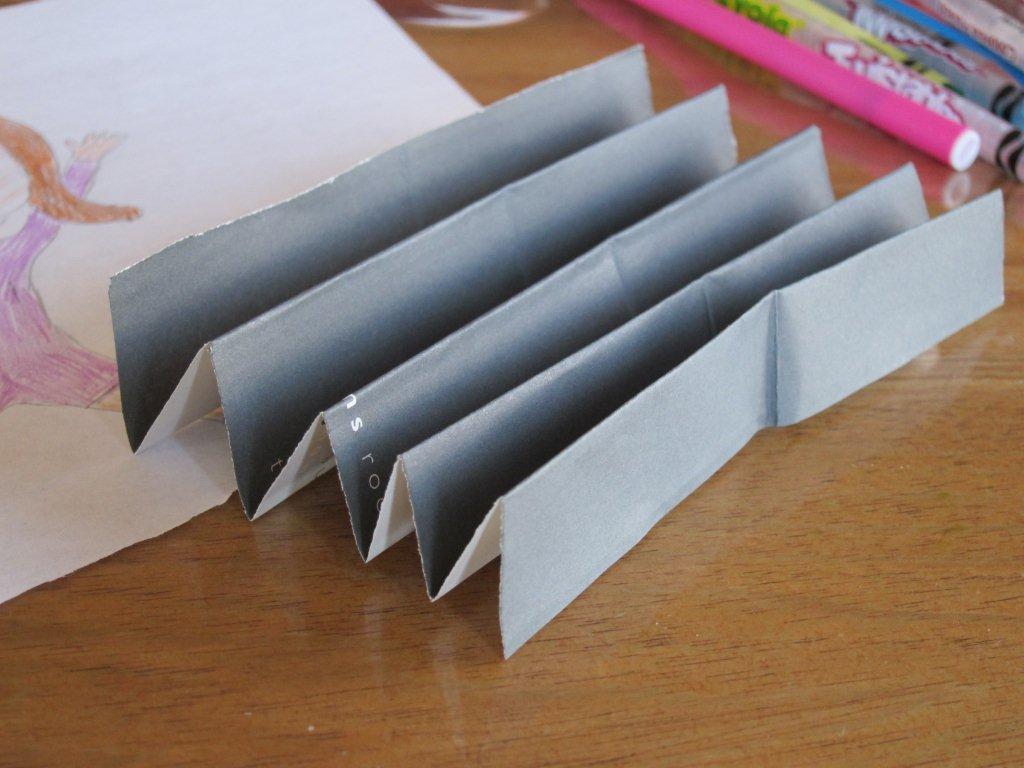
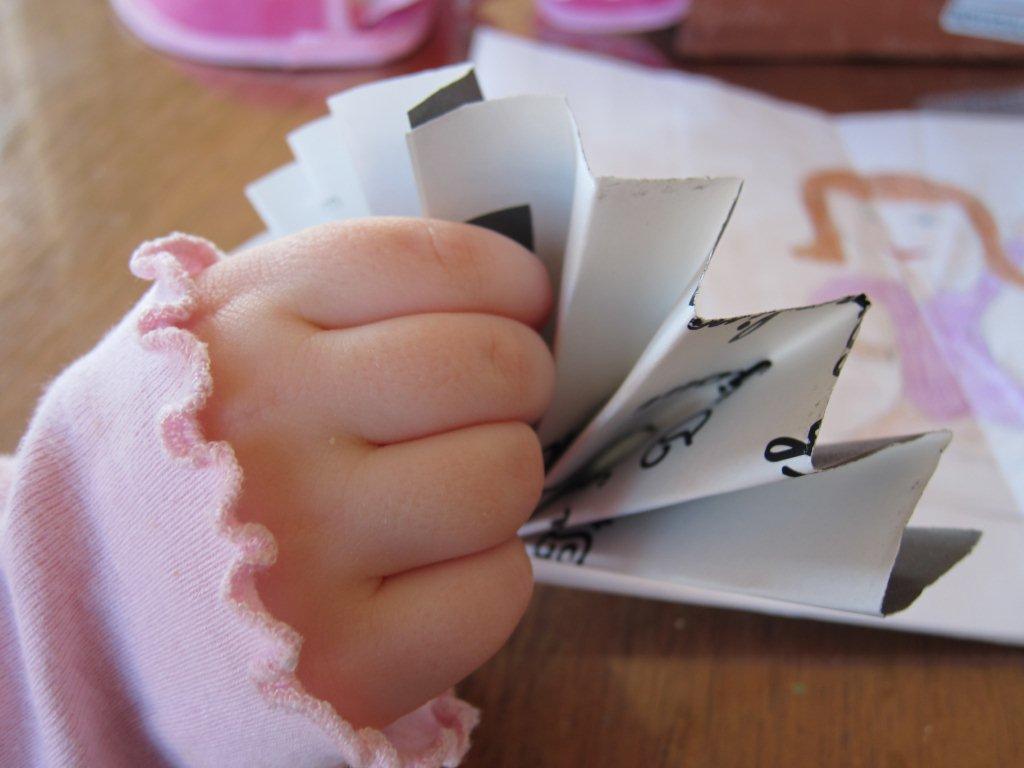
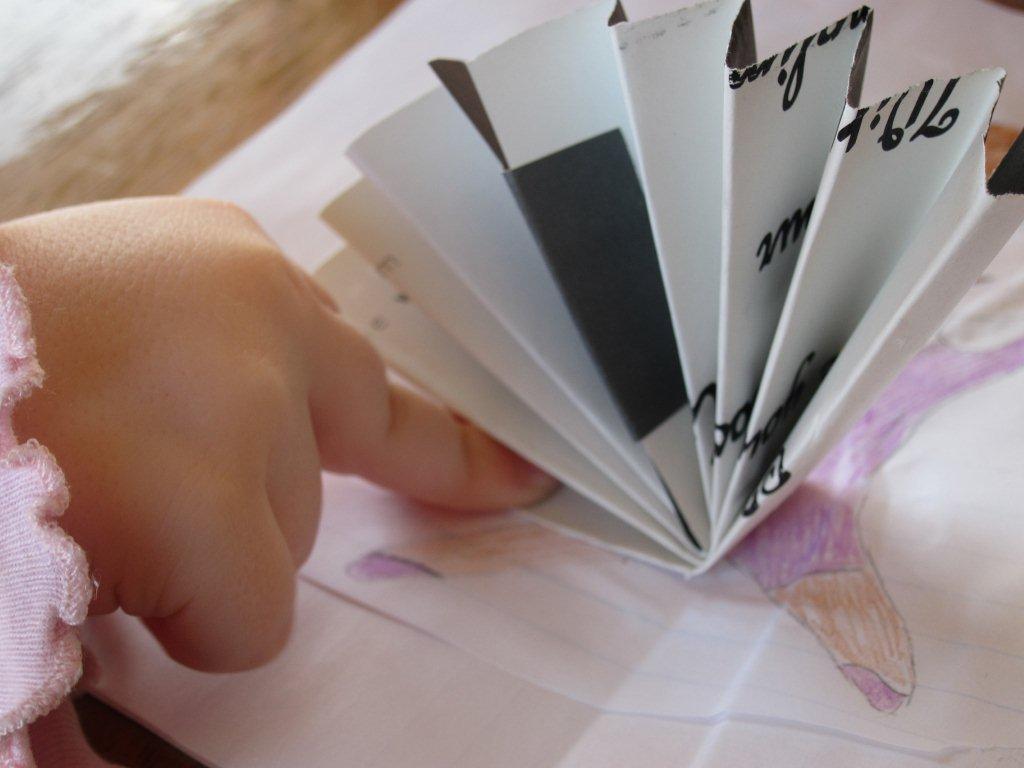
    4. Next was to make the tutu out of coloured paper, by folding the paper like a fan. First fold 1cm, then turn and fold back onto itself. Rinse and repeat. Glue one end together, leaving the other end to glue into the card.
    5. Stick in the tutu and whar-la (hmm, not sure that’s how you spell that) – a beautiful pop-up ballerina birthday card. Complete with some letter stickers!

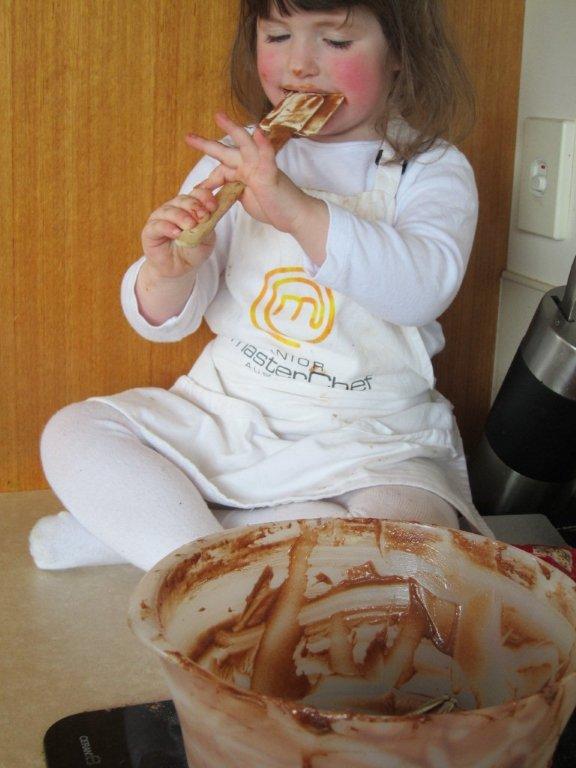
    Here are the steps in picture form for those who are “visual people”.


    What special homemade gems do you make for birthdays?

  • WIN: Aussie Giveaway Linkup + How to write a good product review

    WIN: Aussie Giveaway Linkup + How to write a good product review

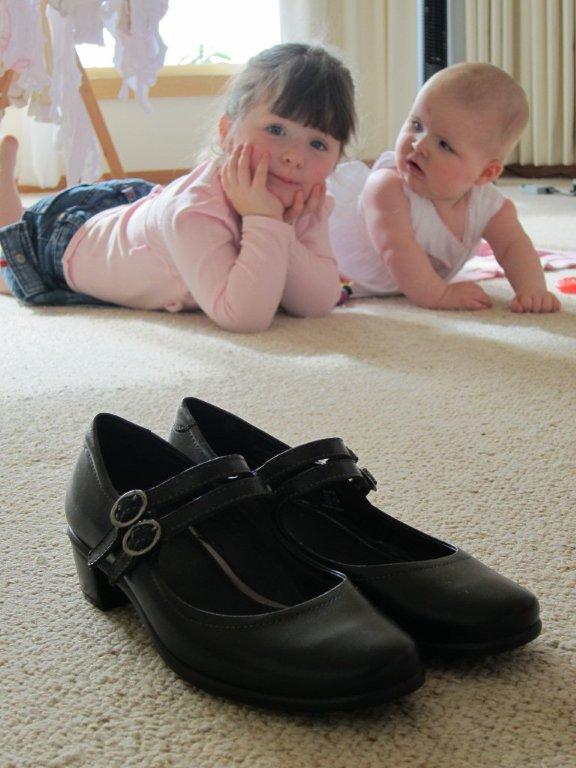
    Ella and Holly eyeing off a pair of shoes I got to review.

    IT’S Aussie Giveaway Linkup time already. I know. Where did the week go? This week I thought I’d share five tips for a good product review.

    • Write a balanced review. Remember, most reviews will include some degree of constructive criticism. Very few things in this world are perfect, so there is always room for improvement. It not only increases the believability of your review, but it also builds credibility for you as a reviewer.
    • Provide a thorough description of the product – size, price, features, targeted audience, colour range, stockists etc.
    • Be personable. People want to hear what you think and how it was applied to your life. They don’t want to read what was in the press release. They also want to hear “your voice’’, so don’t change your usual writing style.
    • Use a photo to illustrate the product. People like to see what they’re getting and especially if the photos is of you (or your kids) using it.
    • Disclose what you received for doing the review – product, money, airfares to BlogHer (OK, that was someone else, not me!).

    If you’re a blogger or business owner with a giveaway you want to link up, please read the below. For readers, simply start clicking the links and enter. I’ve got my lucky hat on this week. Fingers crossed…

    If you’re a blogger wanting to take part in the Aussie Giveaway Linkup:

    1. Only link directly to the giveaway post/s and include the prize and end date in the linky tool below. Link each giveaway separately.
    2. Giveaways must be open to Australian residents.
    3. Grab the button to add to your post.
    4. A new list is added each Sunday so bloggers need to add their links weekly.
    5. Start entering the giveaways!

    This linkup is a combined project with the wonderful Tina Gray, so don’t forget to pop on over and say hi. You can link up your giveaway on either of our sites – it all goes into the one linky.


    Aussie Giveaway Linky
    Hosted by Three Lil Princesses and Tina Gray {dot} Me


  • FEATURE: Hunt is on for Easter Bunny

    FEATURE: Hunt is on for Easter Bunny

    THE countdown to the fella with the fluffy ears and tail is well and truly underway here. So much so, we spent yesterday getting in the spirit of Easter. For morning tea, we indulged in chocolate hot cross buns. Later that afternoon I looked in the mirror, only to notice I had it all around my mouth. No wonder the mailman wouldn’t look me in the eye.

    We then scoured the pantry with the intention of making some Easter Candy Bark but, alas, there was no chocolate. Some gremlin ate it all while blogging late at night. Hmmm, who could that be?

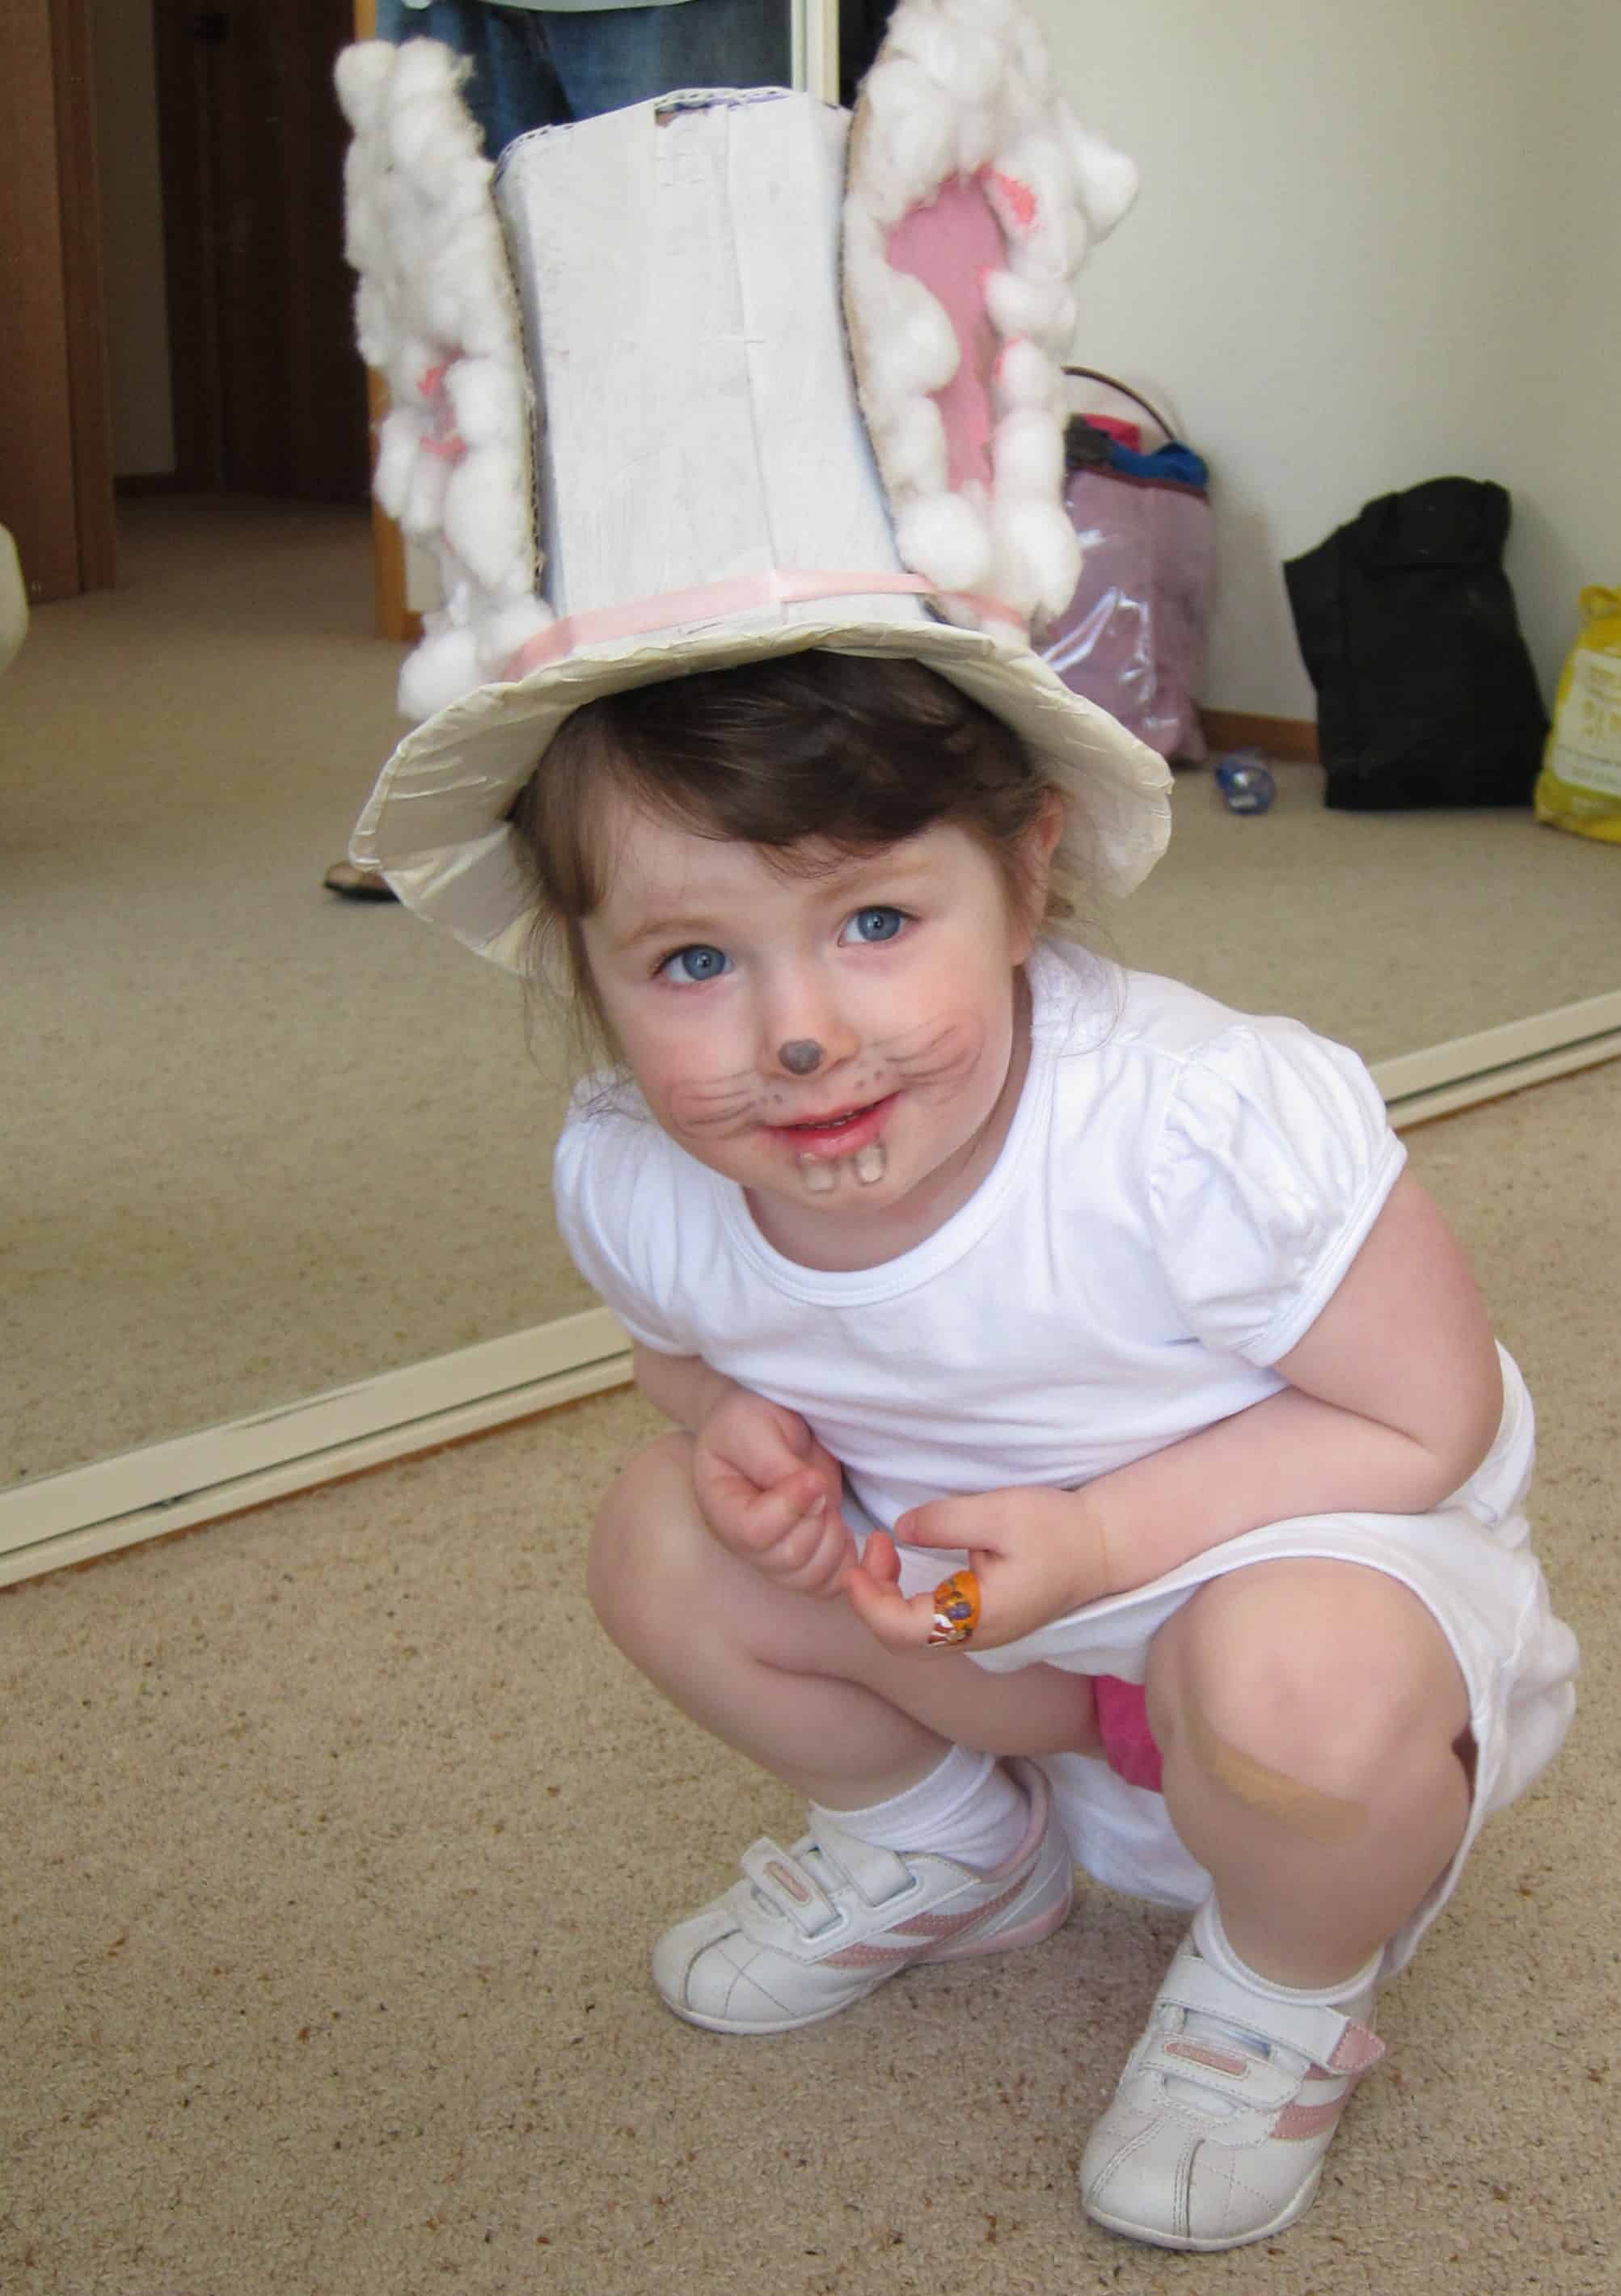
    Instead, we went and got out this little creation made by her dad back in January.

    White Rabbit-come-Easter Bunny

    A couple of weeks ago this very hat became rather famous after making an appearance on Mrs Woogs’ blog Woogs World. She sent a call out for Easter hat creations, so I submitted the above photo (yes, they are pink undies) and this description:

    Princess Ella, wearing her bunny hat, painstakingly made by her dad, (painstaking, because it’s held together with a pink ribbon and 1000 staples). He originally made it as part of a one-year-old’s Alice In Wonderland birthday party in December (yes, that’s one serious birthday party). Ella, obviously being the white rabbit. Not really the crafty type, hubby was so impressed by his own efforts he put it away ready to reuse at Easter

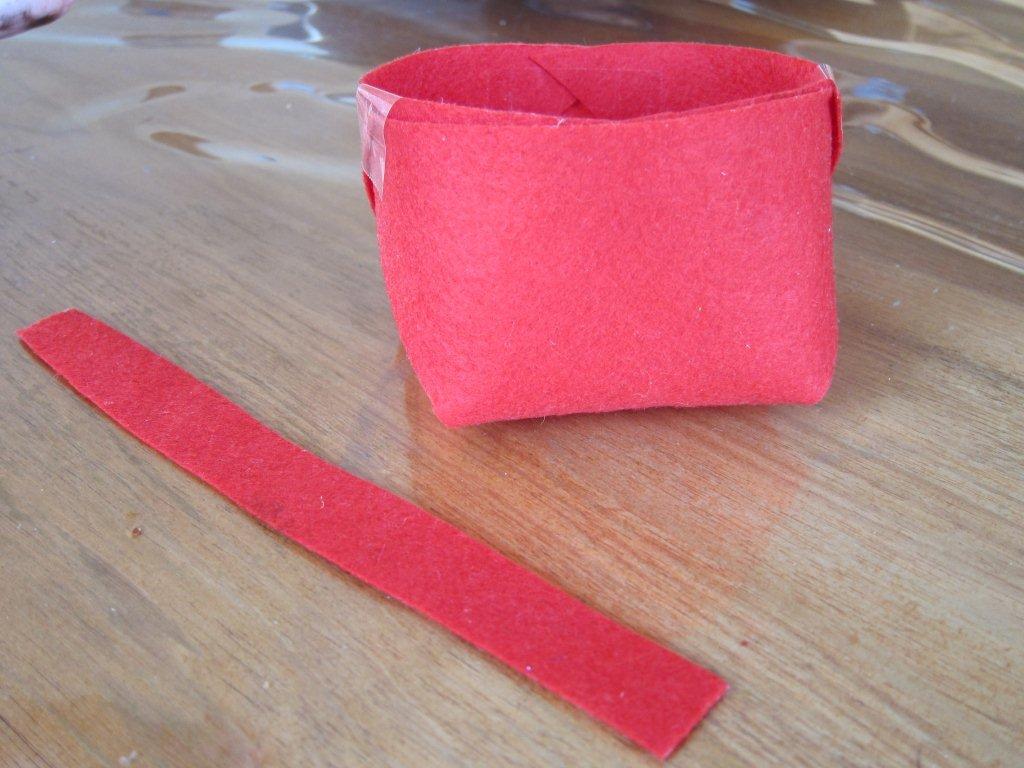
    But this all wasn’t quite enough. We needed to make something “Eastery’’ and so we headed to the doodle drawers – I mean, craft drawers – and discovered some red felt. The idea was to make a basket to put eggs in during her Easter egg hunt to come Sunday morning.

    Ella got into the spirit of things by donning the hat while we did our craft. But be warned, she ain’t no Easter Bunny. She told her dad this week she can’t use a proper toilet seat. Why? “Because I don’t have a big fat bum’’ You see? How on earth could she be an Easter Bunny? (And, by the way, she takes after her Mum in that department).

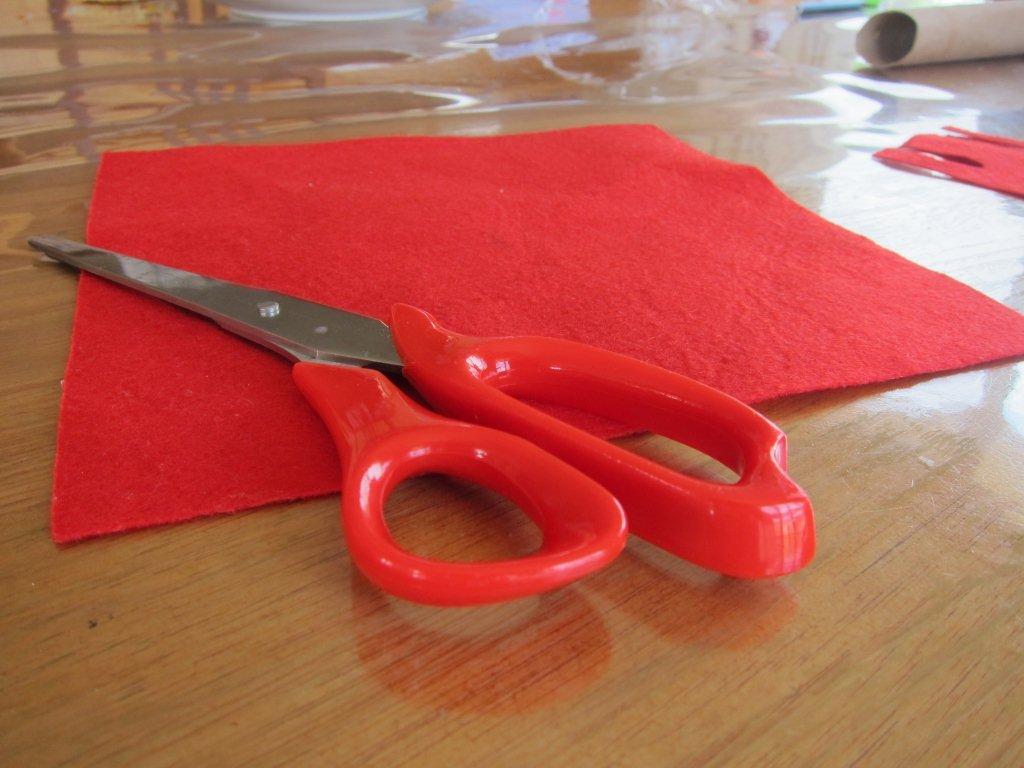
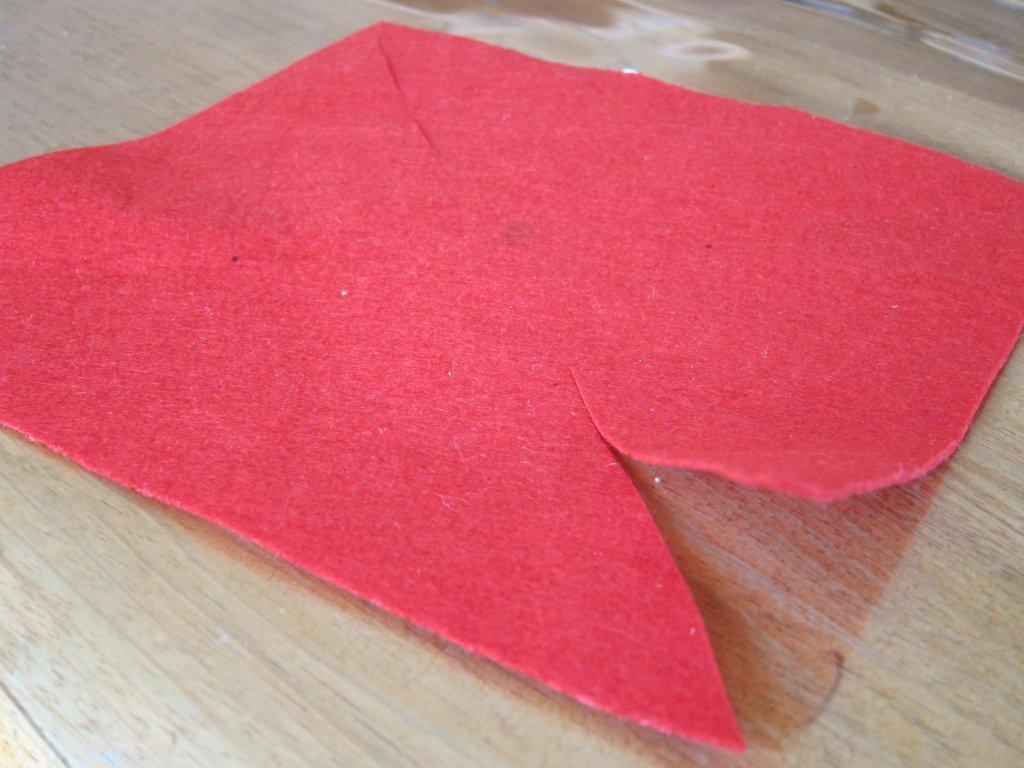
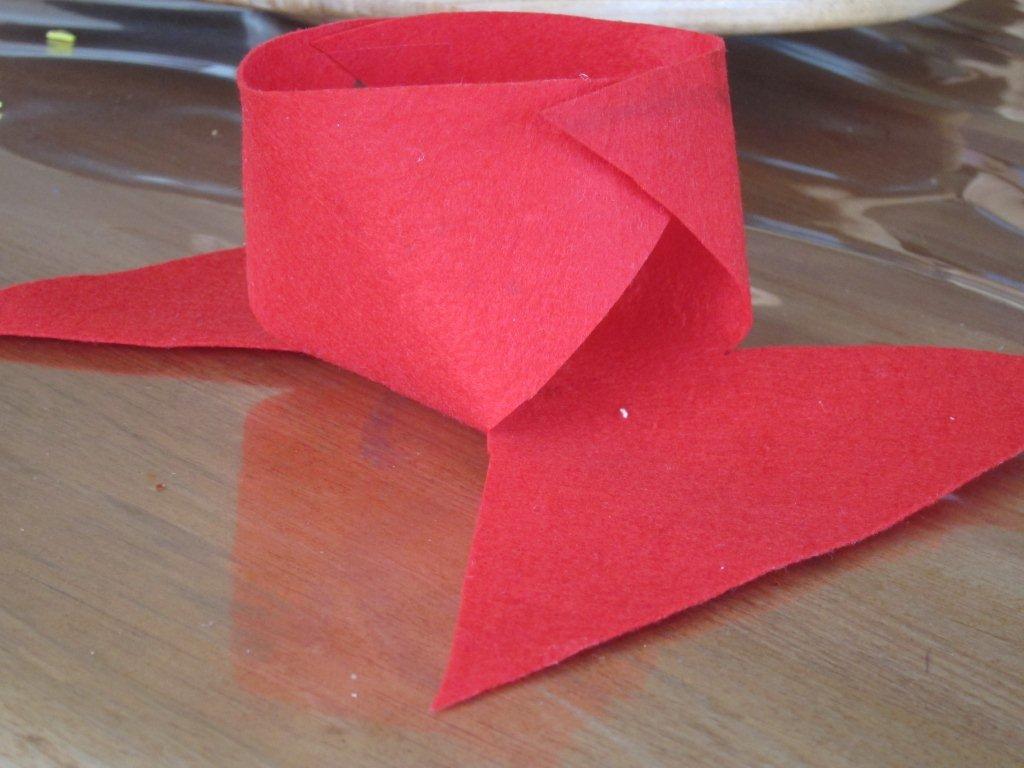
    Anyway, here’s our step by step guide to making an Easter basket:

    Get a square piece of felt
    Cut slits from the corners midway to the centre of the square
    Interlink the sides and glue together. We had no craft glue, so used sticky tape. Yeah, doesn’t quite have the same appeal!
    Cut a strip of felt and glue to make a handle
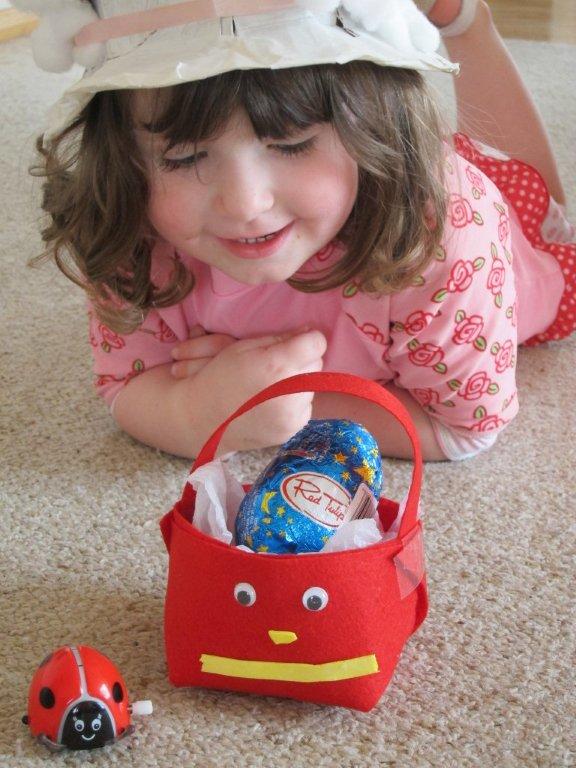
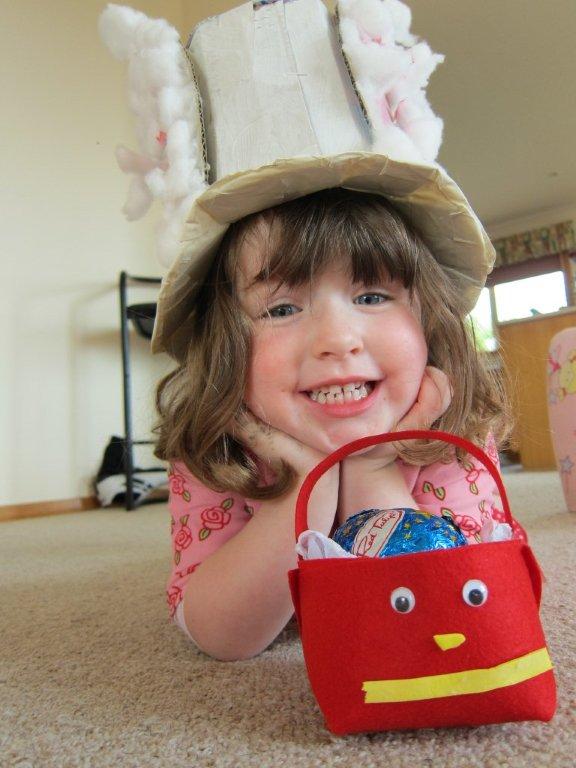
    Decorate. This is Ella’s version of a cat face. Why a cat? I have no idea. Then add eggs.

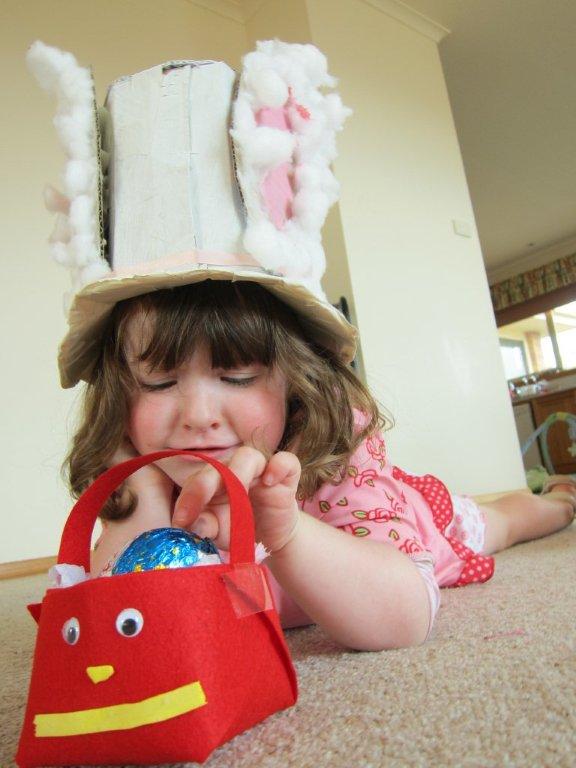
    Oh, and reveal the full effect of the hat (which makes her look decidedly like Johnny Depp in Alice in Wonderland).
    Although, I was lucky to even capture these photos, considering how fast the egg was devoured.

    Then, patiently wait for Easter Bunny….

    So, what Easter craft activities have you been up to this week?

    I’m linking up with FlogYoBlog Friday over at Where’s My Glow?
    FYBF

  • PHOTOS: 16 tricks to capture perfect photos of your children

    PHOTOS: 16 tricks to capture perfect photos of your children

    Catch them unawards!

    SINCE starting Three Li’l Princesses there’s been two recurring questions. The first: how did I start the blog (and did it cost me a lot of money) and the second: how do I capture such great photos of the girls?

    The first question I’ll leave for another post. However, the second question I will tackle today. Please bear in mind that, while I have had some professional training many moons ago and did take photos as part of my job as a journalist, I am by no means a pro. You’ll need to visit someone like Carly Webber from Mamma-razzi or Darren Rowse from Digital Photography School for that.

    So, here is my experience with photographing babies and children:

    • Find when the best part of the day is for your child/ren. We schedule photo playtime for early in the day when the kids aren’t tired and the light is good.
    • Often the best shots are candid ones, when they’re totally unaware of the camera. Go to the park, play around with craft or get them to do some other activity they enjoy, then start snapping.
    • Use your zoom. By zooming in on your subject you create depth of field, which creates a beautiful blurred background.
    Use your zoom to create depth of field
    • Consider your background. Is it too cluttered and will it detract from the subject? Unless you’re trying to achieve the above point, in which a busy background can look quite effective, keep your background clean.
    • Avoid windows as a backdrop. It will play havoc with lighting and your subject.
    • If you struggle to get a baby to look in the direction of the camera, dangle a noisy toy above the camera. This can also achieve that “winning smile’’ you’re after.
    Use noisy toys to get bub's attention and produce a smile
    • Sometimes it can take 20 photos to get “the one’’. With the advent of digital, this is now no longer a problem.
    • Get down to your child’s level.  Taking a photo from your level only produces photos of the top of their head or distorted images. In saying this, sometimes it is fun to play around with different angles though.
    Experiment with angles
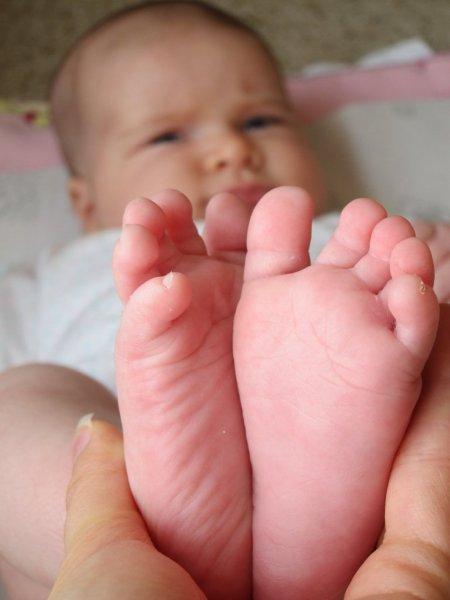
    • Think outside the square. Babies have the cutest toes, fingers and noses. Get up close and then zoom in on these features to capture something unique. If your camera has a “macro’’ setting, switch to this as it accentuates detail – exactly what you’re after.
    Zoom in on toes…
    … and fingers.
    • Use others’ photos for inspiration. My only disclaimer with this one would be to avoid Anne Geddes. Lovely as her photos are, she takes hours to produce one shot.
    • Have in your mind what you’d like the photo to look like. Often it comes out nothing like you predicted, but often it’s also a lot better!
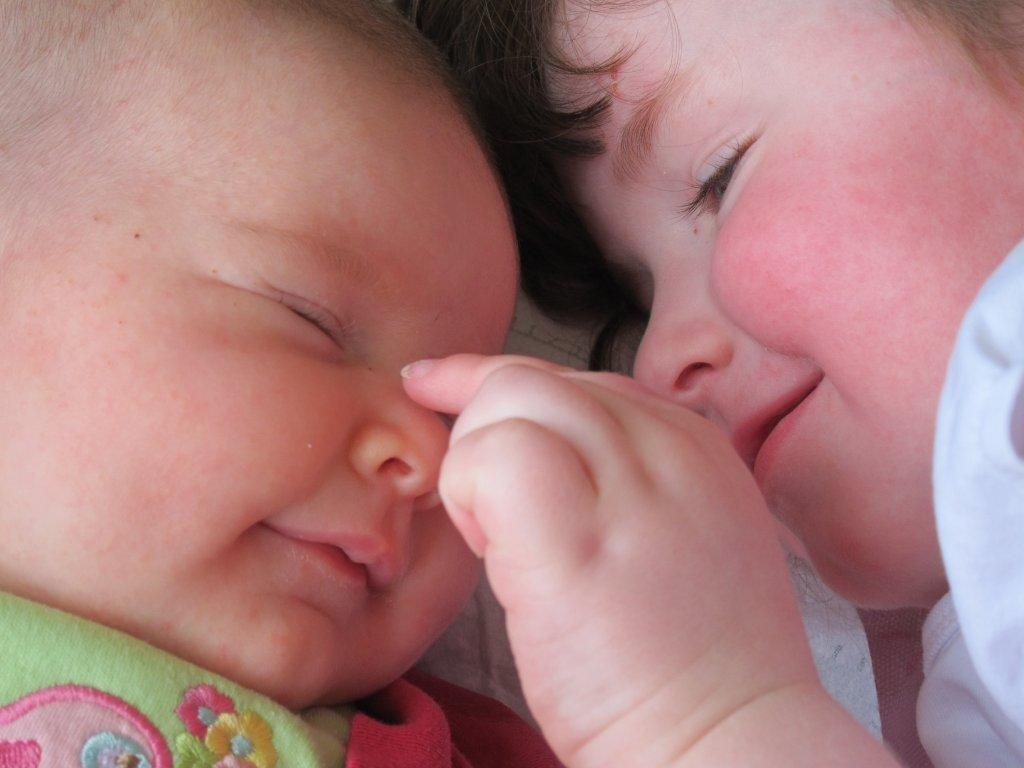
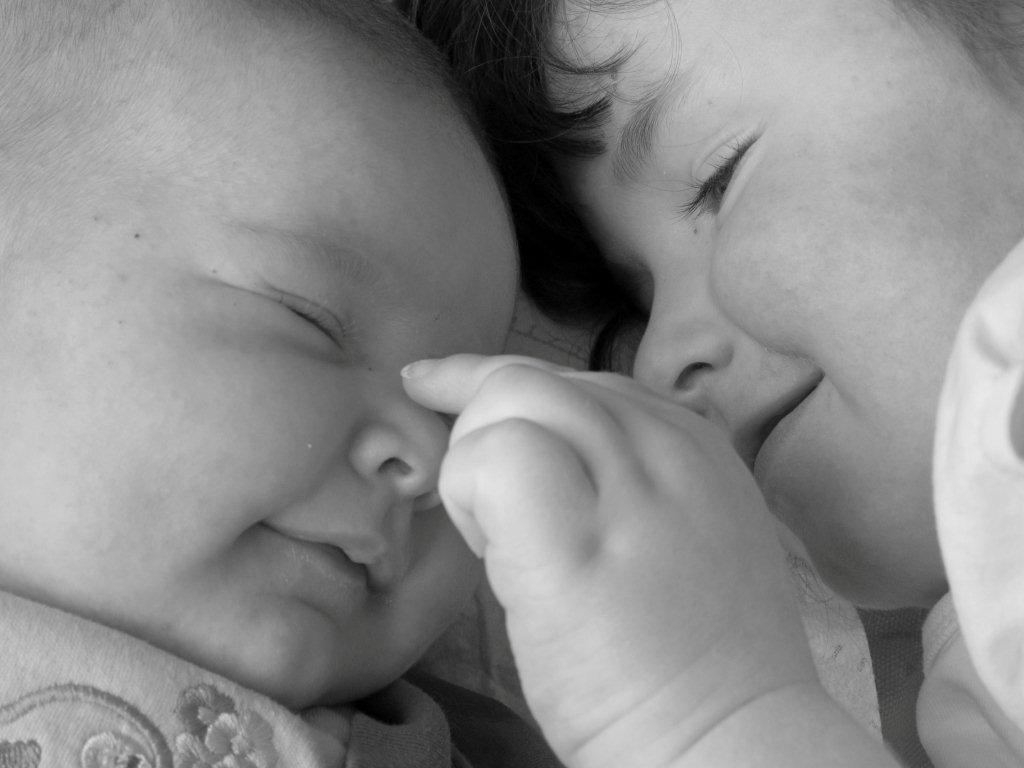
    • When you get to the editing stage, consider changing the photo to black and white. Sometimes an ordinary photo can “pop’’ in black and white. It’s particularly ideal if your bub or child has the less appealing spots or scratches over their face, and can soften the look of a photo.


    In colour…
    and black and white
    • If you’re taking indoor shots in winter and light is a problem, try putting your camera on the low light setting, turn the flash off all together or bounce the light off a wall or ceiling to avoid washing out the subject.
    • Use the rule of thirds – that is, to break your photo into nine squares and place the important elements of your composition where these squares intersect. It produces nicely balanced photos that are easy on the eye.


    Putting the focus into the top third of the photo
    • Some days the kids just aren’t in the mood. These are the days when it’s best just to pack the camera away. Otherwise, you run the risk of them hating the camera all together.
    • My biggest tip would be to have fun. If you’re stressed by the whole thing, the kids will be too. Get out the bubbles, a ball, go for a run in the park, a swing or a slide and simply shoot.
    Having fun!

    I also attribute some of it to our camera, a Canon PowerShot S95, which I would highly recommend. Firstly, it’s compact, which means I’m more tempted to pop it in my handbag when I head out, as opposed to a full DSLR, which is too bulky for a mum struggling with two kids.  It has full manual capabilities, while also having the auto option. It seriously is one of the smartest cameras I’ve used. I may even write a review on it soon if anyone’s interested.

    What tips do you have for taking photos of your kids?

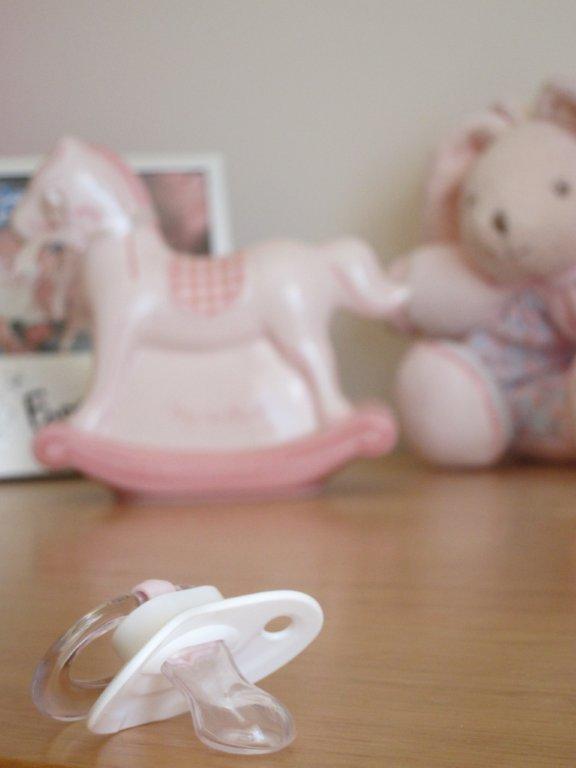
  • FEATURE: Five super techniques for losing the pacifier … for good!

    FEATURE: Five super techniques for losing the pacifier … for good!

    Losing the pacifier can be tough

    A PHOTOGRAPH of famous preschooler Suri Cruise sporting a dummy at age four attracted much comment this week. It inspired this week’s poll and sparked a bit of a conversation on our Facebook page.

    One of my favourite contributors, Barb, joined in on the conversation and had me crying from laughter. So we had to share it. “I knew of a girl (school age) who had a dummy and would carry it in her pocket at school and go to the loo for a quick suck a few times a day.’’ Hmmm, I’ve heard of people hiding out in the toilets to feed some strange habits, but dummy sucking?!

    Feli from My Life In Mono also had a cute tale to tell. “Mum told me that I was on the dummy at age four. She weaned me by telling me the dog ate my dummy and that was that’’.

    Exactly when your child loses the binky is really a personal choice. For Princess Ella, who was only ever allowed her dummy at bedtime, it was two and a half years due to the seed of Baby Holly being sown. It happened pretty easily, thanks to flagging the idea with her weeks in advance and being positive about it. But every child is different.

    If you’re in the midst of losing the pacifier or about to, here’s some suggestions. We had success with a combination of the first two.

    1. Tell them how the Dummy Fairy will come and get it one night to take it to a li’l baby who needs it more than they do. This idea makes them feel like they’re helping someone else.
    2. Provide them with a gift (either from mum and dad or from the Dummy Fairy) in return for the pacifier. It’s always fun for them in the weeks leading up to it to guess what the gift might be.
    3. Just go cold turkey.  Yes, surprisingly this sometimes can work, especially when they’re really young.
    4. Cut the tip off the pacifier. The child is unable to suck and loses interest. Prepare for the fact they may carry it around with them for a while though.
    5. Tie it to a helium balloon and release it into the sky or pop it in the post (addressed to grandma, maybe) so it can be delivered to a baby who needs it more.

    Getting rid of the dummy can be tough. Share with us your story of losing the binky.