threelilprincesses.com

Blog

  • WIN: Aussie Giveaway Linkup #12

    WIN: Aussie Giveaway Linkup #12

    Aussie Giveaway LinkupTHERE is some rather sad news I must break. I know you will be disappointed, but please know this is temporary. It will pass. After tonight, I’m afraid to reveal… there will be a little lapse in time before the next giveaway. I know, I know, it’s upsetting. But please, hear me out.

    What will follow very soon will be a handful of wonderful giveaways. Here are some clues as to what a couple of those will be:

    • One giveaway will make mums to bubs through to toddlers wonder why they didn’t grab this prize BEFORE they pulled all their hair out.
    • Another will be a bevy of favourite items to make little faces light up in a Mary Poppins sort of way.

    OK, enough clues. Go enter the the fan-tab-ulous $150 Vanchi bag giveaway and $50 My Posh Baby Boutique giveaway before 7pm tonight and then subscribe to this blog so you don’t miss the competitions to come. Don’t forget to support these great Aussie businesses owned by mums too.

    Most importantly though, start entering this week’s seriously good giveaways via the links below.

    If you’re a blogger or business wanting to take part in the Aussie Giveaway Linkup:

    1. Only link directly to the giveaway post/s and include the prize and end date in the linky tool below. Link each giveaway separately.
    2. Giveaways must be open to Australian residents.
    3. Grab the button to add to your post.
    4. A new list is added each Sunday so bloggers need to add their links weekly.
    5. Start entering the giveaways!

    This linkup is a combined project with the wonderful Tina Gray. You can link up your giveaway on either of our sites – it all goes into the one linky.

    PS. The photo links will be returning next week, after I can get some money into my Paypal account to pay the subscription!


    Aussie Giveaway Linky
    Hosted by Three Lil Princesses and Tina Gray {dot} Me


  • Grateful for the moment things go wrong

    Grateful for the moment things go wrong

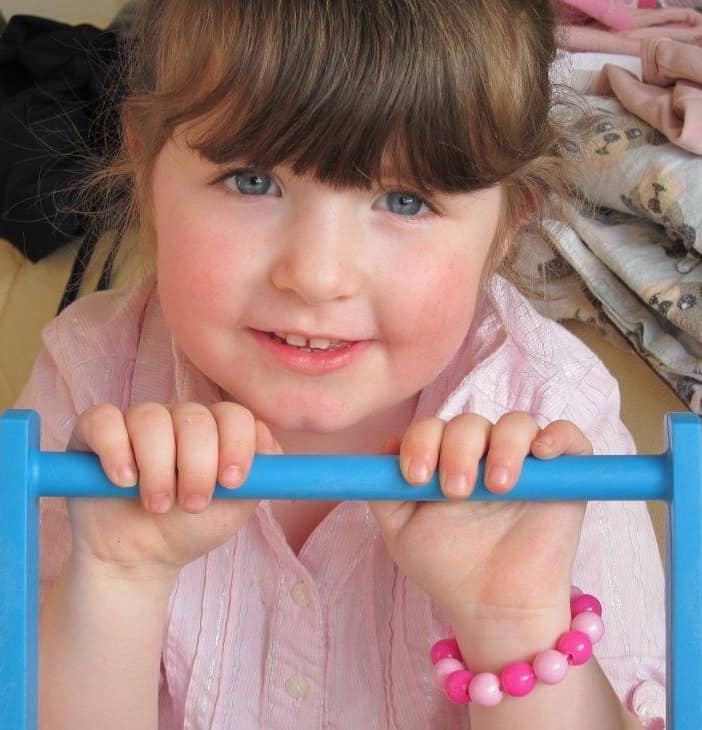
    THIS week’s Grateful For post was all planned out in my head. It was going to be an absolutely cracking read – as always. However, something happened last minute today that made me use the word “grateful’’ in a sentence. So I’m posting about that instead.

    OK, let’s start from the beginning:

    End of June: Ella’s child health nurse played some fun eye games with Ella before dropping the bomb – Ella was slightly vision impaired in her left eye. Probably not worth a whole post, but that’s what you got.

    August 4: We were given a referral to a specialist, who happened to be on holidays. So we got his registrar. After the saddest face I’ve seen on Ella in a while after having drops and bright lights flashed in her eyes, we were told the news I’d been dreading – Ella would need glasses.

    August 10: Finally got around to getting her to the optometrist to choose what were going to be “pink glasses like Rhapsody from The Fairies’’. I had fears it would end up looking more like Esme Watson from A Country Practise. However, I couldn’t find the prescription. I swear, it wasn’t me. Like a kid who lost her homework, I had to call for another. I mustered up the courage, only to be told that (for reasons I won’t go into), Ella would need to be retested. *sigh*

    August 17: The female specialist revealed Ella was slightly long sighted in her left eye. OK, a little more information is good. With these results, the senior specialist then came in and said he’d like to see her himself two days later. OK, should I now be worried?

    Yesterday: We played doctors and nurses, putting “raindrops’’ (Ella’s term) in patient Ella’s eyes for much of the day (there’s nothing like a bit of role playing to make the real task easier). That night I scored the wishbone from the chicken at dinner. “What’s your wish, Mum?’’ Ella asked. “I can’t tell, or it won’t come true,’’ I said.

    Today: After successfully getting the “raindrops’’ in both eyes and making it to the specialist without too much panic, 10 minutes later he announces my wishbone wish had come true: “Ella doesn’t need glasses’’. What? Seriously? I have been through all that and now… nothing? More correctly, we had the choice to give her glasses and see if it improved the slight prescription she has or do nothing. After 90 seconds of silence, he then said: “I don’t think we’ll worry about glasses.’’ Ahhhhh, such relief…..

    She will have to return in December for another check up (will keep you posted) but for now, at least, it seems glasses – and the Esme Watson look – are not a part of her life.

    So, the moral of this story is that sometimes when things go wrong they can actually turn out to be something you are truly grateful for.

    I’m joining with  Maxabella Loves to share what I’m grateful for.

  • How to make a doll house from a cardboard box (take 2)

    How to make a doll house from a cardboard box (take 2)

    I KNOW sometimes you post an innocent little doll’s house made from a cardboard box on your blog and it becomes one of your blog’s most searched items via Google. I know that I’m really wishing I hadn’t actually made that doll’s house out of a … beer carton. Yes, there’s been some hugely disappointed Google searchers land on that post.
    So, finally, I’ve found some time to upgrade the doll family from its humble abode into a nicer and bigger home – this time via a much classier postal box. Which, quite frankly could have been used to send off a parcel and save me money. But anyway, Google takes precedence.
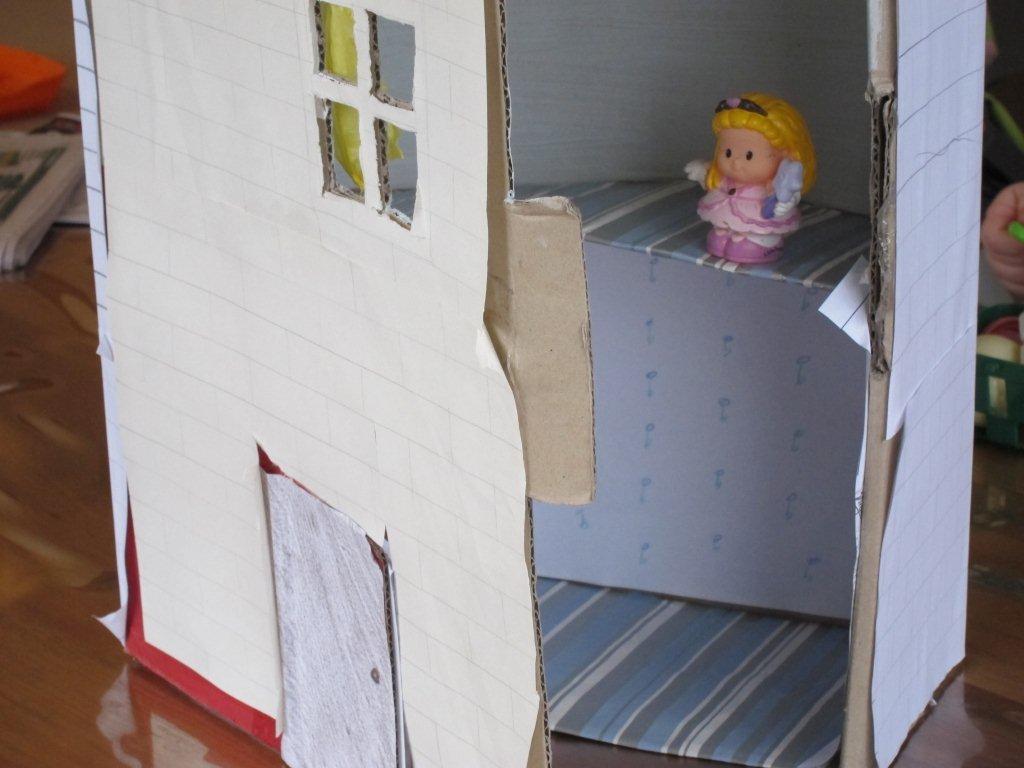
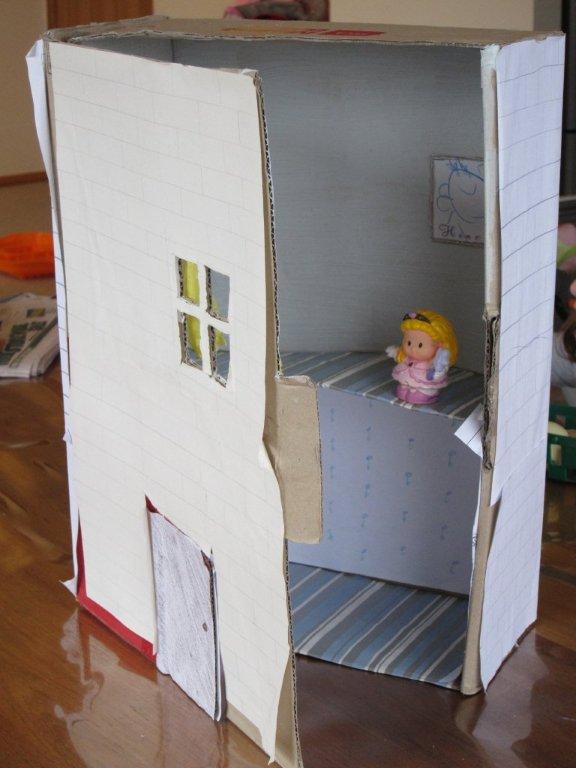
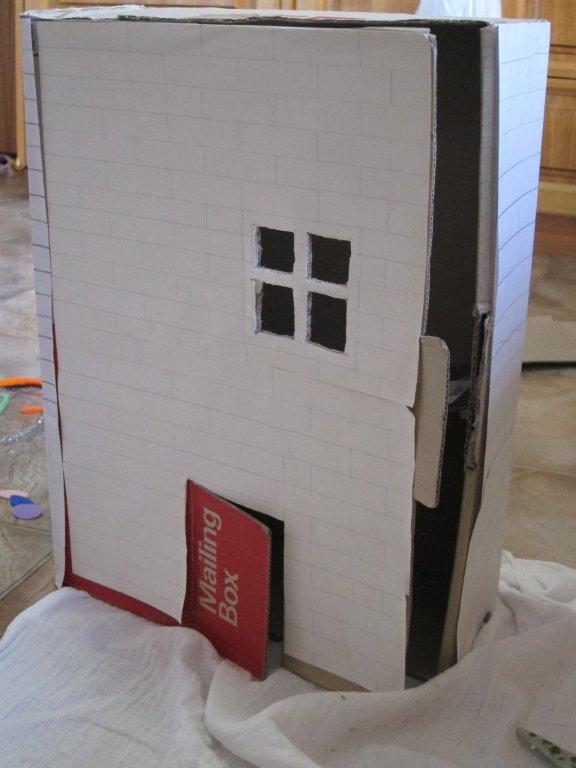
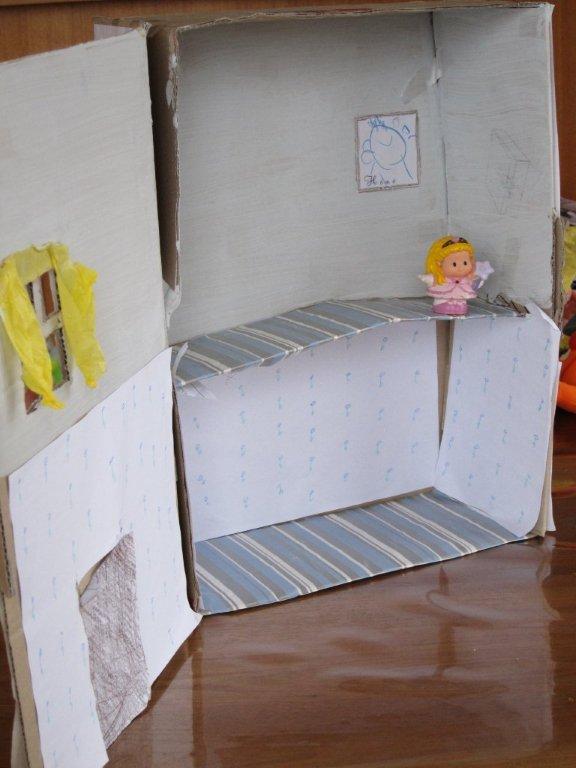
    So, if you came to this blog looking for a doll’s house made out of a cardboard box, here it is:
    doll's house made from a cardboard box
    If you want to see the old one, then make sure you’re sitting down before you check it out. There’s some nudie action happening over there.
    Anyhow, here’s what I know about building a grand doll’s house fit for a princess (as opposed to a bogan, as the beer carton house was):
    • Take a Bx4 postal box (430mm x 305mm x 140mm) cardboard box.
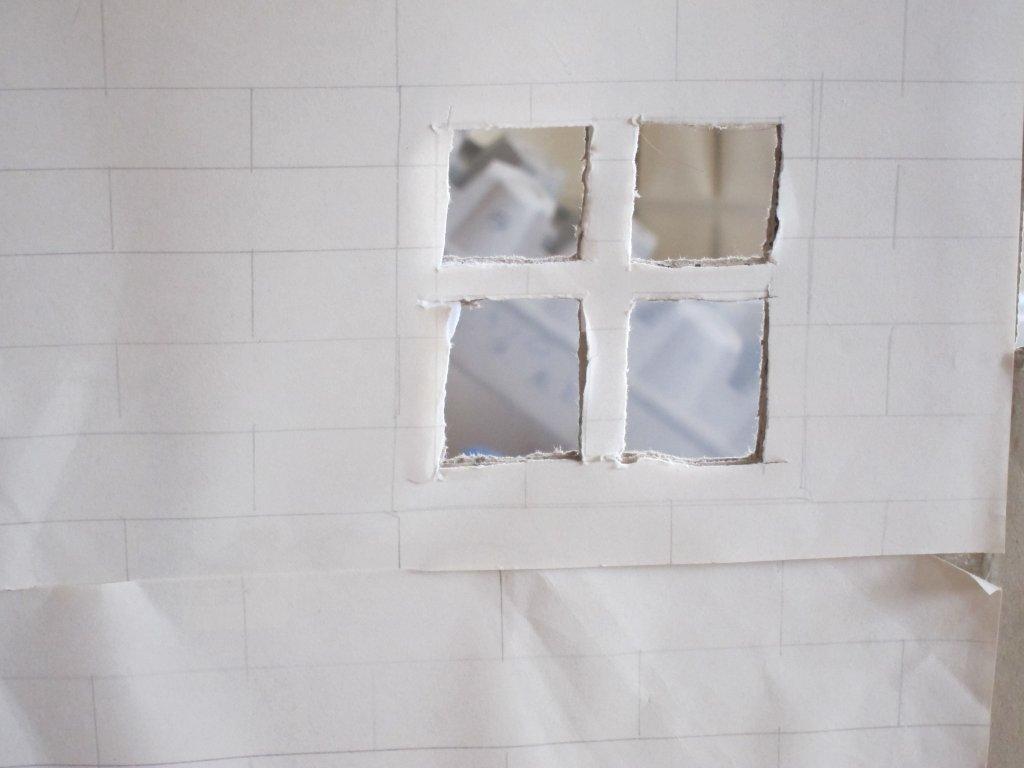
    • Take blank sheets of paper, a ruler and pencil and draw lines horizontally across each. Then make vertical lines between them to make bricks (see photo). Glue these to the entire outside surface of the box.
    doll's house made from a cardboard box
    • Cut a door into the front of the box and draw, then cut out, a window.

    doll's house window

      • Cut out a piece of coloured paper the same size as the door and glue onto the exterior of the door. Repeat for the interior. If you don’t have coloured paper, you can use white paper and colour it in, as we did.
    doll's house made from a cardboard box
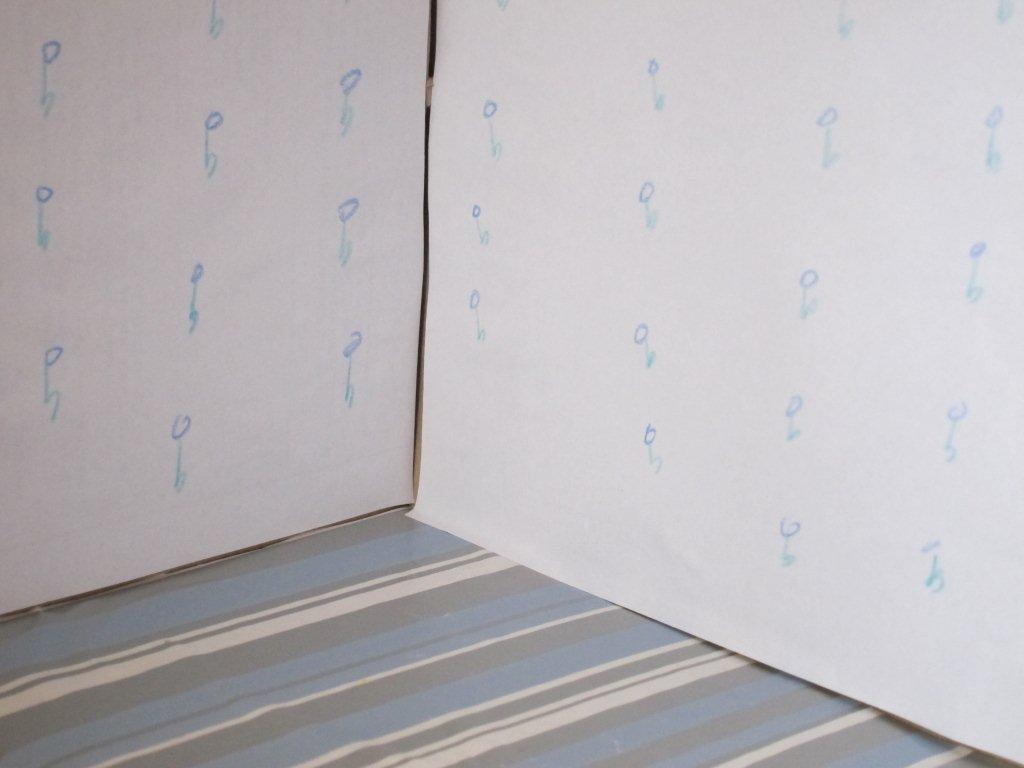
      • For the floor, you can be as creative as you like – felt, white paper with your own pattern, old school paintings or drawings previously destined for the bin, paint or wrapping paper, as we did. Glue in.
    doll's house made from a cardboard box
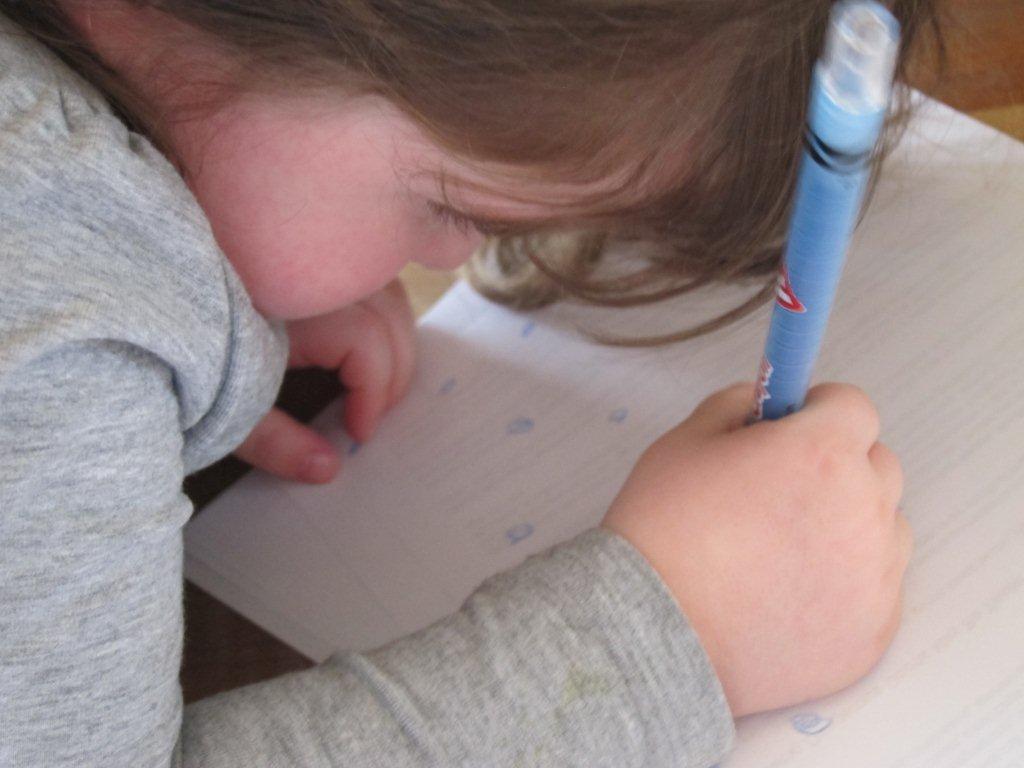
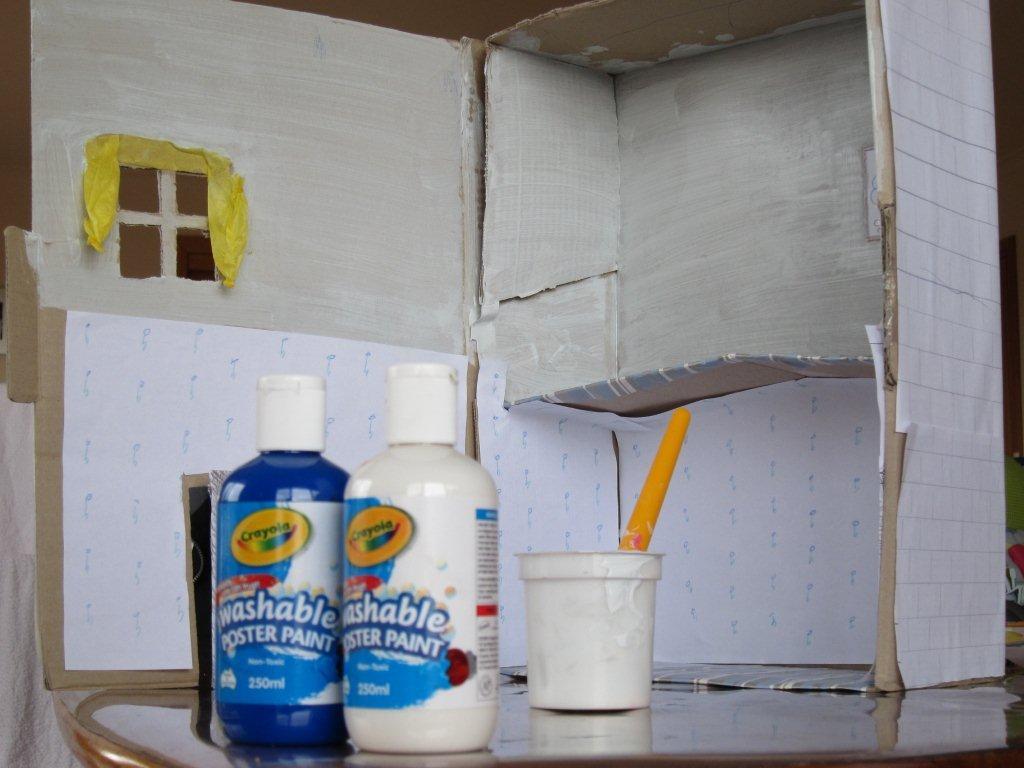
      • The same applies for the interior walls. We went for a mix of our own homemade wall paper using white paper and crayons for the bottom half and a pale blue paint to match the carpet for the top floor.
    doll's house made from a cardboard box
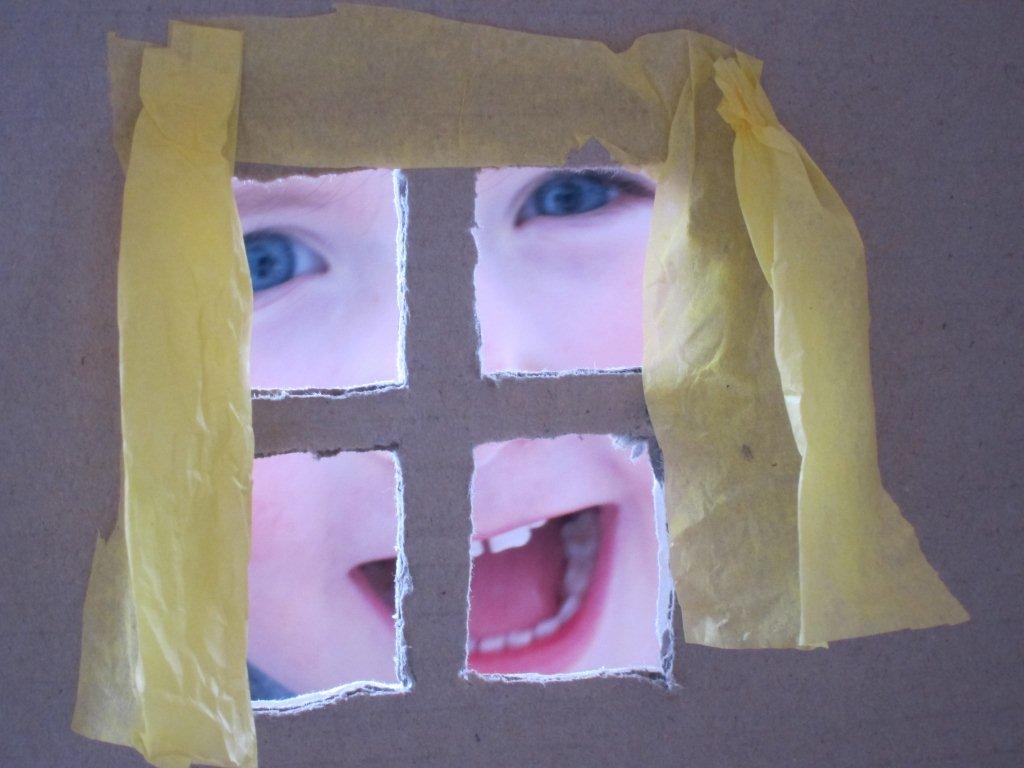
      • Add some curtains to your windows. We used tissue paper, cutting out a square where the window pane would be, gluing it along the top of the window and then scrunching the ends of the curtains to make pleats. You could also use scrap material or cellophane.
    doll's house made from a cardboard box
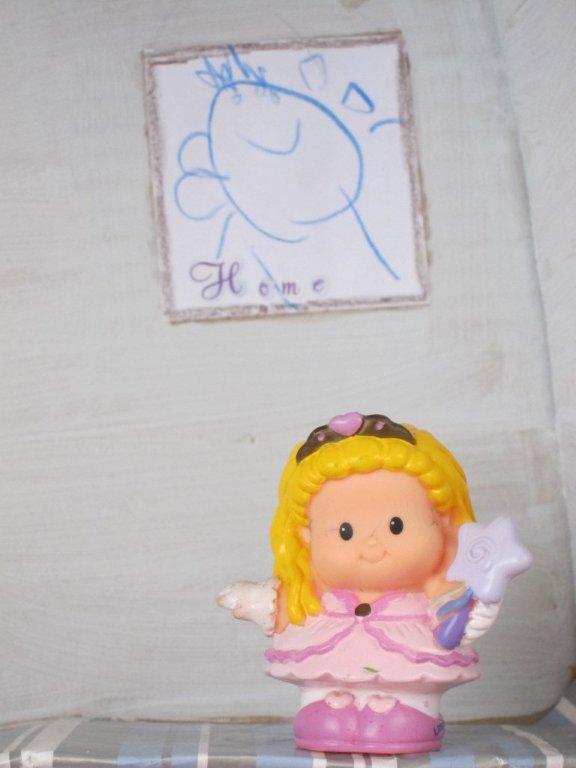
      • Add a painting or picture to the wall. Ella drew a beautiful picture of an alien, then I made a crayon frame for it.
      • Start playing!
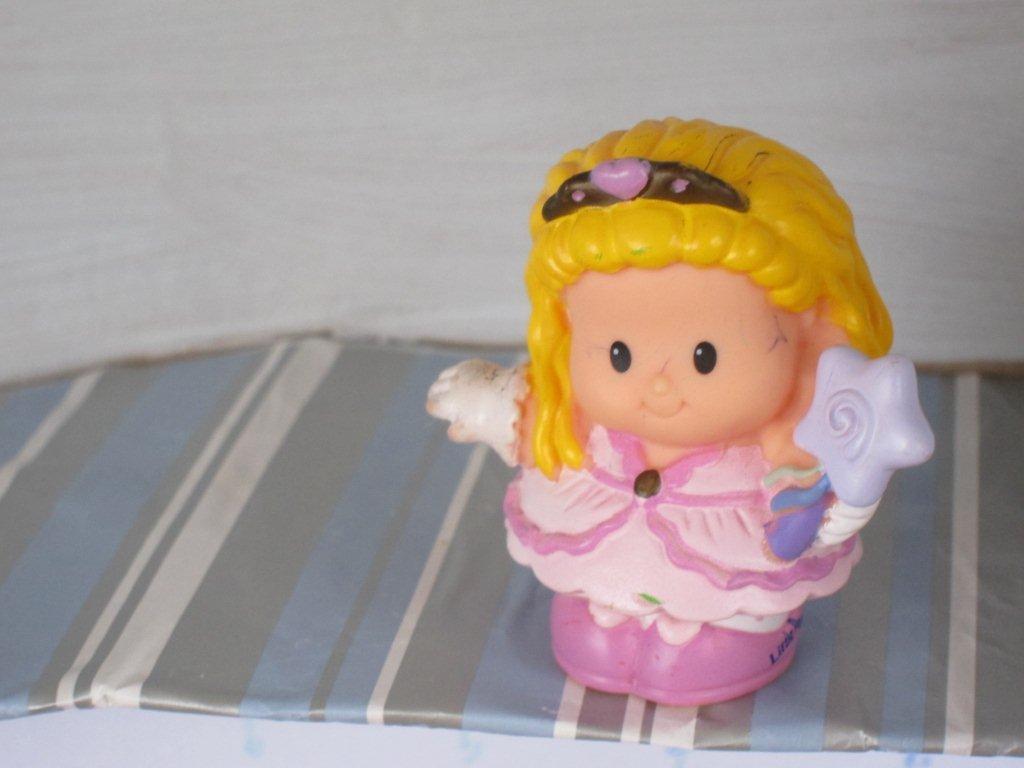
    During the weekend, we’ll be attempting to make some furniture for the Little Princess who has taken up residence in the grand doll’s house.
    doll's house made from a cardboard box
    Do your children play with boxes? What have you made together?
    I’m linking up with Yay for Home as part of Things I Know.
  • RECIPE: Smoked salmon and tomato pasta

    RECIPE: Smoked salmon and tomato pasta

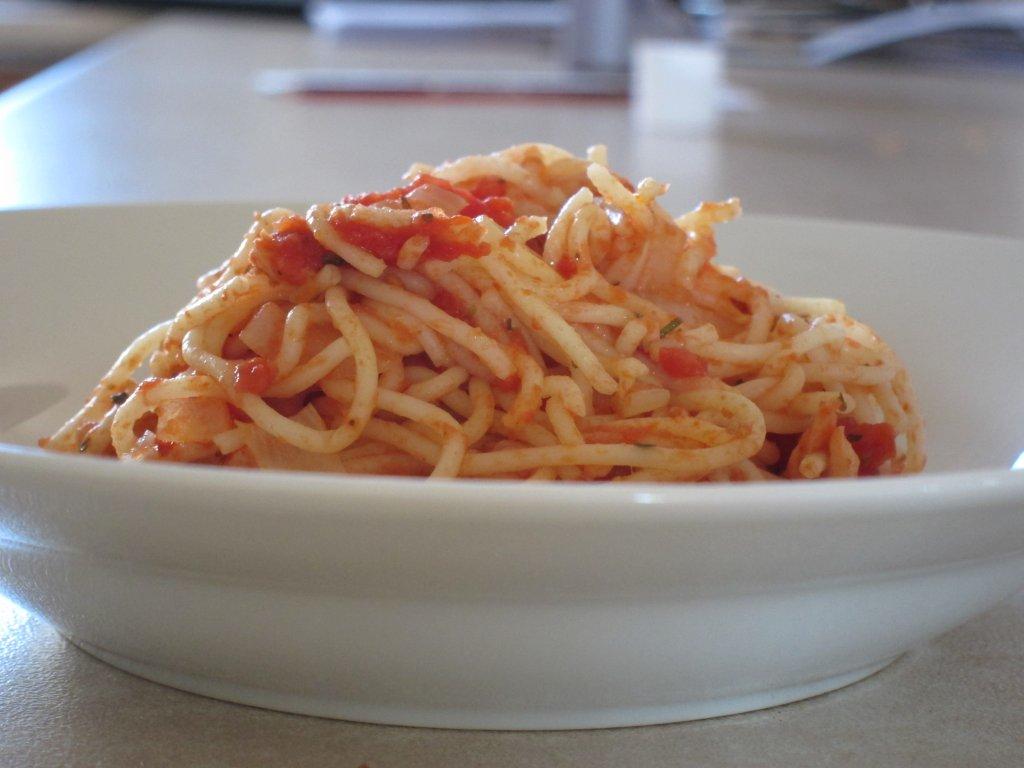
    Smoked Salmon and Tomato Pasta

    IN THE midst of trying to find what I was Thankful For so I could be part of Kate Says Stuff’s meme for the first time, I discovered this Smoked Salmon and Tomato Pasta recipe in the archives. I previously used it as a guest post for the lovely Dannie from A Dose of Dannie some months back. However, I can’t help but want to share it on my blog too, with just a little bit of a change.

    There are a few reasons I’m thankful for this, my all-time favourite dish:

    • It gives me a pick me up every time I eat it.
    • It uses Tasmania’s finest export – salmon. This is why I love this State.
    • As I said previously, it’s devoured by our three-year-old faster than bikini bottoms on Kirstie Alley. Who created the child with expensive taste?

    So, without further ado, here’s the recipe. You’ll be thankful you follow the blog after this one. *wink wink*

    Smoked Salmon and Tomato Pasta

    INGREDIENTS:

    100g sliced Tasmanian smoked salmon

    1 Tablespoon mixed herbs

    Juice from one lemon

    Olive oil

    1 onion, finely chopped

    1 garlic clove

    400g tinned diced tomatoes

    Pepper

    2 teaspoons sugar

    375g angel hair spaghetti

    METHOD:

    Cut the salmon into strips and mix with herbs and lemon juice. Saute the garlic and onion in olive oil. Add tomatoes, sugar and pepper. Cook for 5 minutes.

    Meanwhile, cook pasta and drain. Mix pasta into the tomato sauce with half the smoked salmon. Garnish the top of the dish with the remaining salmon.

    Note: Pre-kids we added a little chilli to give it some spice, but it works just as well without.

    What dish are you thankful for? Which one gives you a pick me up?

    Linking up with the lovely Kate Says Stuff’s Thankful Thursday. Click on the link to find out what others are thankful for this week.

  • PHOTO: A Zhu-riffic good time

    PHOTO: A Zhu-riffic good time

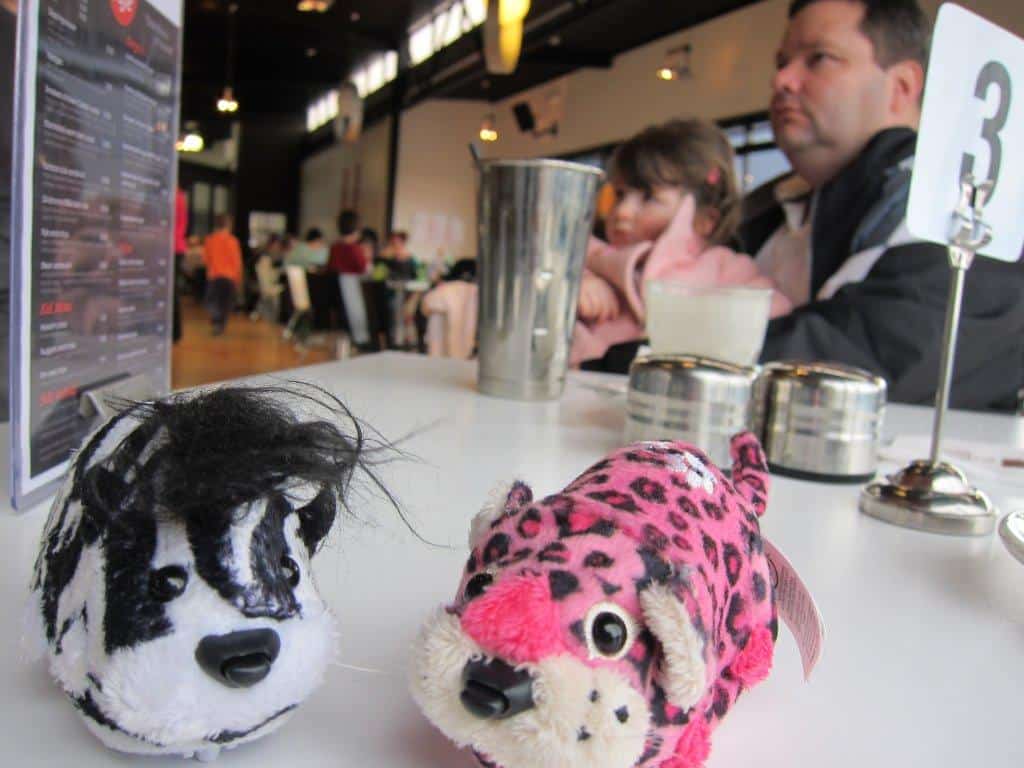
    IT SEEMS these little critters (a leopard and a zebra from the Zhu Zhu pets new Zhu-fari range, for those who aren’t quite up with the land of Zhu Zhus) have to go everywhere with us. Including to lunch. Thankfully, they were only interested in the lettuce from my Chicken Tikka Roll or they could well have found themselves as kitchen-hands to help pay their way.

    Zhu-fari zebra leopard

    Linking up with My Little Drummer Boys’ Wordless Wednesday. Click on the link to check out more photo posts.

    If you would like to see this week’s Alphabet Photography Challenge submission, see P is for Piggy.

    Note: I am an ambassador for the Zhu-fari range.

  • Alphabet Photography Challenge – P

    Alphabet Photography Challenge – P

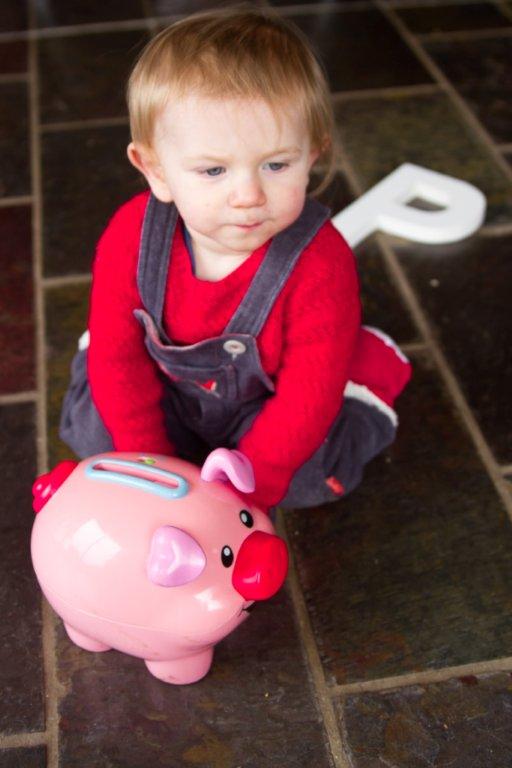
    P is for Piggy. Can you spot the “p”?

    Alphabet Photography Challenge, P

    Photo by Nicole Hastings

    Nicole has loved taking photos since she had her first film camera at 14. After doing photography in college and just not getting it, she went back for a second try in 2006.  Having her children to photograph made photography fun and worthwhile and she greatly improved. Nicole just upgraded her DSLR and hopes to start a photography business one day, but for now she blogs her photos at Nicole Hastings Photoblogging. You can also follow her on Twitter.

    If you would like to contribute a photo to the Alphabet Photography Challenge, a series of posts aimed at being a “look and find” activity for children learning the alphabet, please email.

    Linking up with Faith Hope & A Whole Lotta Love’s Wordless Wednesday.